We’ve just posted a comprehensive guide on how to jailbreak iOS 4.3.1 on iPhone 4 and the original iPad using the new Pwnage Tool, Universal Ramdisk Fixer, and tetheredboot utility. Now we bring you a simple tutorial on how to jailbreak your iPhone 3GS, both new & old bootroms running iOS 4.3.1 using custom PwnageTool bundles. Before you proceed, update your iTunes to the latest version and backup your device.
Those requiring an unlock SHOULD AVOID THIS METHOD, as iOS 4.3.1 is yet to be unlocked. Also, iPad 2 users should NOT upgrade from 4.3 if they can avoid it.
*Disclaimer: iTD is NOT responsible for any damage done to your device using this method. By following our guide, you do so AT YOUR OWN RISK.
Step 1:
Download the latest Pwnage Tool here, or the torrent for it here. Also download the Pwnage Tool bundle for iPhone 3GS Old bootrom or the New Bootrom as well as the Universal Ramdisk Fixer here.
Step 2:
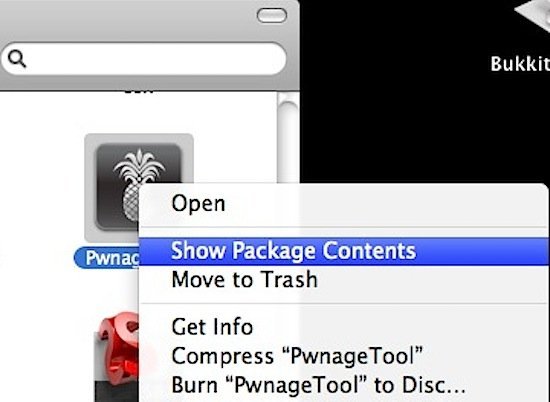
Open the PwageTool4.2.dmg and drag the PwnageTool.app to your /Applications folder. Then, right-click the PwnageTool.app and click Show Package Contents.
Step 3:
Drag your PwnageTool Bundles for iPhone 3GS iOS 4.3.1 which you downloaded earlier to “/Contents/Resources/FirmwareBundles/” inside the PwnageTool.app and close the folder.

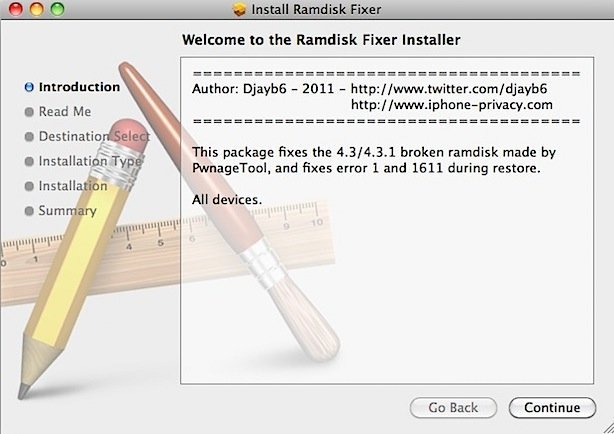
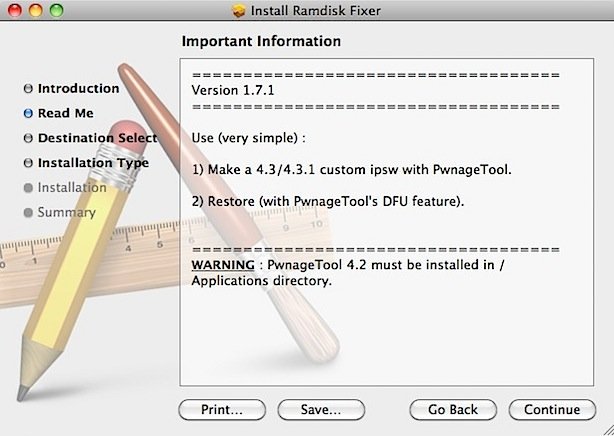
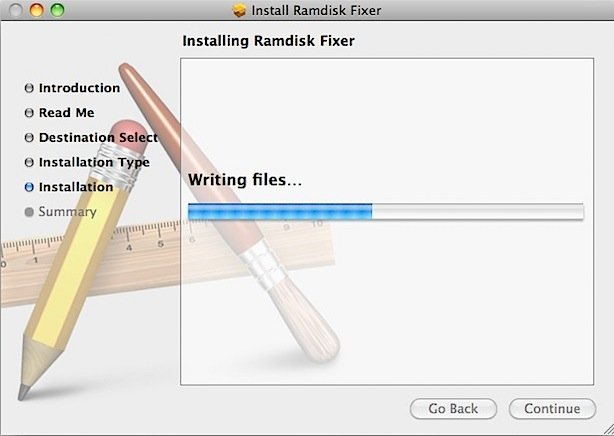
Step 4: (Repair the Ramdisk)
Open the downloaded “Ramdisk Fixer_1.7.2.pkg” to do a standard installation and fix the PwnageTool ramdisk. Just follow the simple on screen instructions to complete the process.
Step 5: (Build a Custom Firmware)
If you haven’t already, download the 4.3.1 firmware for your device, either through iTunes or here (direct links provided). Drag the 4.3.1 firmware to your Desktop. If you downloaded via iTunes, the firmware is located at “/Users/<username>/Library/iTunes/iPhone Software Updates/”.
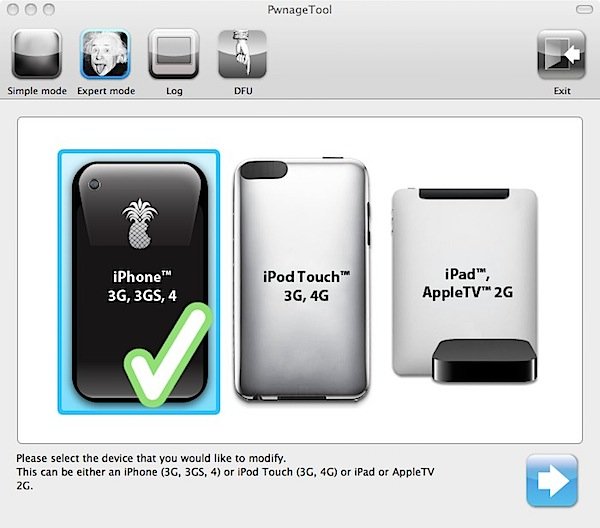
Open PwnageTool and select “Expert Mode” on the top left. Then, select iPhone 3GS and click the arrow on the bottom right.
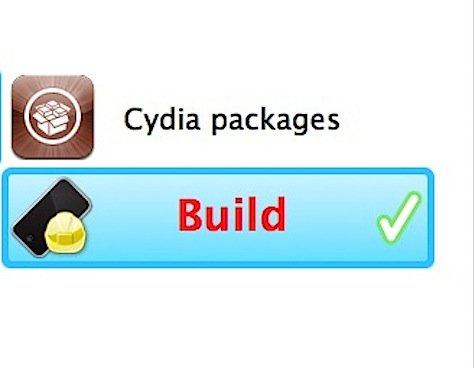
Step 6:
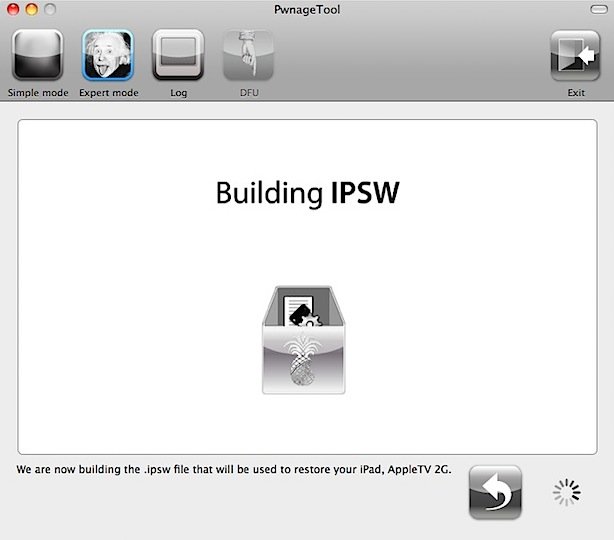
Browse to the official iOS 4.3.1 firmware, which you downloaded earlier. In the end, select “Build” to assemble the custom firmware file.
Step 7:
Select a location for the custom firmware (preferably your Desktop) and let PwnageTool do its thing.
Use PwnageTool to enter DFU mode by following the steps as they appear. If you aren’t familiar, the steps are:
- Hold the Power and Home buttons for 10 seconds
- Release the Power button but keep holding the Home button for 10 seconds.
- Your device will now be in DFU mode
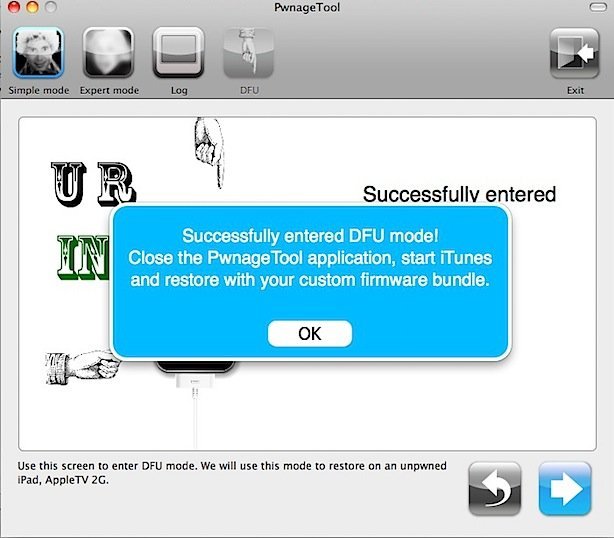
Step 8:
Open iTunes. It will automatically detect your DFU device and ask you to restore. Hold “Option” while clicking “Restore” and browse to your custom firmware. iTunes will now begin to restore your device to the custom firmware. Don’t do anything stupid. Let iTunes finish the restore, and when your device boots it will be jailbroken on iOS 4.3.1.
Boot Tethered
Jailbreaking using PwnageTool isn’t enough. We also need to boot into a tethered jailbreak state.
Step 9:
Download Tetheredboot here and extract the .zip file.
Step 10:
Make a copy of your custom firmware on your desktop, and rename the extension to “.zip”. Then, extract the zip file.
Navigate inside the extracted zip and copy the following files present under /Firmware/dfu/
1. iBSS.n90ap.RELEASE.dfu
2. kernelcache.release.n90
Now paste these files to a new folder on your Desktop named “Tetheredboot” and also put the previously downloaded tethered boot file (Step 9) in this folder.
Step 11:
Now power off your iPhone 3GS. Then, open Terminal (Applications > Utilities > Terminal) and type the following commands:
sudo -s
cd /User/Desktop/Tetherboot/
./tetheredboot iBSS.n90ap.RELEASE.dfu kernelcache.release.n90
Step 12:
Again, put your device into DFU mode using the same steps as before.
- Hold the Power and Home buttons for 10 seconds
- Release the Power button but keep holding the Home button for 10 seconds
A whole bunch of text will now go by on Terminal as it boots your device into a tethered jailbreak. You will know the exploit worked correctly when you see “Exiting libpois0n”. Cydia will now launch, and your device will boot into jailbroken on 4.3.1. Note that many things are not compatible with 4.3.1 yet, so install things with care.
Enjoy!
Subscribe to our RSS Feed and keep following us on Twitter, Facebook and YouTube for all the latest news, updates and more.