Here is how you can clean install macOS Ventura on a Mac. This helps in getting the best performance and bug-free experience with a new major desktop operating system update for your Mac. Our detailed guide will help you explain how to backup your Mac, format it, and install macOS on it to start fresh.

Clean install macOS Ventura on a Mac
While it is very easy to update your Mac to the latest software update, thanks to the built-in mechanism that can be accessed by going to System Preferences > Software Update, it is sometimes helpful to start with a clean install. There can be tons of leftover files, cache and other things on your Mac that can impact performance and an issue-free experience, which can result in the spinning beach ball showing on your Mac. If you see any performance issues, excessive battery drain, or app crashes, this guide can help fix some of these issues.
Requirements
Here is a list of prerequisites before you start:
- Back up your data. If you have an old Mac, you may have important files and apps on your Mac. It is best to backup your files to an external drive, or to cloud services like iCloud, Google Drive, OneDrive, or Dropbox, if you have a fast Internet connection. It is also recommended that you create a list of the apps (and their license keys if applicable) that you install so you can refer to it later to reinstall them.
- USB drive. You will need a USB drive with at least 16GB storage capacity. This will be used to create a bootable macOS Ventura USB installer.
Compatible Macs
macOS Ventura is compatible with the following Mac models:
- MacBook Air (early 2015 and later)
- MacBook Pro (early 2015 and later)
- MacBook (early 2016 and later)
- iMac (later 2015 and later)
- iMac Pro (2017 and later)
- Mac mini (late 2014 and later)
- Mac Pro (late 2013 and later)
1. Backup your Mac
Note: if you do not have any important data on your Mac, you can skip this step.
You can use any of the following methods to backup your data:
- Use Time Machine. This is the preferred method since it is easy to restore data using Time Machine after the clean install. You will need an external drive to use Time Machine.
- Manually move important files to an external drive.
- Back up data to a cloud storage service. If you often rely on a browser like Chrome, Safari, or Firefox, your bookmarks, passwords, and other data will already be backed up to your Google, iCloud, or Firefox accounts, respectively. Just double-check to make sure that syncing was active in these browsers. You can use iCloud or Google Photos to backup your photos and videos, while documents can also be uploaded to any of the aforementioned cloud storage providers.
2. Create a bootable macOS Ventura USB installer
The next step is to create a bootable macOS Ventura USB installer. You can follow our guide in the link to do so.
3. Reboot into macOS recovery mode
After the bootable USB installer is ready, you now have to reboot into macOS recovery mode. Here is how:
- Shut down your Mac.
- Plugin the USB drive.
- Turn on your Mac, and press and hold the Option key until you see the startup manager. Select the bootable USB drive using arrow keys and press return.
4. Format Mac
When you are in macOS Recovery, follow these steps:
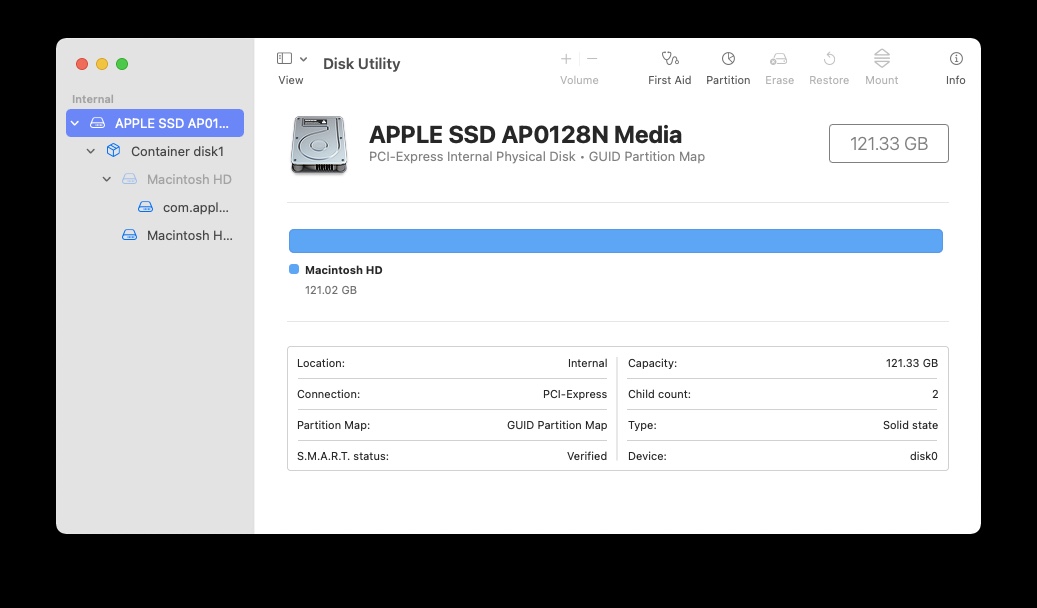
- Open Disk Utility.
- Select your SSD drive from the left sidebar.
- Right-click it and click Erase. You can also click the button at the top right of the window to erase your drive.
- When you see the pop-up, enter a name for your drive, select format as ‘APFS’, and click Erase. Let Disk Utility do its thing.

5. Install macOS Ventura
Now it’s time to install macOS Ventura. Click on “Reinstall a new copy of macOS” in macOS Utilities. Click continue, agree to terms and conditions, select your Mac drive and click install. The installation process will take some time, and you will know it’s done when your Mac reboots and macOS shows up.

Now that the installation is complete, you can set up your Mac as normal. Follow the steps to create your Mac account, select your settings and continue. Remember to restore your data, and reinstall your apps.
Read more:


