If impressed by its performance, battery life, and capabilities, you have finally decided to switch from your Windows PC to an Apple Silicon Mac but do not know how to transfer your data.
Then worry no more. We have composed an easy-to-follow guide for you to easily migrate data from your old PC to the new Mac using Apple Migration Assistant on macOS Ventura to transfer photos, email accounts, contacts, music, and more.

Here is how to migrate data from Windows PC to Mac via Apple Migration Assistant
Before transferring data, make sure that the following requirements are met:
- Mac is updated to the latest macOS and the PC is updated to the latest Windows versions.
- Both computers are connected to the same network or are connected by Ethernet cable.
- Both computers are charged or plugged in.
- Install Migration Assistant on Windows PC for macOS Ventura and macOS Monterey from here.
- On your PC disable the network firewall which could affect the Mac from connecting to it.
Now, you are ready to migrate data from your PC to your Mac.
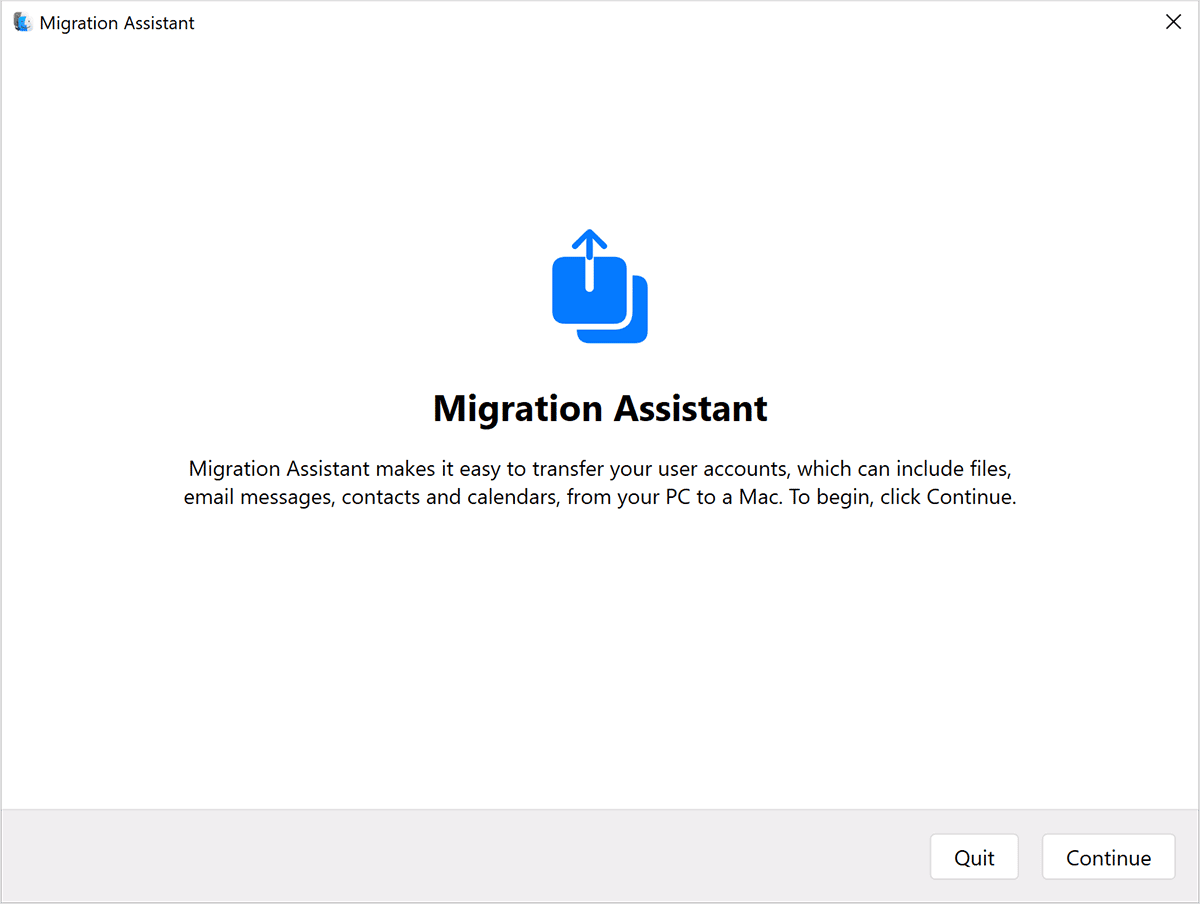
- On the PC, open the Migration Assistant and click on “Continue”. If the Assistant detects any issue with the connection or battery, it will warn you with a message.
- A permission message appears on the PC to “Automatically Send” or “Don’t Send” to share app usage with Apple.
- When the Migration Assistant searches for and connects to your new Mac, click on “Continue”.

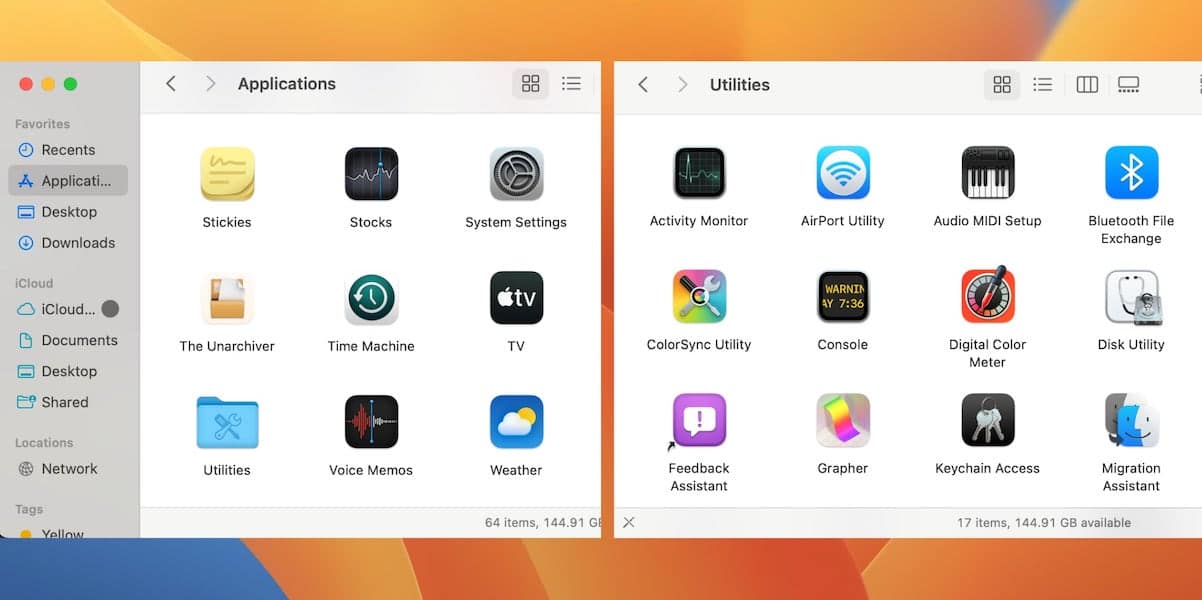
- On the Mac, open the Migration Assistant via the Finder > Favorites > Applications > Utilities > Migration Assistant.
- Select the “From a Windows PC” option from the “How do you want to transfer your information” list and click on “Continue”.

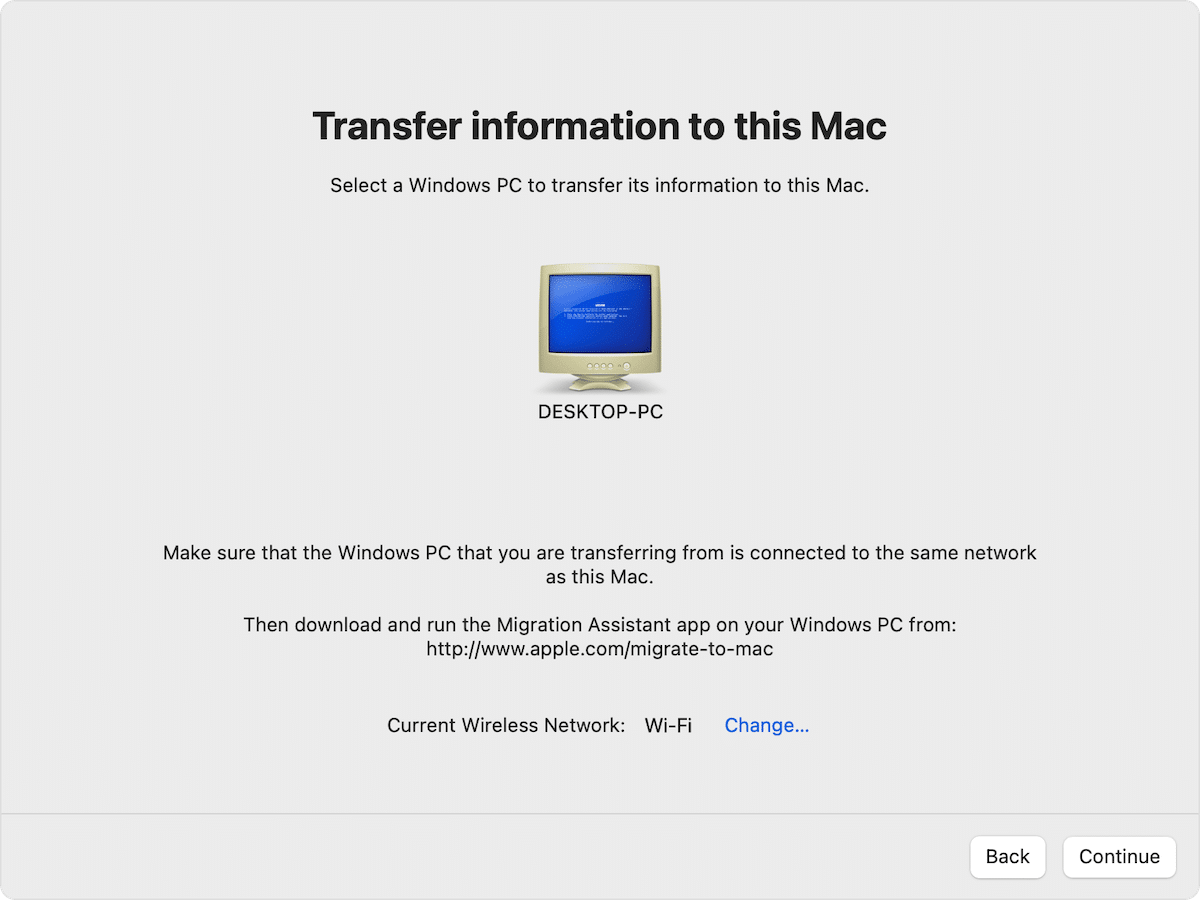
- Next, select the icon of your PC and click Continue.
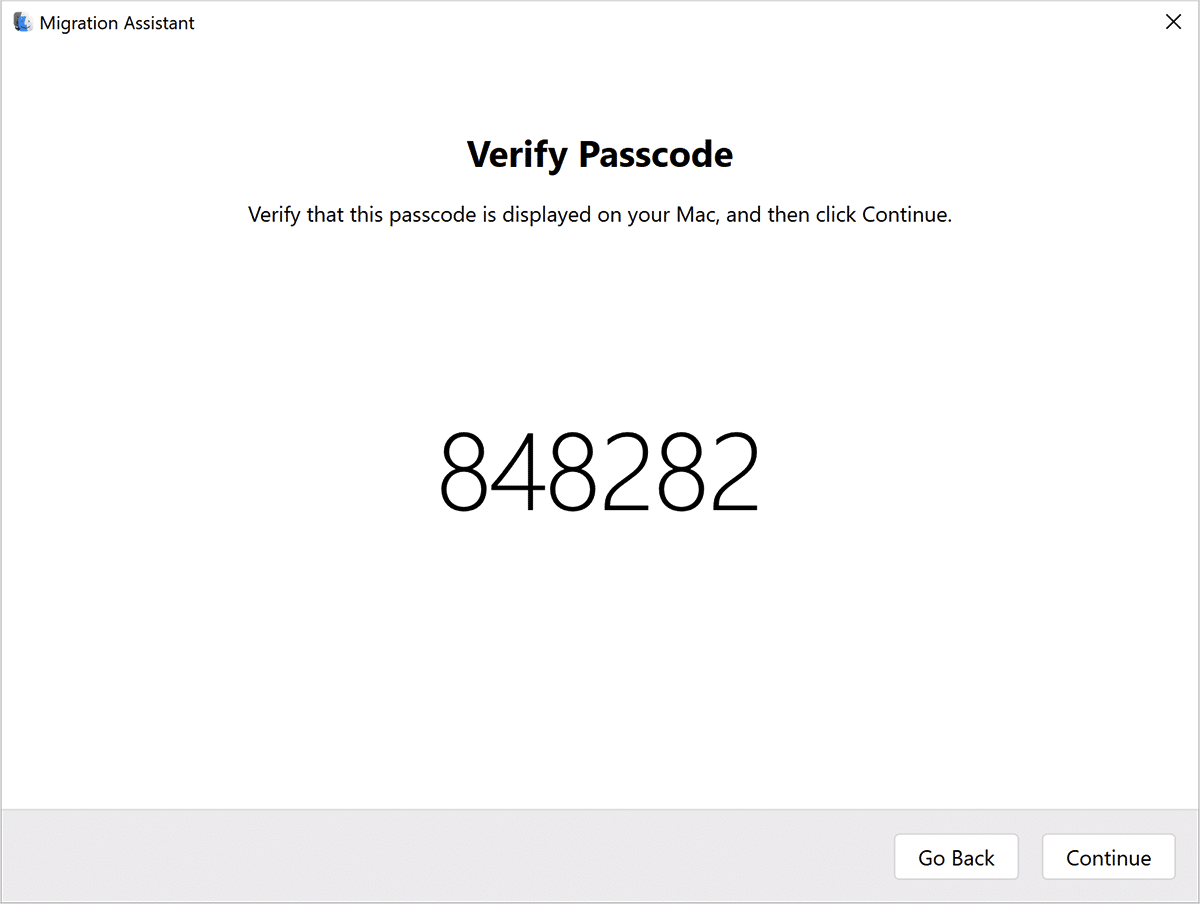
- Make sure the same passcode appears on both computers and click Continue.
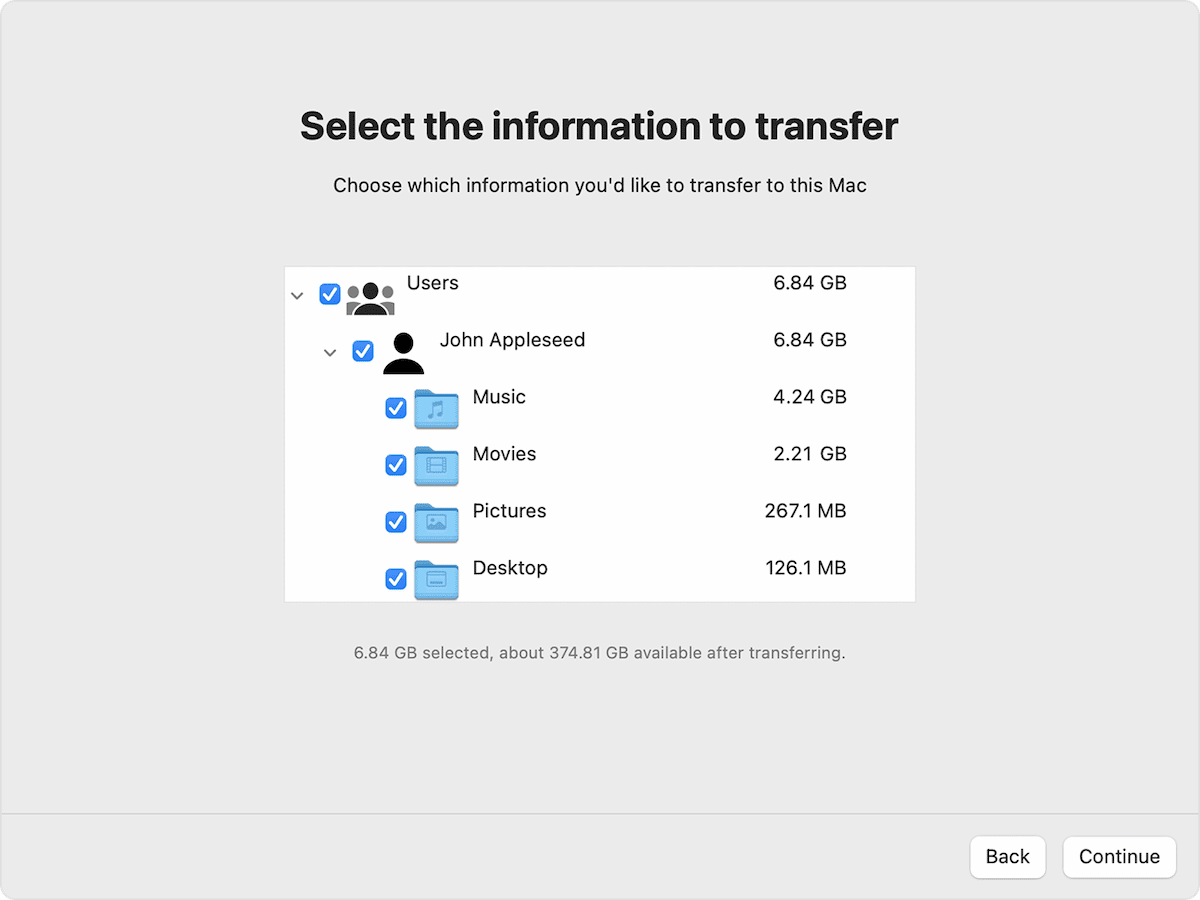
- On the Mac, select the information you want to transfer from the PC and click Continue to start data migration.
- Sign in to your new user account on your Mac when the transfer is done. The account uses the same username and password as the account on the PC.


Read More:
- How to migrate data to a new Mac from an old Mac
- How to find iOS apps compatible with Apple Silicon Macs in macOS Ventura
- How to make your PC easier to use with Windows 11 Accessibility
- How to add or remove Widgets to the Widgets Board in Windows 11
- How to easily increase performance on applications in Windows 11


