Here is how to organize your Start menu to your liking and manage your favorite apps in the Start menu on Windows 11.

This guide will show you how to add, remove, and rearrange your apps. You can group apps, remove recommendations, and change layouts and pins.
How to organize applications in the Start menu on Windows 11
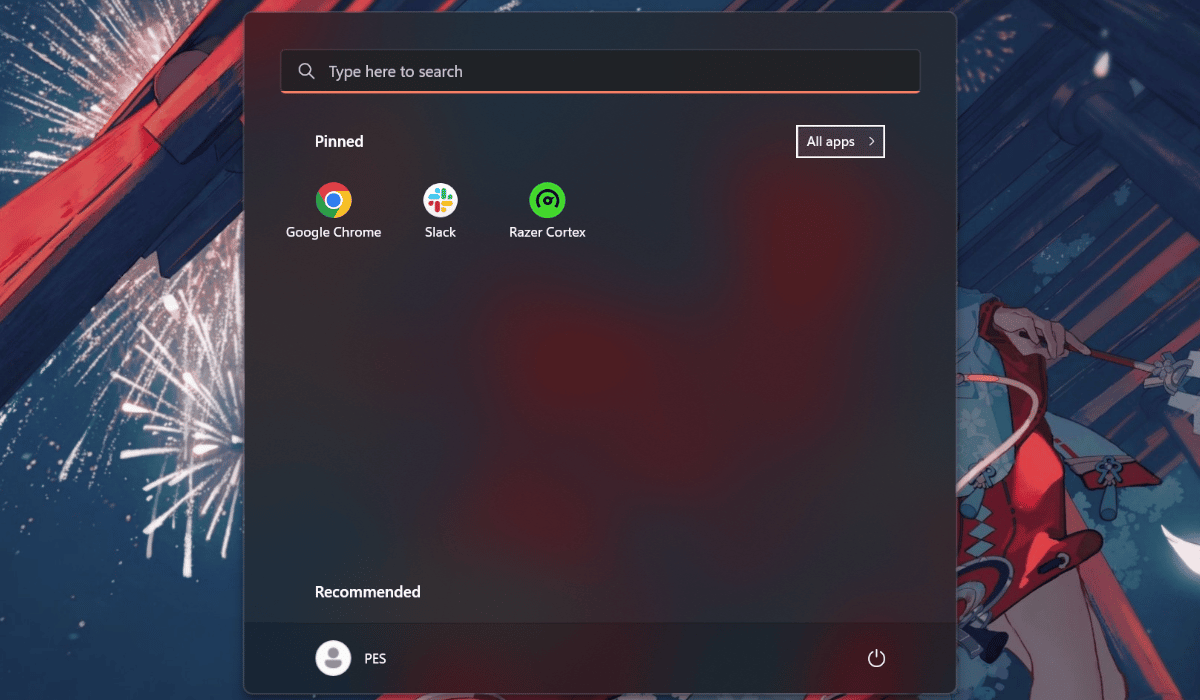
How to organize pinned apps
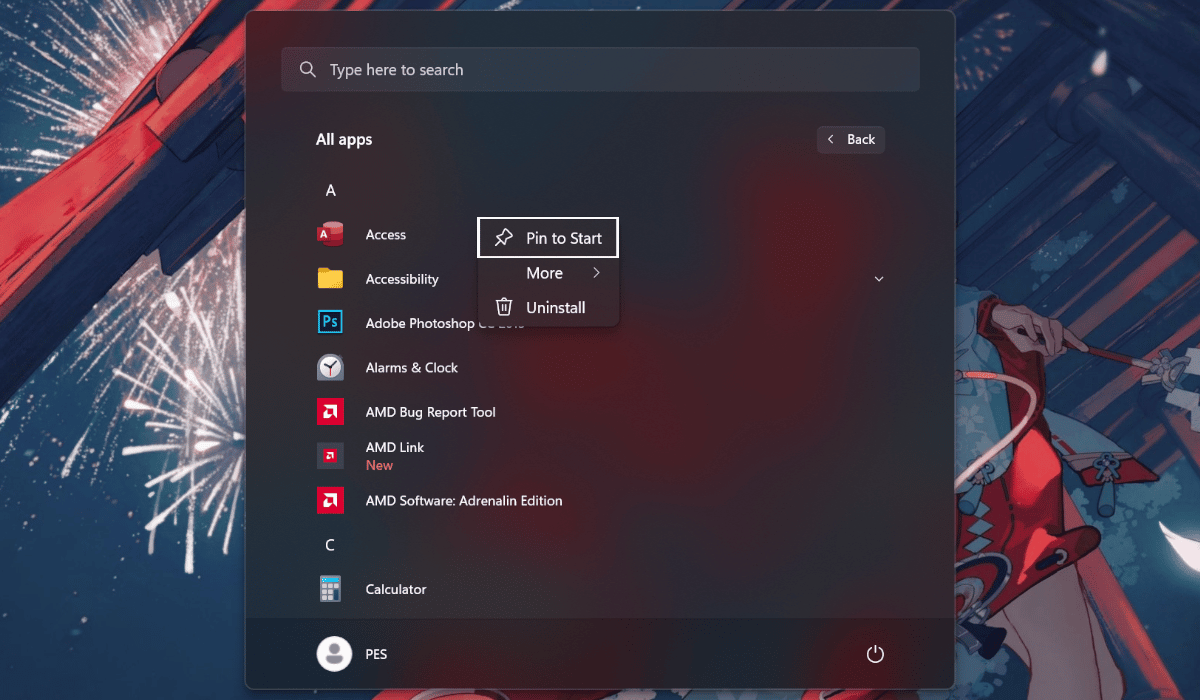
- Open Start > left-click All Apps top-right corner.
- Right Click > left-click Pin to Start option.
- Follow the same steps shown above to add more apps.


How to unpin apps from the Start Menu
- Open Start > right-click the app you want to remove > left-click Unpin from Start option.
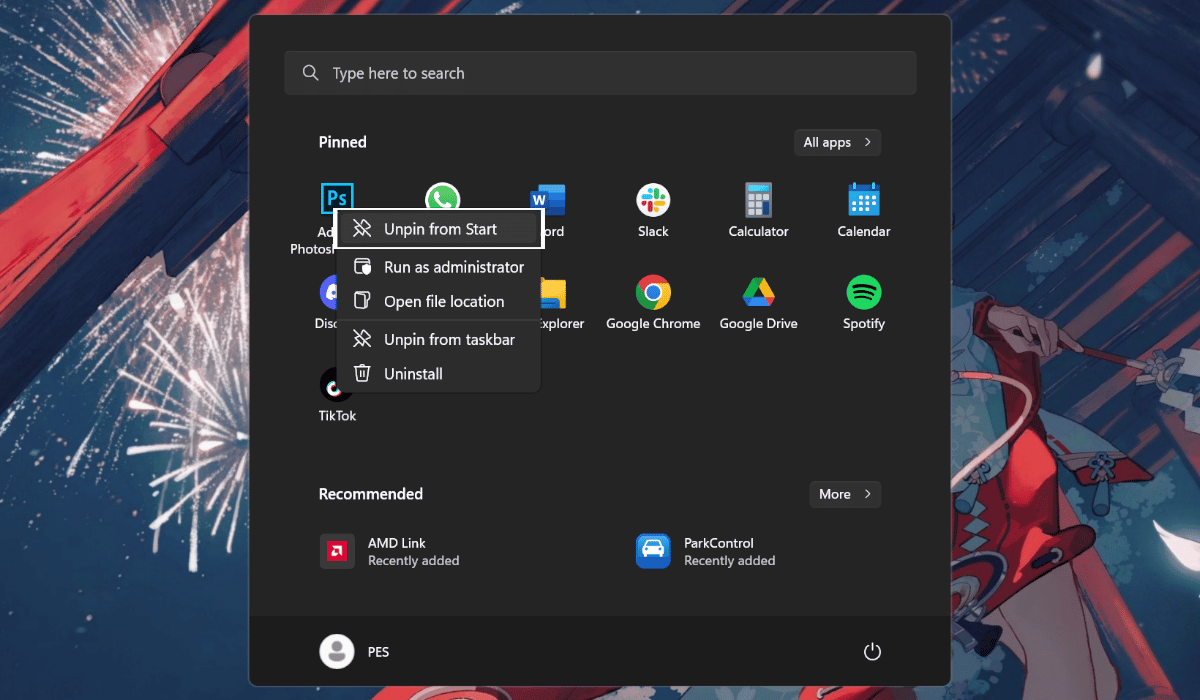

Quick Tip: Through this step, you can also uninstall the apps you don’t use to free up space.
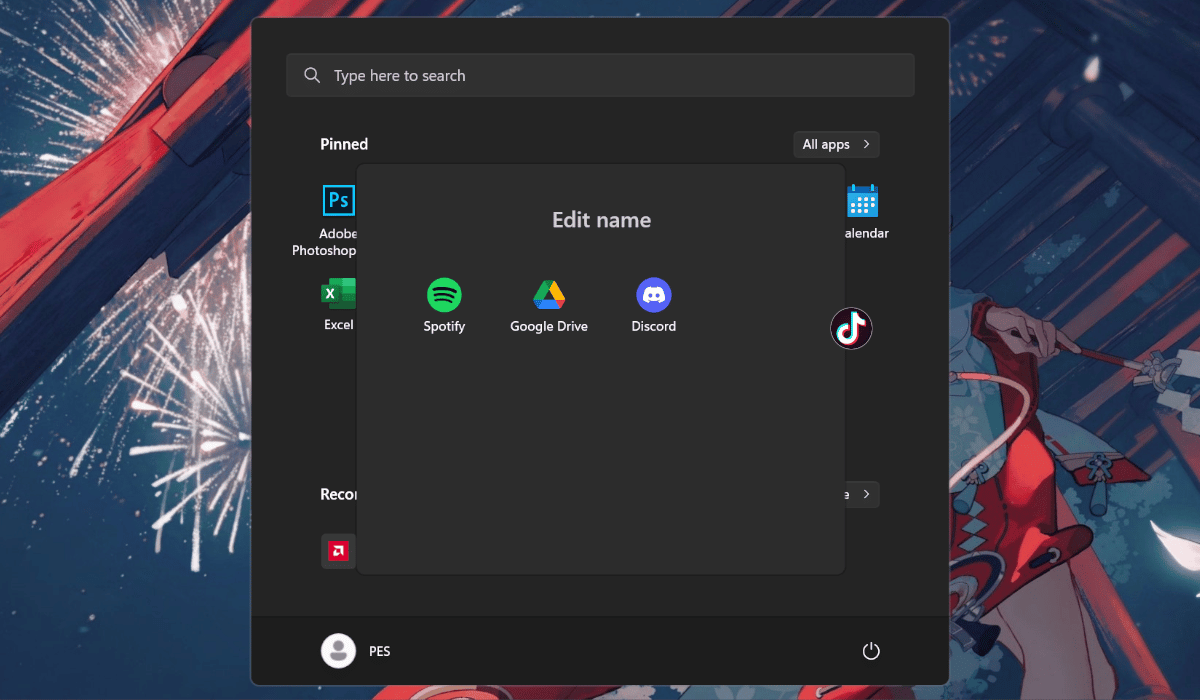
How to create folders and assign names to them
- Open Start > Drag > drop an app on top of another to create a folder.

- Left-click on the folder > left-click edit name option > assign a name to your app folder.
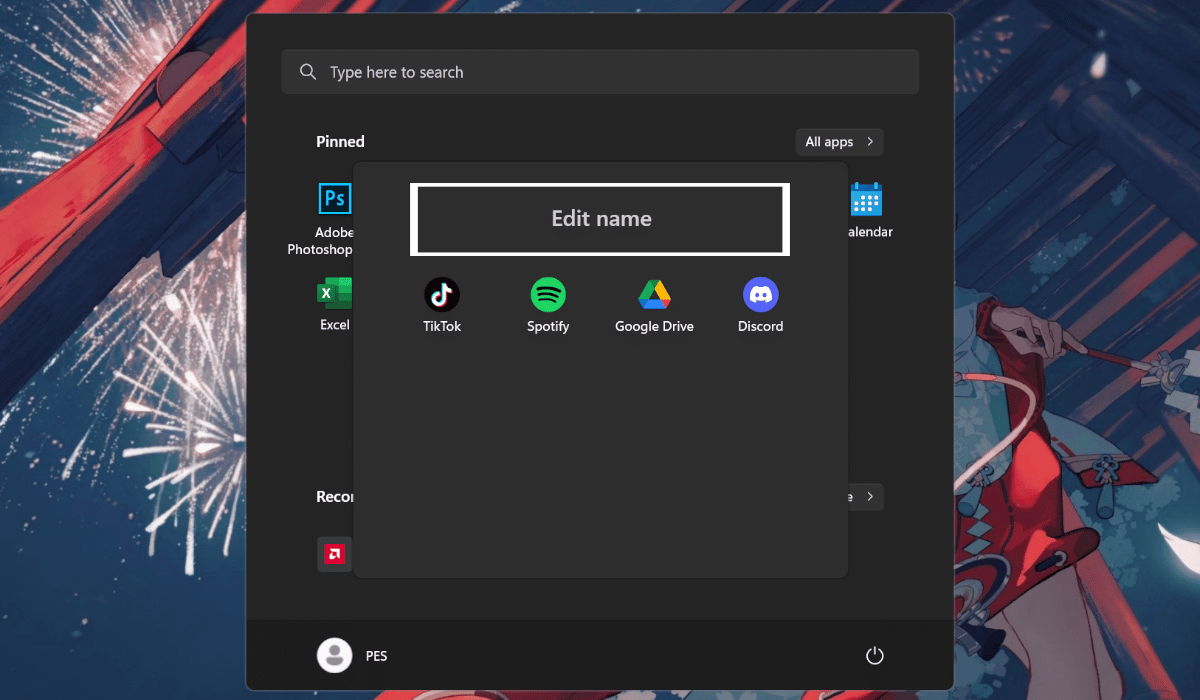
- To remove your app folder simply drag all apps out of the folder.


If you don’t like recommended apps and want to see less of them, follow these steps:
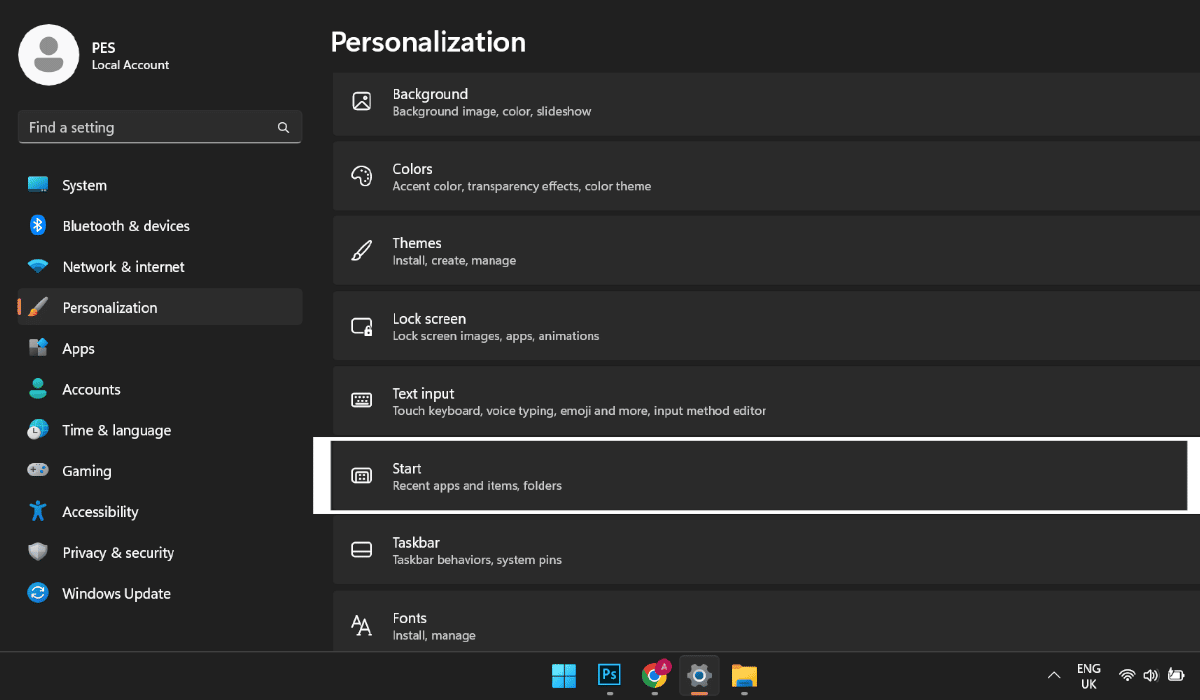
- Hold the Windows key on your keyboard and follow with the letter I to Open Settings.
- Left-click on Personalization > left-click the Start page on the right side.
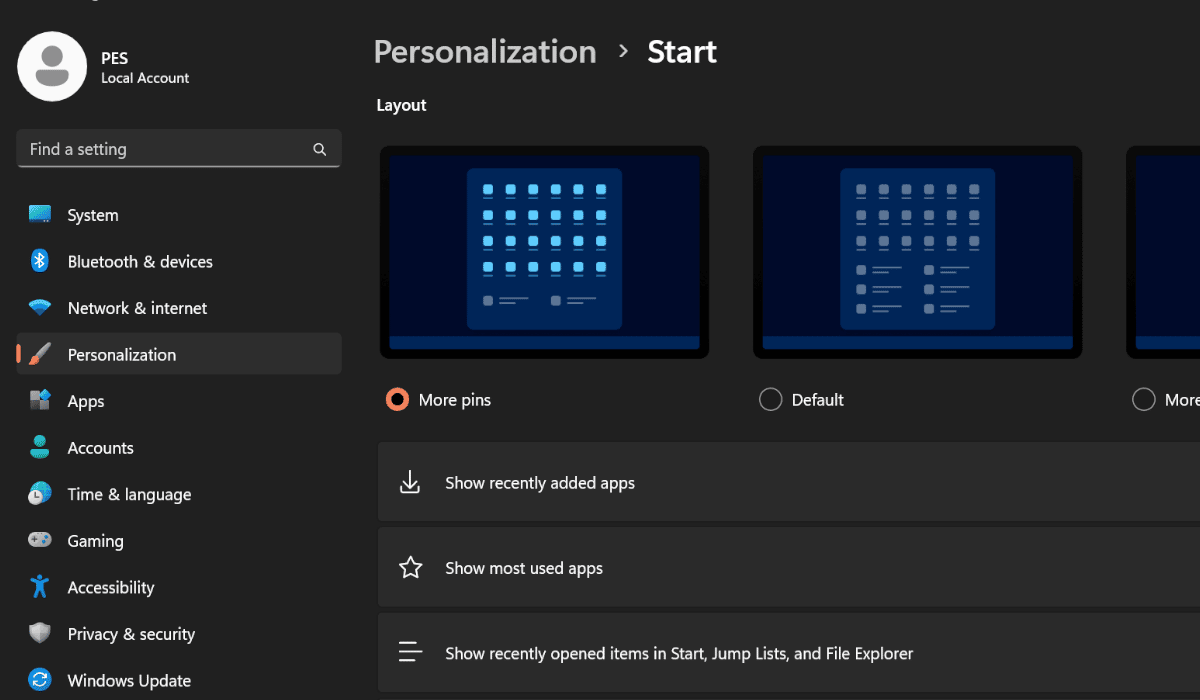
- Under the “Layout” section > left-click the More pins option to add two more rows of pins and only one row of recommendations.


If you don’t have some of the following features, like, the app folder or you are not able to change the Start menu layout, it’s because you not running the latest version of Windows 11 (2022 Update).
We hope this guide makes it easier for you to organize your Start menu to your liking.
Read more:
- Windows 11 runs faster on M2 MacBook Air than Dell XPS 13 Plus laptop
- Microsoft releases Windows 11 Build 22621.457 to the Release Preview Channel
- Windows 11 might be available on Apple Silicon Macs after expiration of Microsoft and Qualcomm secret deal
- Windows 11 22H2 update coming next month with new Task Manager, Start Menu folders, and more


