Microsoft updates its Windows 10 operating system via regular updates. As necessary as the updates are to run devices on the latest version of the software, not all users prefer to update their computers at the same time when the update is pushed to their system. Users are often annoyed by the unsuitable timings of system updates in situations such as during a task, call, or other important activities.
Microsoft users cannot stop their systems from receiving the updates but luckily, they can pause them. We have written down easy-to-follow steps for you to delay the upgrading process for days.
How to pause updates on Windows 10
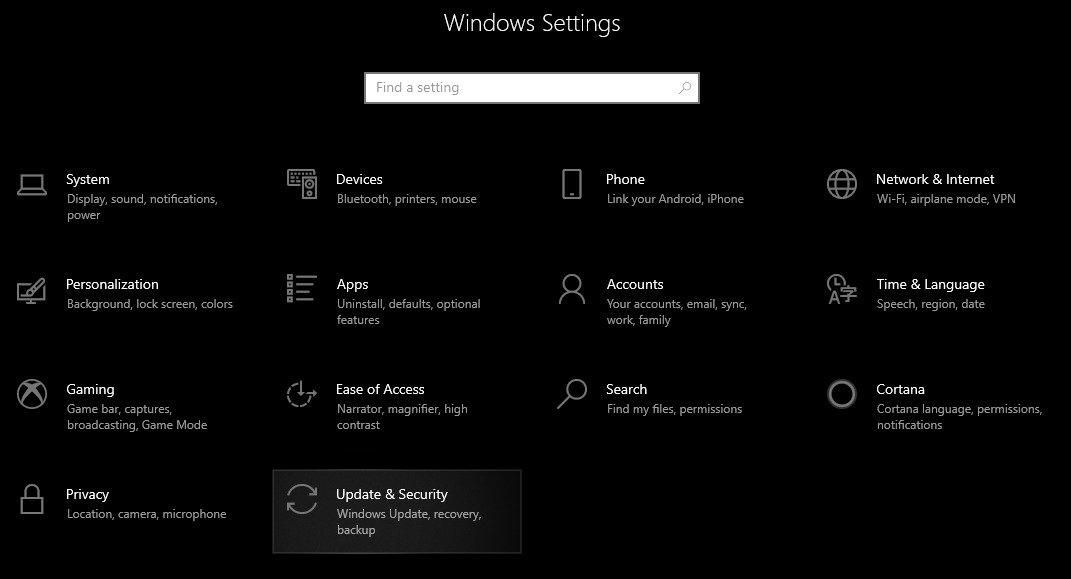
- Click on the start button at the bottom left of the screen and select Settings from the menu.
- In the Settings app, click on Update and Security > Windows Update.
- In the Windows Update interface, click on ‘Pause updates for 7 more days’ to postpone the software upgrade for the system. To delay the update for more days, repeat the pause procedure by clicking on ‘pause updates for 7 more days’ in the Settings interface. By repeating these steps, users can delay the update for more than 4 weeks.
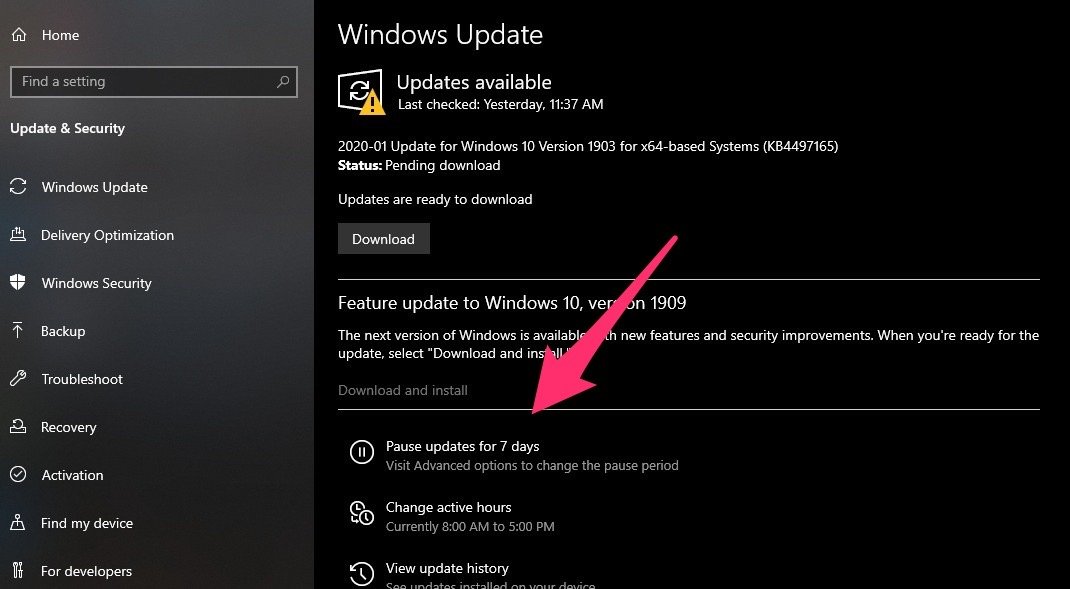


Furthermore, users can also schedule the delay by selecting a specific day via ‘Advanced options’.
- Click on the ‘Advanced Options’ button at the bottom of the Windows Update interface.

- Select a date from the dropdown menu under ‘Pause update’.
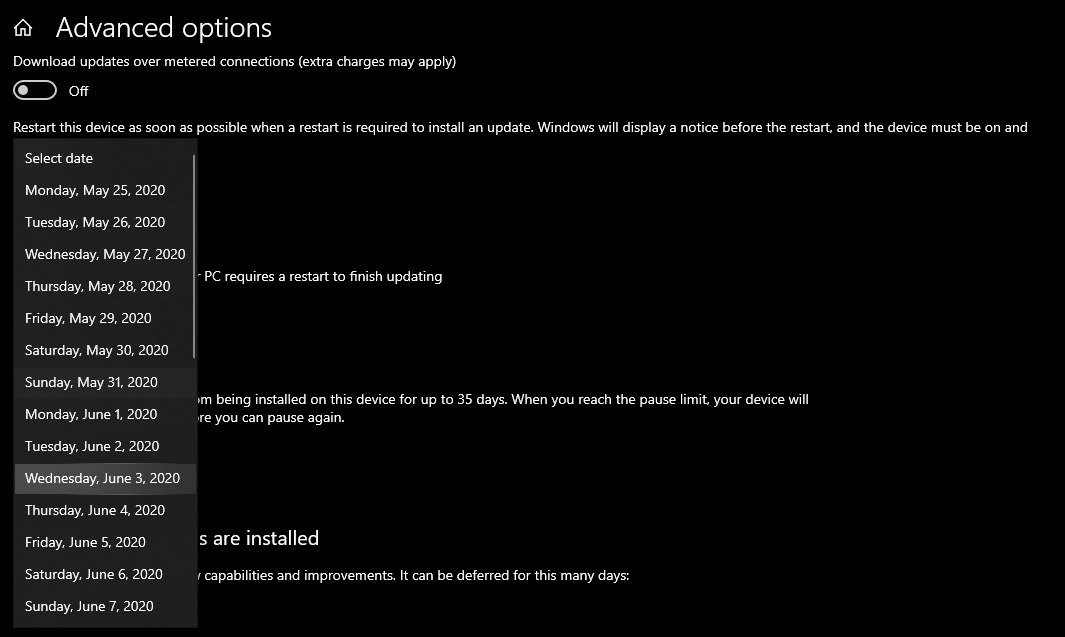


Users can pause the system’s upgrade for up to 35 days. After the lapse of 35 days limit, users will have to upgrade their computers before they can pause newer updates.
How to resume Windows 10 updates
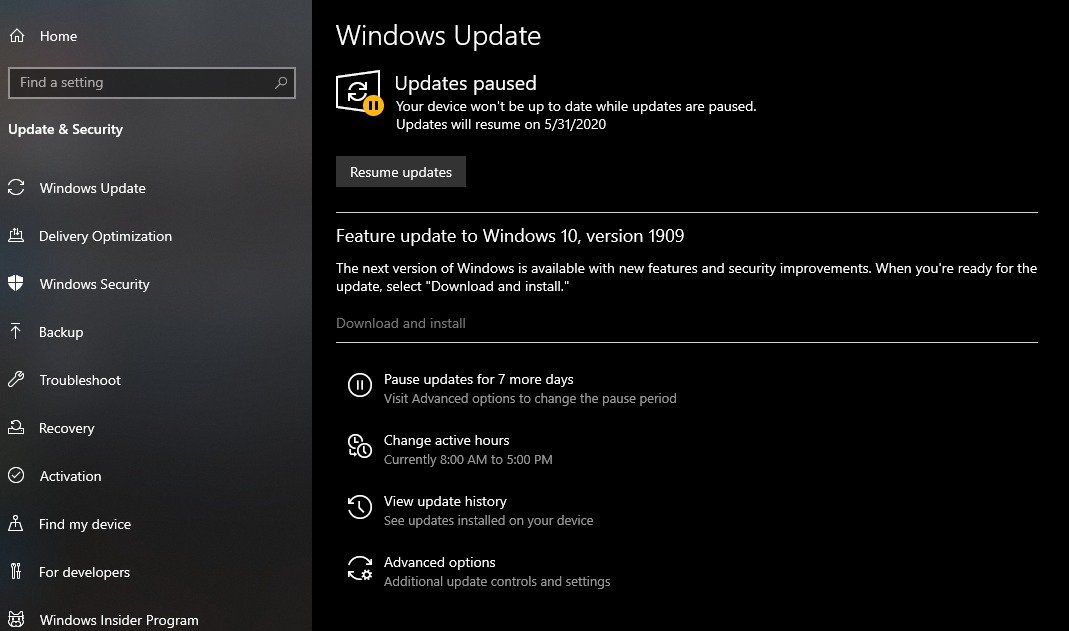
Upgrading your PC to the latest version of the operating system is important to keep it secure and functioning without bugs. Users can resume the upgrade process within 35 days of pausing it.
- Click the ‘Resume updates‘ button at the top of the Windows Update interface.

Schedule Restart timings
Restart is the last step in a PC’s update process which is automatically initiated. If, for some reason, the system does not restart, users can manually carry out the operation by clicking on the ‘restart now’ option on top of the Windows Update interface.
Users can also control the restart time by scheduling it in the same UI.
- Click on the ‘Change active hours’.
- Click the ‘Change’ option in front of the current active hours to set the start and end timings of using the device.
- After setting active hours timings, click on the ‘Save’ option to apply the changes.
By specifying start and end timings, users notify the system of active hours on the device so that it automatically restarts after an upgrade, without interrupting work.
Users can download Windows 10 Pro here.
Read Also:


1 comment