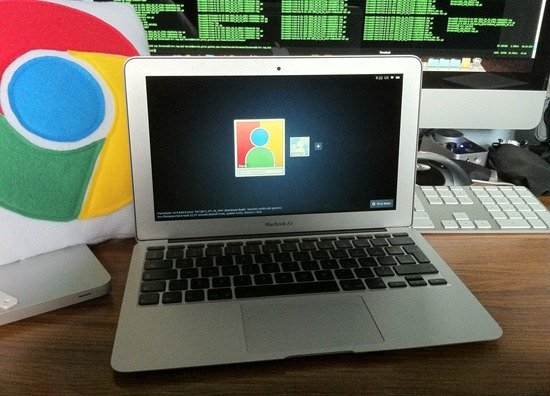
You can now run Google Chrome OS on your Macbook Air. This is a step-by-step guide on how to do it.
Google Chrome OS laptops were released in June of this year. Manufactured by Acer and Samsung, even though they only ran a browser you had to pay (roughly) the same amount of money to purchase a Chromebook or an ordinary Windows notebook. But, Google still claims their laptops are better, as they boot faster, they are more secure and eliminate any hassle.

Before anyone wants to go out and purchase a Chromebook, they’ll probably want to try it out and find out if it’s reasonable paying that hard earned money for a laptop that only comes with a browser.
DISCLAIMER: We at iTD have not tried this out, and therefore cannot ensure that this process will go smoothly in your case.
We recommend novice users NOT to try this, unless they are aware of what they’re doing. As this can really screw up your computer.
This tutorial will DESTROY ALL OF YOUR DATA, so make sure you have backed up all of your files. We at iTD are not responsible for any data loss, or any other damaged occurred during this process.
Before you get started, you will need:
- A 2GB USB Memory stick
- Mac OS X install USB stick (comes in the box with Macbook Air)
Follow the steps below to get Google Chrome OS running on your Macbook Air:
- Download the installation image here
- Now, extract the contents of this image by your decompression tool of choice.
- Burn the extracted image to a USB stick using dd.
- Switch your Macbook Air off, and then stick in the two USB drives.
- Hold the “C” key down, while you also press the power button. Once, the Apple logo has come up, you can let go of the “C” key.
- Then follow the on screen instructions, such as selecting the language of choice.
- Once you reach the installation wizard, click on “Utilities” on the bar at the top and then “Terminal”.
- Then type the following commands (without the quotes of course)
- “umount /dev/disk*”
- “dd if=/dev/rdisk1 of=/dev/rdisk0 bs=4m count=512”
- “bless –device /dev/disk0s2 –setBoot –legacy”
- When a screen comes up with something like “x bytes copied in y seconds”, hold down the power key until your Macbook turns off.
- At this time, you should remove both thumb drives.
You can now turn on the machine, by pressing the power button and in around 22 seconds your machine will be fully* working.
*At this point, everything works apart from Bluetooth, due to no support for it in Google Chrome OS. Other than that your Macbook Air should be fully functional. (via Hexxeh)