In macOS Sonoma, you can convert images (PNG) or HEIC photos to JPEG easily to share them online.

Different websites and digital platforms support different formats for images like PNG, JPEG, HEIC, TIFF, and others. The most commonly used image files are JPEG and PNG. HEIC, or HEIF is used by Apple users only.
Portable Network Graphic or PNG files are higher quality digital images than JPEG files. As they can handle up to 16 million colors, PNG files are mostly used by web designers for logos, online graphics, and charts. However, PNG files are a lot larger in size than JPEG which take up a lot of storage and slow down the page loading time and response.
High Efficiency Image Container or HEIC compression format was introduced in iOS 11 and macOS High Sierra was the standard image on Apple devices. Photos taken on iPhone or iPad are saved as HEIC files in higher quality while taking less space than JPEG. However, the HEIC format is not widely adopted outside Apple’s ecosystem and many platforms do not support HEIC files.
On the other hand, JPEG (Joint Photographic Experts Group) is the most commonly used internet media type for digital images because the compression adjusts the file with a selectable tradeoff between image quality and storage size. This format has widespread usage.
In this guide, you will learn how to quickly convert images (HEIC or PNG) to JPEG.
Here is how to convert PNG image to JPEG in macOS Sonoma
You can use the Preview and Finder apps to convert digital image formats.
How to convert image format in the Preview app
- Open the image in the Preview app.
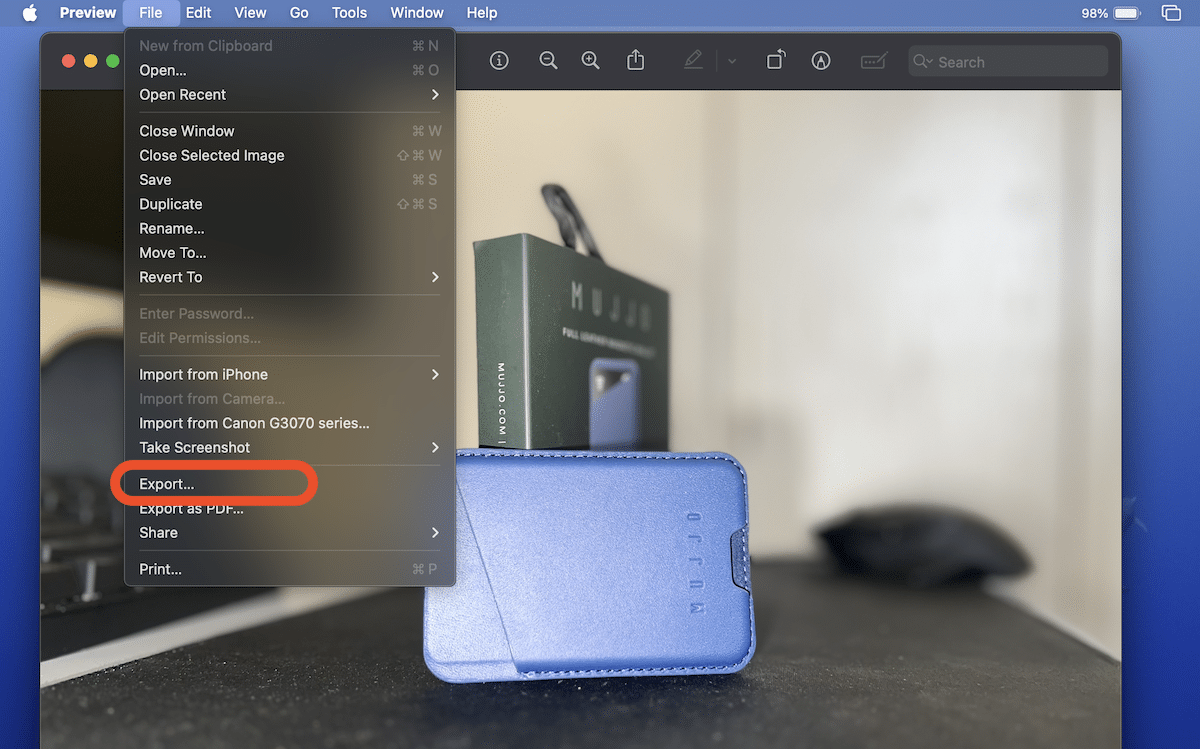
- In the Status bar, click on File > Export.
- In the pop-up menu, click on the field in front of the “Format” option.
- Select the file format from the drop-down menu like JPEG, HEIC, JPEG-2000, PDF, PNG, TIFF, and OpenEXR.
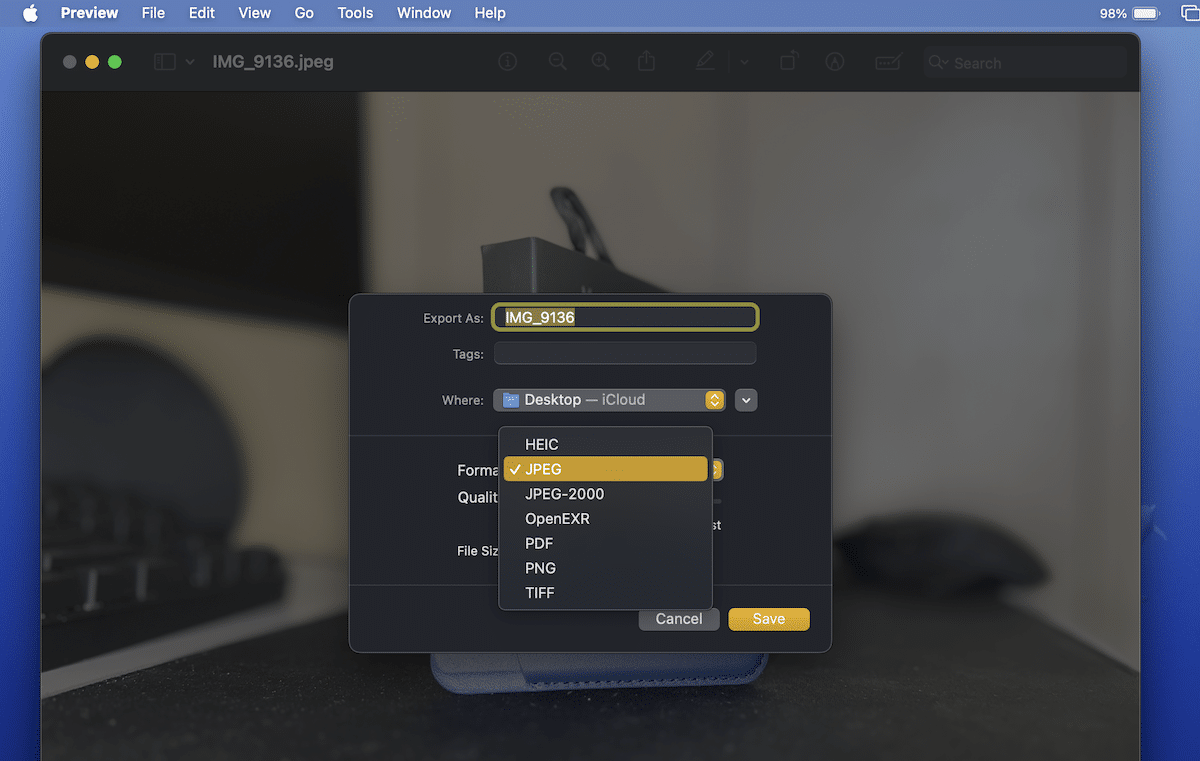
- You can also select the quality of the image from least to best.
- Click “Save” to complete the process.


How to convert image format in the Finder app
- In the Finder app, select the columns or gallery view to display the images.
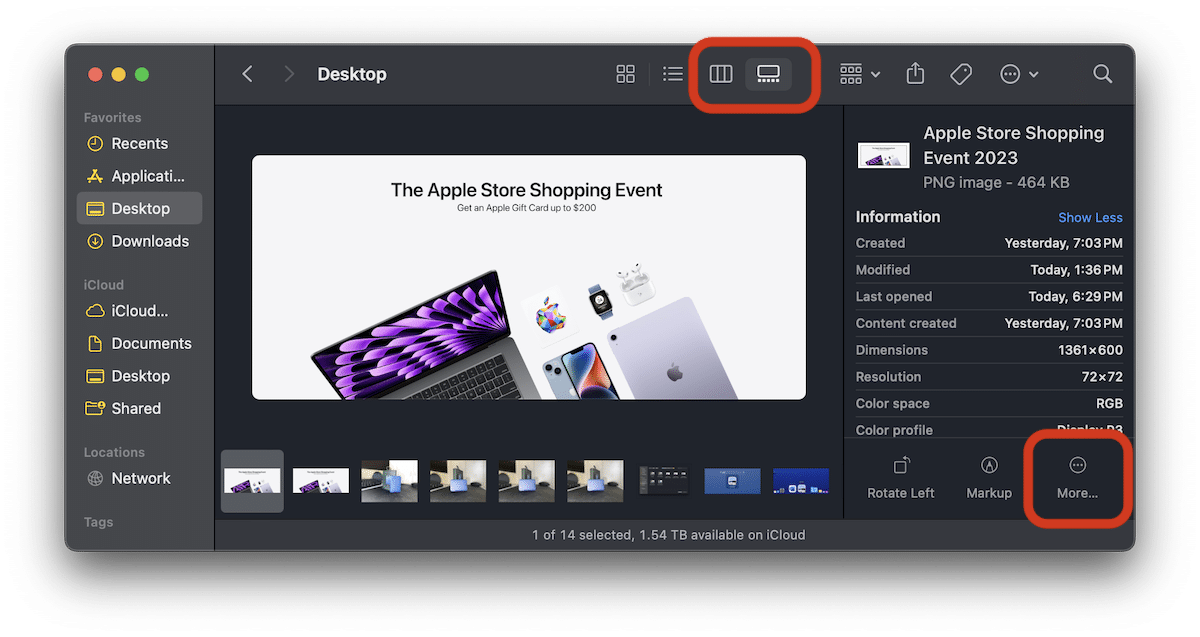
- Select the image, and click on the “More” button.
- Click on the “Convert Image” option.

- Select JPEG, PNG, or HEIF file format.
- Click the “Convert” button to complete the process.
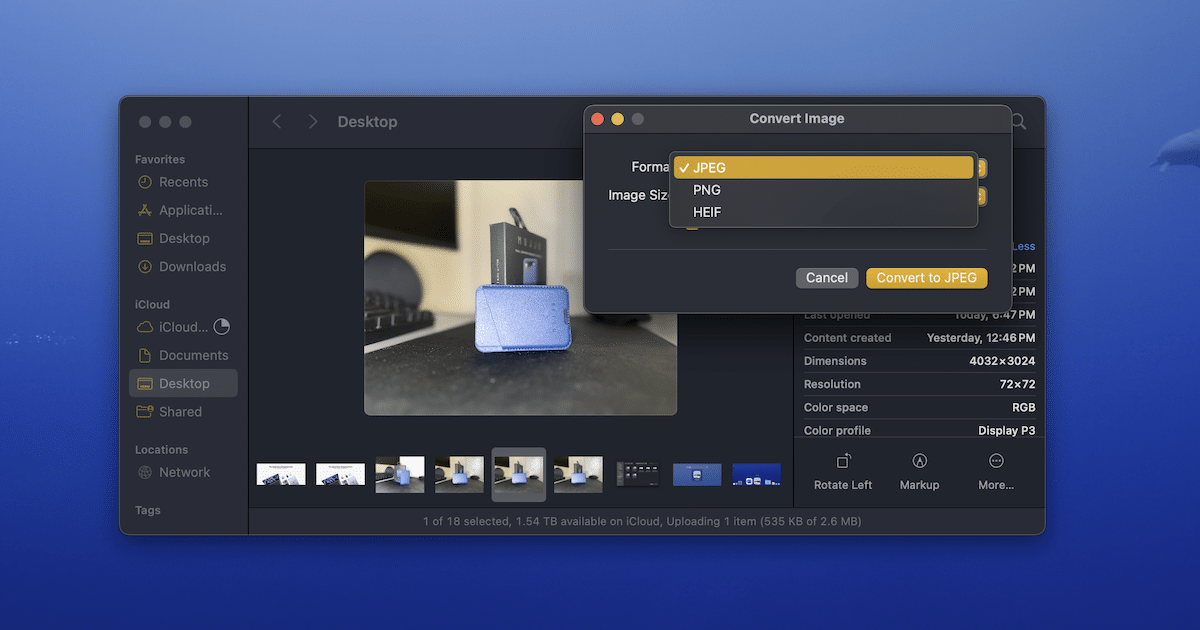


Keep in mind that the Finder app offers JPEG, PNG, or HEIF formats only while the Preview app offers more options like JPEG, HEIC, JPEG-2000, PDF, PNG, TIFF, and OpenEXR.
Read More:


