Here is how you can clean install macOS Monterey on a Mac to get the best performance and trouble-free experience with Apple’s latest desktop operating system. This guide involves data backup, creation of a bootable macOS Monterey USB installer, formatting Mac drive, and reinstalling the operating system.

Clean install macOS Monterey on a Mac
Although upgrading macOS is very easy, sometimes it can result in issues possibly due to third-party apps, operating system bugs, and so on. This guide can help you clean install macOS Monterey which can often resolve various performance issues, app crashes and get rid of the dreaded spinning beach ball.
Requirements
Before you start, here is what you need:
- Back up your data. It is always a good practice to back up your data. Since we will be performing a clean install, all your data will be wiped from your Mac. You can either use an external drive, or move your files to iCloud, Google Drive, OneDrive, Dropbox, or any other storage provider of your choice.
- USB drive, at least 16GB in size. This will be formatted and set up as a bootable installer for macOS Monterey. The file size for the installer is 12GB+ so a smaller USB drive won’t work.
- Make a list of the apps that you use on your Mac, as well as the license keys and logins. This will help you in easily reinstalling them later.
Compatible Macs
macOS Monterey supports the following Mac models:
- MacBook Air (early 2015 and later)
- MacBook Pro (early 2015 and later)
- MacBook (early 2016 and later)
- iMac (later 2015 and later)
- iMac Pro (2017 and later)
- Mac mini (late 2014 and later)
- Mac Pro (late 2013 and later)
You can also try and install macOS Monterey on unsupported Macs using some workarounds, but the results will be less than ideal in most situations.
1. Backup your Mac
If you do not have any important data on your Mac, you can skip this step.
However, if you have data that needs to be preserved, you can use any of the following methods:
- Use Time Machine to backup to an external drive. This is the preferred method as it is easy to restore data using Time Machine after the clean install.
- Manually move files to an external drive.
- Back up data to a cloud storage service. If you mostly use a browser like Chrome, Safari, or Firefox, your bookmarks, passwords, and other data will already be backed up to your Google, iCloud, or Firefox accounts, respectively. Just double-check to make sure that syncing was active in these browsers.
2. Create bootable macOS Monterey USB installer
The next step is to create a bootable macOS Monterey USB installer. You can follow our guide in the link to do so.
3. Reboot into macOS recovery mode
After you have prepared the bootable USB installer, it is time to reboot into macOS recovery mode.
- Shut down your Mac.
- Plugin the USB drive.
- Turn on your Mac, and press and hold the Option key until you see the startup manager. Select the bootable USB drive and press return.
4. Format Mac
When you are in macOS Recovery, follow these steps:
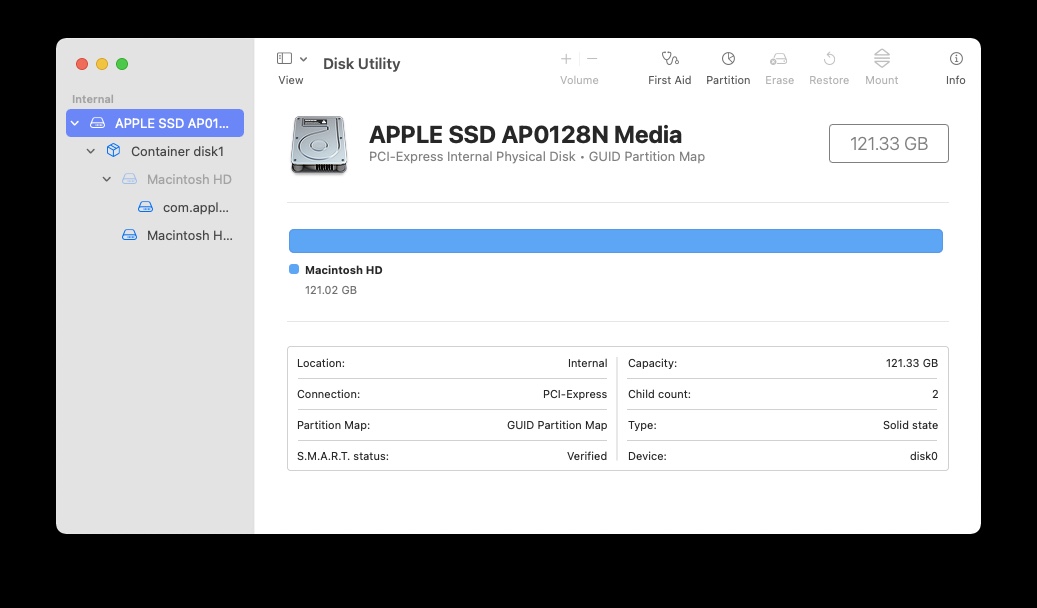
- Select your SSD drive from the left sidebar.
- Right-click it and click Erase. You can also click the button at the top right of the window to erase your drive.
- When you see the pop-up, enter a name for your drive, select format as ‘APFS’, and click Erase. Let Disk Utility do its thing.
5. Install macOS Monterey
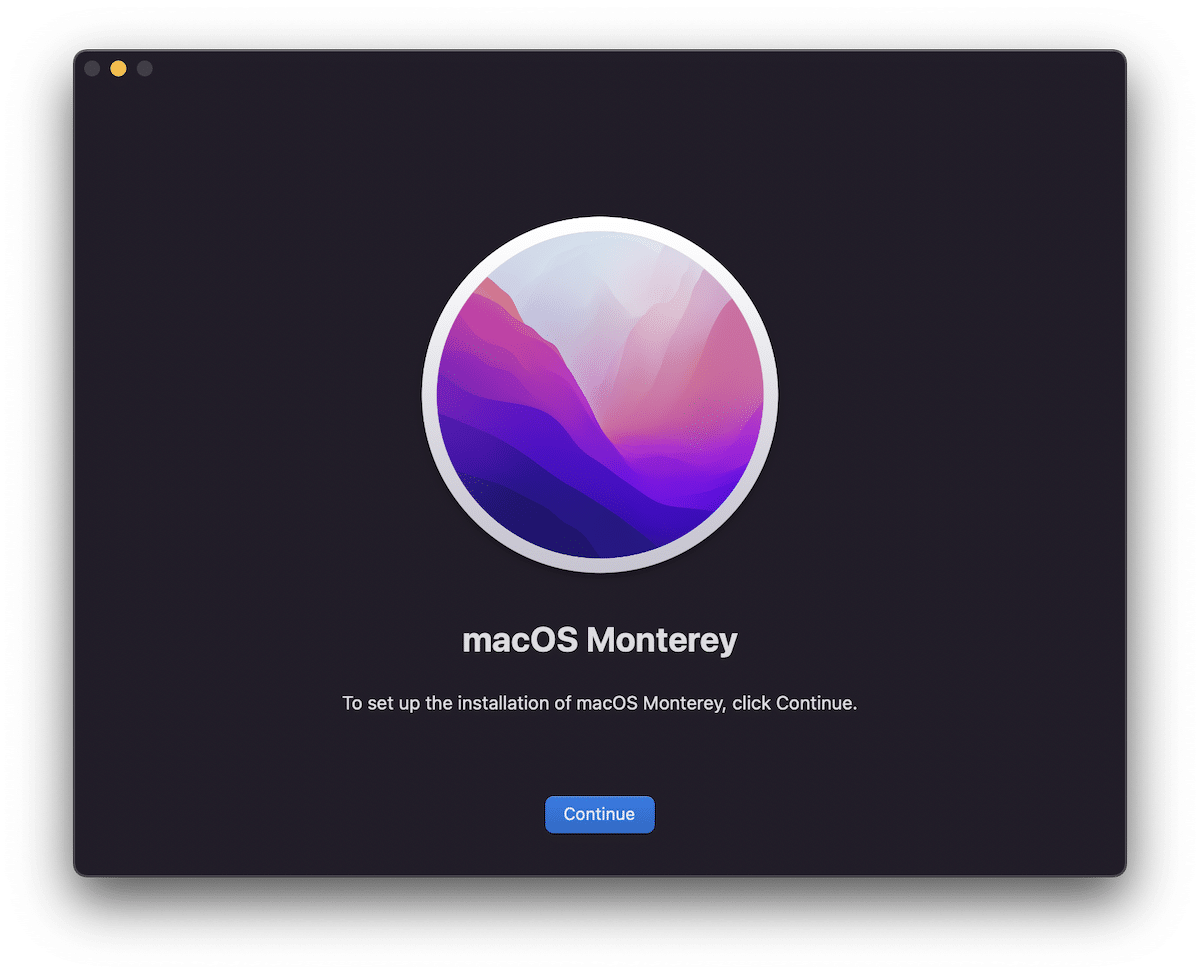
Now we will install macOS Monterey. Click on “Reinstall a new copy of macOS” in macOS Utilities. Click continue, agree to terms and conditions, select your Mac drive and click install. The installation process will take some time, and you will know its done when your Mac reboots and macOS shows up.

Now that the installation is complete, you can set up your Mac as normal. Remember to restore your data, and reinstall your apps.
Read more:
