This guide will show you how to downgrade from macOS Monterey to macOS Big Sur, whether you are on an Intel or M1 Mac. In case you do not like the new features that macOS Monterey has, feel that macOS Big Sur was better on your Mac, or any app that you regularly use works better on the older operating system, this will help you easily downgrade your operating system.

Downgrade from macOS Monterey to macOS Big Sur
With both Intel and M1 Macs, the method of downgrading or reinstalling an operating system is not as simple as it seems. If you have already been testing macOS Monterey on your Mac, restarting into Internet recovery will simply allow you to perform a re-installation of the same operating system, rather than let you install the operating system that your Mac shipped with.
The downgrade process requires that you back up all the data on your Mac, download a copy of macOS Big Sur, create a bootable USB drive, and clean install it on your Mac. Get some coffee as these steps will need some time:
Requirements
Before you begin, make sure you have the following handy:
- A Mac with macOS Monterey installed
- A 16GB USB drive or a portable flash drive for creating a macOS Big Sur installation disk.
- Cloud storage or external storage to backup your files
Backup your data
Since we are downgrading the operating system, we will have to wipe the drive before installing macOS Big Sur. Make sure that you either place all your important files in the iCloud folders, or in the online desktop and documents folders, or back them up to your service of choice. You can also use Time Machine to backup all your data to an external drive, which is what we will recommend as the best option.
To remember which apps you had installed, here is a simple trick: open Launchpad and take a screenshot of each of the pages. Keep these screenshots in any of the backup folders, so you can easily refer back to them later and reinstall the apps.
Download macOS Big Sur
Now that we will put that 16GB USB drive to good use. Downloading macOS Big Sur is not always as simple as downloading it from the Mac App Store. When the App Store determines that you are already on a newer operating system version, it usually shows an error. To work around this issue, follow our guide below:
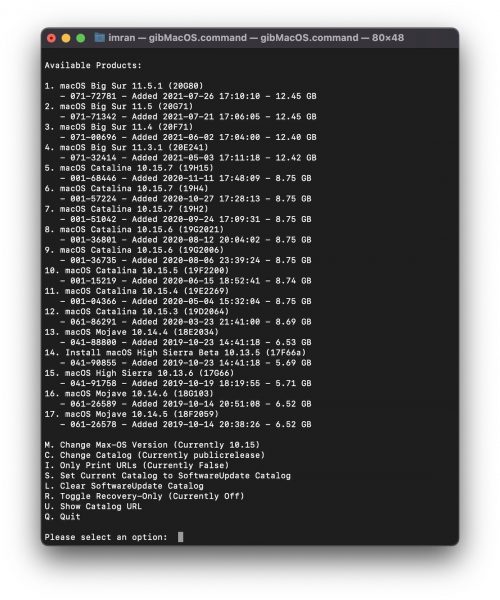
Alternatively, if you are an advanced user and feel comfortable with using the Terminal (no commands but just simple instructions), you can use gibMacOS. This command line based tool lets you download any version of macOS directly from Apple’s servers, including test builds like developer and public beta releases.

Once you complete the download using gibMacOS, go to macOS Downloads folder inside “gibMacOS-master” folder and run the InstallAssistant.pkg file for macOS Big Sur to show in your Applications folder.
No matter which path you take, once you have downloaded the installer for macOS Big Sur, make sure that the file is placed in the Applications folder.
Create macOS Big Sur Bootable USB Installer
Now that you have backed up your data and downloaded the macOS Big Sur installation file, we will create a bootable disk so that it can be used to install the OS on your Mac.
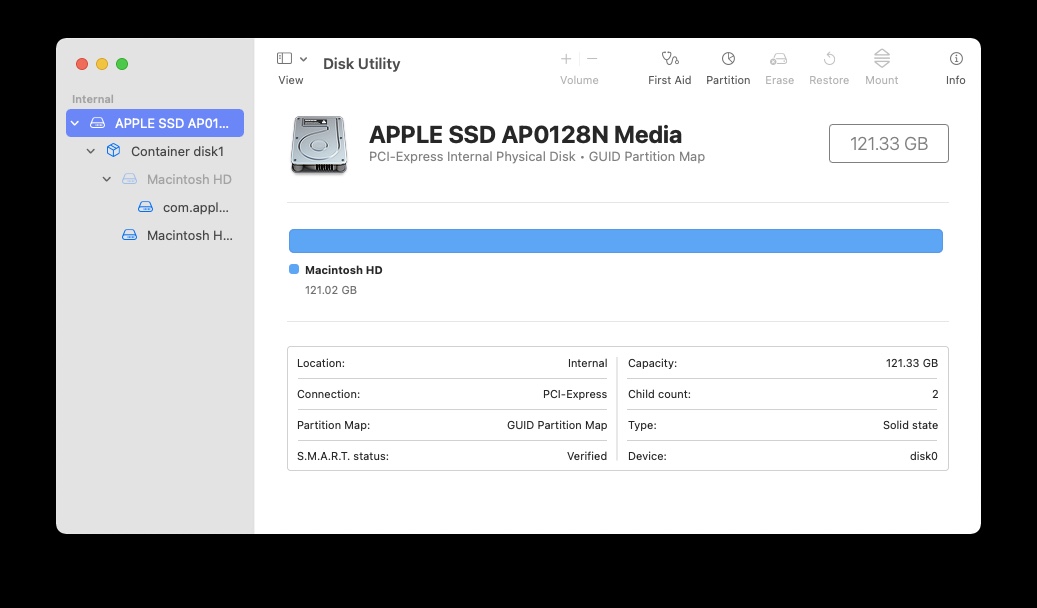
- Connect your USB drive to your Mac and format it using Disk Utility.

- Open Terminal in macOS. You can find it in the Applications folder on your Mac, or by opening Spotlight and searching for “Terminal”.
- Paste the following command in the Terminal window.
sudo /Applications/Install\ macOS\ Big\ Sur.app/Contents/Resources/createinstallmedia --volume /Volumes/BigSur --nointeraction - Hit the return key and let the process complete. Once it’s done, your macOS Big Sur bootable disk will be ready.
Install macOS Big Sur using Recovery
Shutdown your Mac and follow these steps to boot it into Recovery:
On M1 Macs
Press and hold the power key until your Mac boots up and shows you the Startup Manager.
On Intel Macs
Press and hold the Option key when your Mac is booting up.
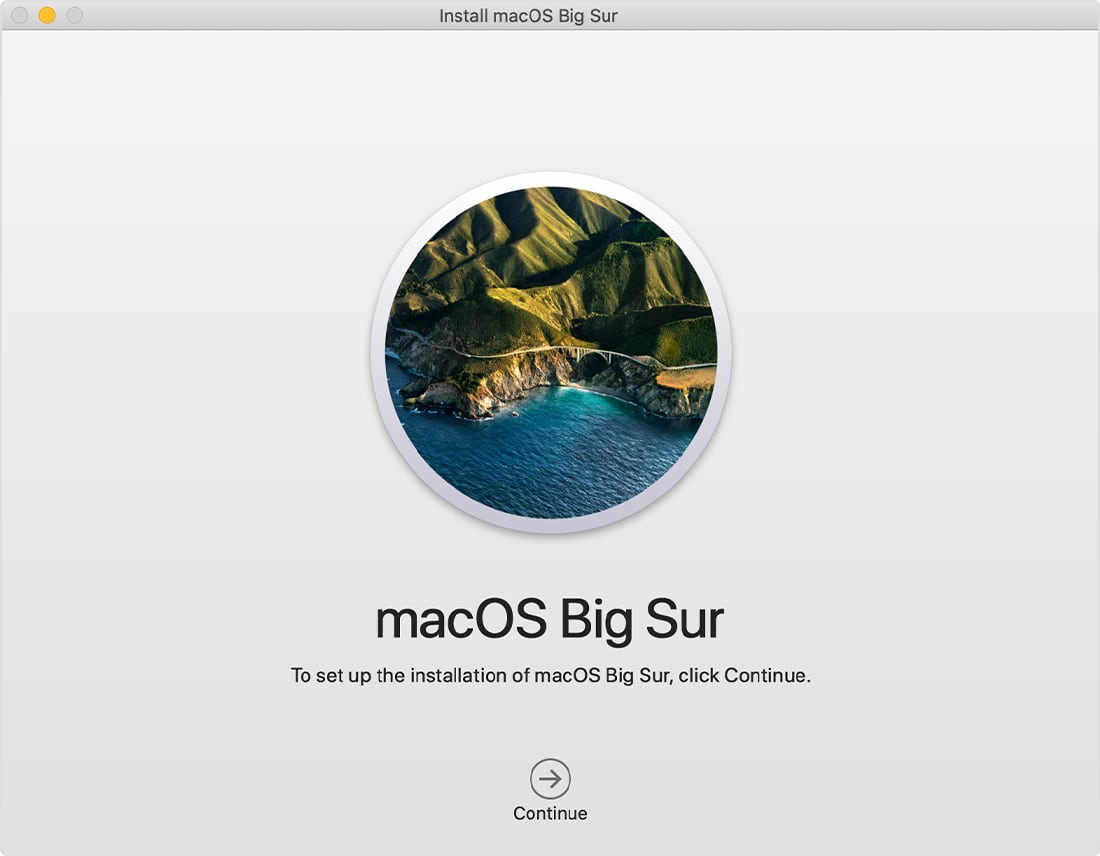
Once you see the Startup Manager, select the macOS Big Sur flash drive and hit return. This will take you to the macOS recovery from the drive. Once you are in macOS Recovery, open Disk Utility to format the drive. Use APF file format when formatting it. Once done, you can start the macOS Big Sur installer and follow the on-screen steps to complete the installation.

When the installation completes, make sure to restore your data using Time Machine, or the other sources where you backed up your data to. Remember to install your apps too using the screenshots you had taken earlier.
There you go, you have successfully downgraded from macOS Monterey to macOS Big Sur!
Read more: