In Windows 11, users can easily take a screenshot of the screen using Snipping Tool, and we will show you how.
The Snipping Tool is a built-in Windows tool that you can use to take screenshots. In Windows 11, the Snipping Tool has been merged with Snip & Sketch, so you can use the same tool to take screenshots and annotate them. The new Snipping Tool makes it easy to take screenshots without even having to open the app using the “Windows key + Shift + S” shortcut.
Here are some of the benefits of using the Snipping Tool:
- It is easy to use: The Snipping Tool is very easy to use, even for beginners. You can take screenshots in a few simple steps, and the annotation tools are also easy to use.
- It is versatile: The Snipping Tool can be used to take screenshots of any area of your screen, including entire windows, specific areas, or freehand shapes. You can also annotate your screenshots with text, arrows, and other shapes.
- It is integrated with Windows: The Snipping Tool is a built-in Windows tool, so it is always available and easy to access. You can open it quickly by pressing the Windows key + Shift + S.
- It is free to use: The Snipping Tool is a free tool that comes with Windows. You do not need to purchase any additional software to use it.
In this guide, we will show you how to use the Snipping Tool to take screenshots on Windows 11.

Here is how to easily take screenshots in Windows 11 with Snipping Tool
- Open Start, search for Snipping Tool and click the Open button.

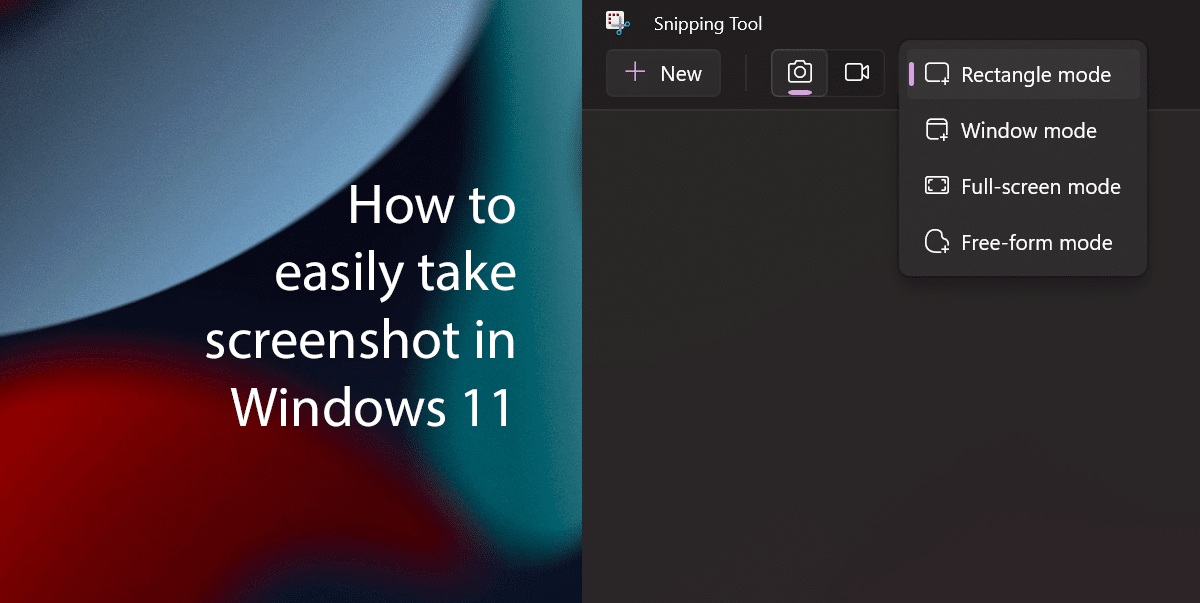
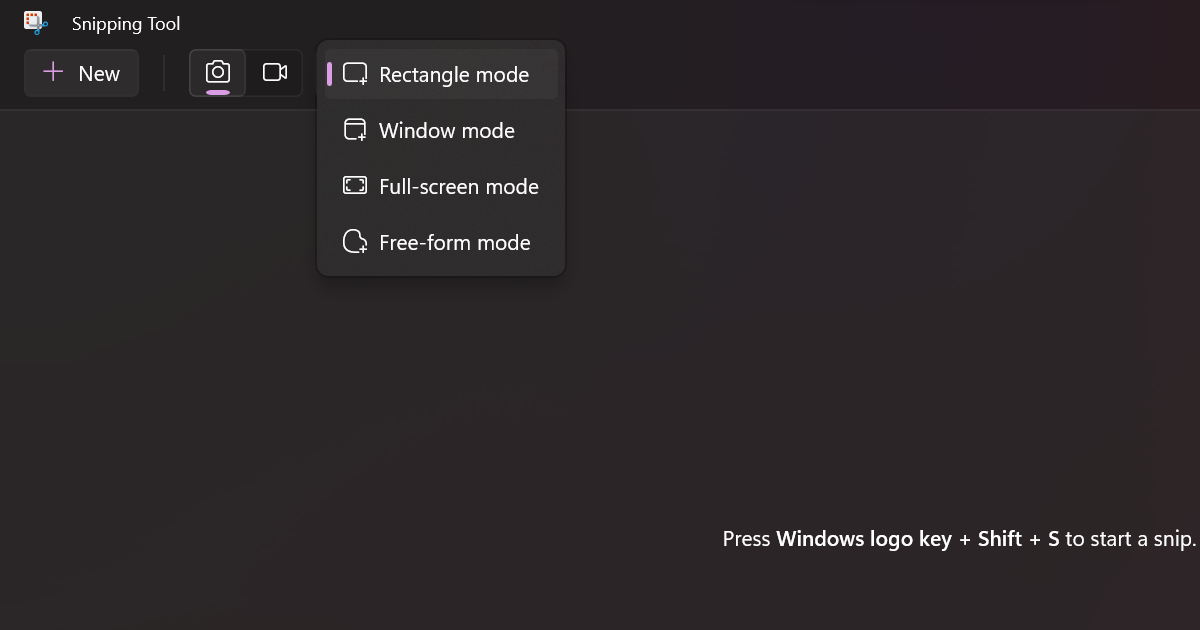
- Use the “Snipping Mode” drop-down menu and select the type of screenshot to take.
- Rectangle mode: Drag the mouse cursor around an object to form a rectangle capture.
- Window mode: Select a window to capture, such as a browser window or dialog box.
- Full-screen mode: Captures the entire screen.
- Free-form mode: Draw a free-form shape around an object.

- Click the New button.

- Select the region to capture, depending on the selected snipping mode.
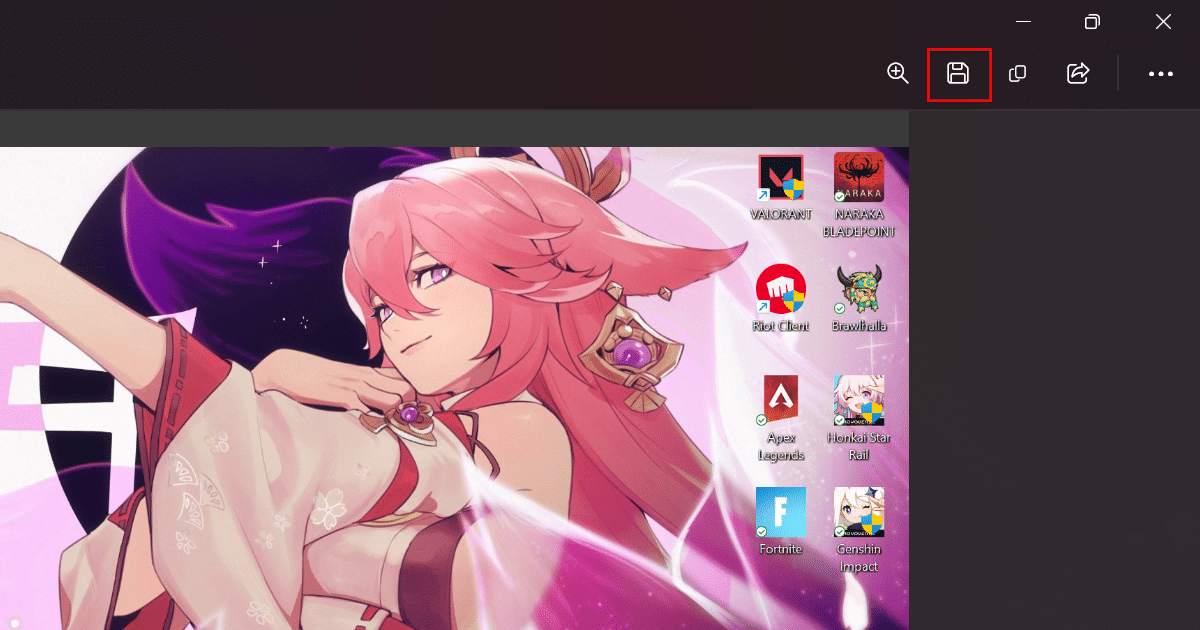
- Click the Save button in the top-right corner.

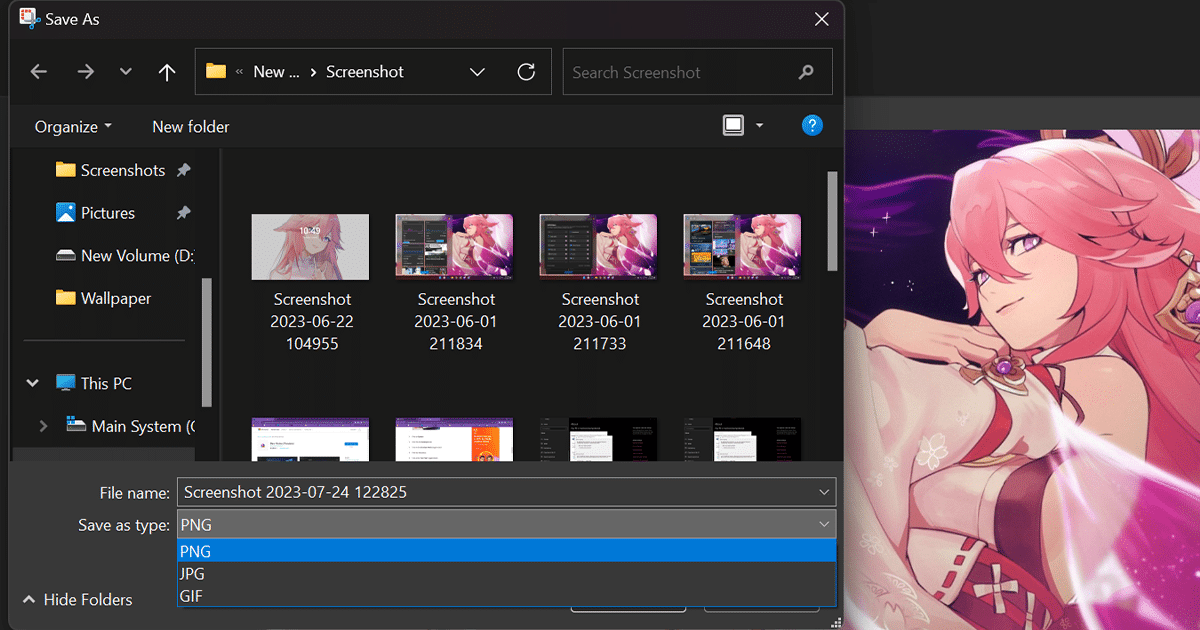
- Use the “Save as type” drop-down menu to select the image format, including JPG, PNG, or GIF.

- Click the Save button.
Read more: