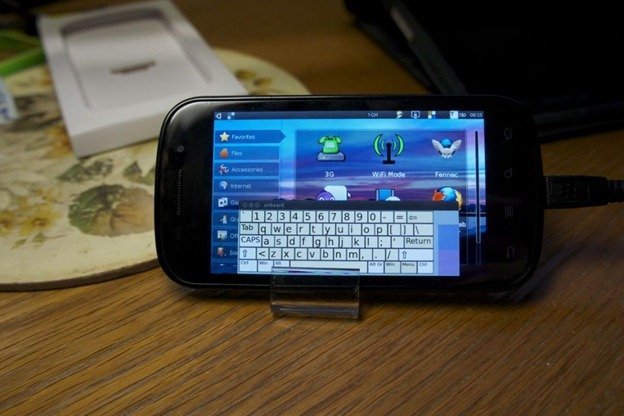
Developer Steven Troughton-Smith has managed to putt off another new hack on Nexus S. This time, he’s managed to get Ubuntu booting on Nexus S although the touchscreen doesn’t work yet due to kernel issues which he hopes to fix with MeeGo stuff.
How Steven got Ubuntu working on Nexus S is that he used an HD2 Ubuntu image (v0.3), loaded it to the internal memory. No flashing required.
We don’t recommend that you try this on your Nexus S if it is your daily driver since Ubuntu does not work very well on the device. It is just an experiment unless and until Ubuntu officially provides support for this installation procedure. We doubt that would happen as Ubuntu is not optimized for smartphones.
If you’re feeling adventurous and want to give it a shot, here’s a guide that can help you get going:
- Download Ubuntu for HTC HD2 version 0.3 ( download links at the end of this guide )
- Take the rootfs.ext2 file and drag it to your Nexus S in a folder called Ubuntu.
- Use fastboot to boot the following image: http://dl.dropbox.com/u/8657343/bootUbuntu.img
- Using ADB, push this file: http://dl.dropbox.com/u/8657343/xorg.conf to etc/X11/xorg.conf and reboot Ubuntu. This will fix the screen output.
As mentioned above, the touchscreen should be fixed soon. Meanwhile, you can enjoy Ubuntu on your Nexus S to some extent!
Nexus S is Google’s latest attempt at creating their own smartphone with a clean Android experience, all at an affordable price. Since the smartphone is developer friendly, hackers have been able to create a lot of different types of ROMs and even install other operating systems like Meego. Ubuntu is also running as an unofficial hack on Nexus S.
Steve was previously able to port MeeGo 1.1 to HTC HD2 as well.
Follow us on Facebook and Twitter and subscribe to our RSS feed for more!
2 comments