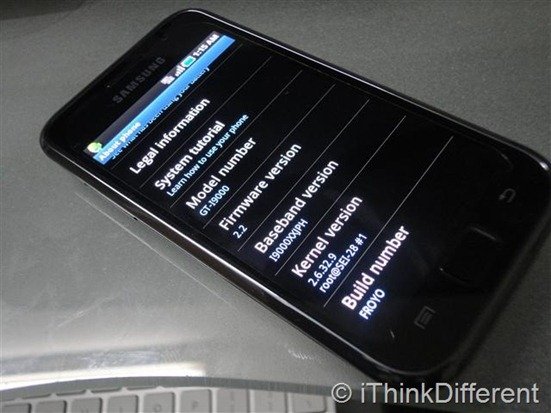
A few days ago, we showed you how to install Froyo Android 2.2 (JPC build) on a Samsung Galaxy S. A lot of users root Android phones to gain additional features and run apps that aren’t allowed to run normally. Rooting also allows you to install the One Click Lag Fix app that removes even the slightest lags you might encounter while using a Galaxy S, making it the fastest Android phone out there. It scores a staggering 2100-2300 points in Quadrant benchmark when running the official Android 2.1 build with LagFix installed. We showed you how to root Android 2.1 on Galaxy S in a previous post. In this post, you’ll learn how to root Android 2.2 on Galaxy S.

You’ll need to download Odin3 v1.30 and Root Kernel for JPH (zip file contains everything).
Follow these instructions then:
- Extract and copy update.zip (provided in download) to the root of internal sd-card of Galaxy S.
- Run Odin with auto reboot unchecked and loading the i9000_Kernel.tar as PDA.
- Put the phone into download mode (turn off and reboot holding the power button, volume down button and home button) and flash the i9000_Kernel.tar.
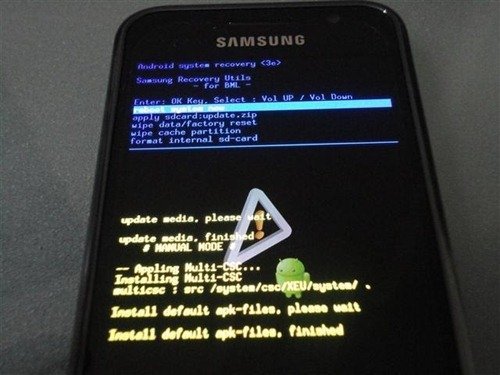
- Take out the battery and reinsert it. Reboot phone into recovery mode (turn off and reboot holding the power button, volume up button and home button) and flash the update.zip you put in the root folder of your sd card.

- Pull the battery again and reinsert it. Reboot into download mode again.
- Run Odin with auto reboot checked, load I9000XXJPH_KERNEL.tar as PDA and flash again.
- Your phone will be rooted when it boots up.
Update: Check out this new working method to root your Galaxy S with Android 2.2+
download only contains Odin 1.3, and nothing more???
Sorry, link fixed now.
i tryed it and got to like 1/4 of the loading bar in the recovery update.zip part and it says in red:
E:failed to verify whole-file signature
E:signature verification failed
Installation aborted.
please help :(
This means that the update.zip file is either corrupt or not signed properly. Try copying the file again and restarting the process.
I have the same problem and I did as you said but keep getting the same message. What can we do?!
I had the same issue
Fixed using a different root from http://forum.xda-developers.com/showthread.php?p=9145140
Look at the link on the bottom of the page.
I’m in recovery mode stuck on “installing Muti-csc”…Any idea?
did you ever find a solution to your problem? im having the same issue
Works like a dream! Took several attempts. Figured out that I needed to install the full Froyo JPH FIRST, then root it using the instructions above, NOT checking re-partition.
Thanks!!
My english is not so good so i cant understand these things quite well :D Can u put video how to root 2.2 SGS and put OCLF… Coz i would love to root and make my phone faster :)
Thanks for help !
Hello, I was trying to root my Galaxy S (i9000xxjph). I did the i9000_Kernel part and went to recovery to update, but somehow I was told that the file not found (I’m sure I put it in the internal SD). Now my phone stuck at recovery and there’s nothing I can do…
Can you advise?
No Signature verification failure!
For FROYO
First enable USB debugging mode and remove the external SD Card.
follow instructions here to root galaxy s i9000, see video :
http://forum.xda-developers.com/showthread.php?t=803682
after this the device is rooted , reboot your device.
Download RyanZA’s OCLF 2.0 in the app market , open it and
click EXT2 and after that One Click Lag Fix 2.2+
All DONE!!
i need your help. my camera is not working after doing this. i’m using 2.2 froyo. what to do?
thanks,it work successfully