Now that Apple’s latest desktop operating system is out, many users would want to install it on their Macs, even if they are not officially supported. Luckily, you can use ‘Patched Sur’ to install macOS Big Sur on unsupported Macs. Follow our guide to see how you can do so.

Install macOS Big Sur on unsupported Macs with this Big Sur Patcher
A new tool called ‘Patched Sur’, currently in beta, allows users to download and install macOS Big Sur on unsupported Macs. The patcher downloads the original installation file for Big Sur (or optionally, the public or developer beta), and also downloads a micropatcher for kexts and other resources that allow macOS 11 to be installed on unsupported Macs, along with working services and features.
Unsupported Macs supported by ‘Patched Sur’
First of all, make sure that your Mac is not in the official macOS Big Sur list of compatible Macs. At the time of writing, the following Macs are supported:
- Fully supported Macs:
- iMac – late 2013
- Mac Pro – 2010/2012
- Mac Pro – 2009
- MacBook Pro – 2012
- Other Macs released in 2012/2013
- Partially supported Macs:
- iMac – 2009 – 2010 (with GPUs that support Metal)
- iMac and MacBooks – 2011
- MacBook – mid-2010 and late-2009
- 13-inch MacBook Pro – 2010
- MacBook Air – 2010
- Mac mini – 2010
- Unsupported Macs
- 15″/17″ MacBook Pro – 2012
- iMac – 2010
- Any Mac with pre-Penryn Intel CPU
This is not an exhaustive list by any means, and it could increase with time as more users test the patcher with their Macs.
Use Patched Sur to install macOS Big Sur on unsupported Macs
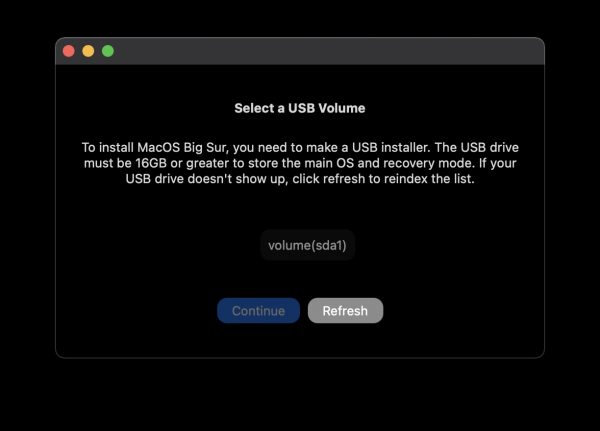
To get started, make sure that you have a 16GB USB drive with no important data on it. This will be used to create a bootable macOS Big Sur USB installer later in the guide.
- Download the latest version of ‘Patched Sur’ from Github.
- Open the file on your Mac. You might have to go to System Preferences > Security & Privacy > General and click on ‘Open Anyway’ for the first time when you run the app.
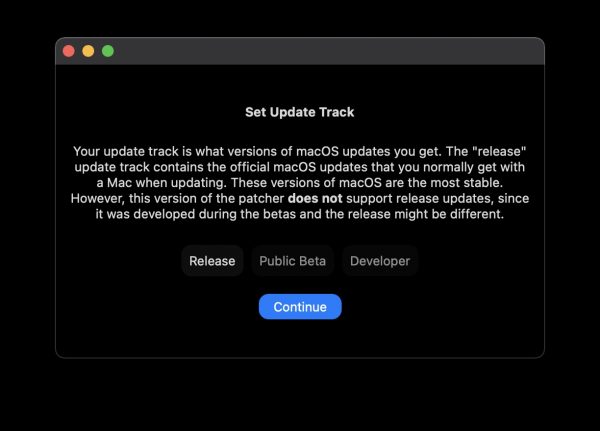
- Once in the app, go to the next screens by clicking ‘Start’ and ‘Continue’ until you see the below screen to ‘Set Update Track’. We suggest selecting ‘Release’ here as you are already trying something which might have bugs and stability issues. Using a public beta or developer beta will just add to these issues.
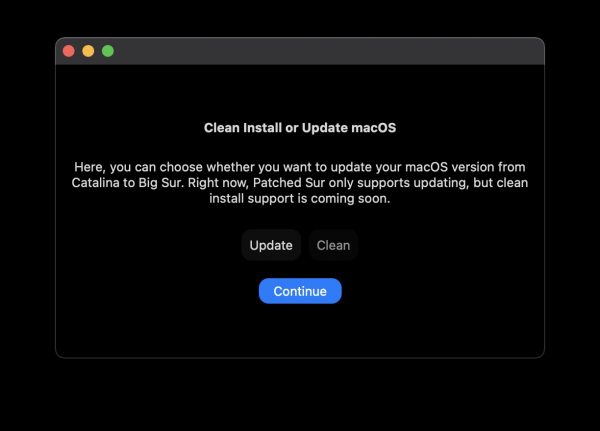
- Select ‘Clean’ or ‘Update’ on this screen. At the time of writing, only ‘Update’ option is supported. The ‘Clean’ option will completely wipe your Mac and reinstall macOS Big Sur.
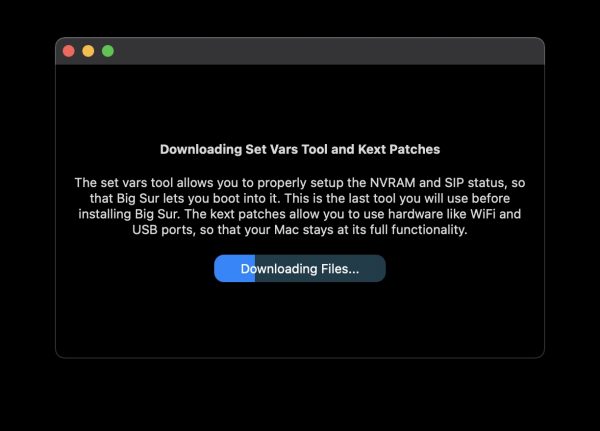
- In the next step, the tool will download various kext patches to ensure that your Mac can use most of its hardware after upgrading to macOS Big Sur.
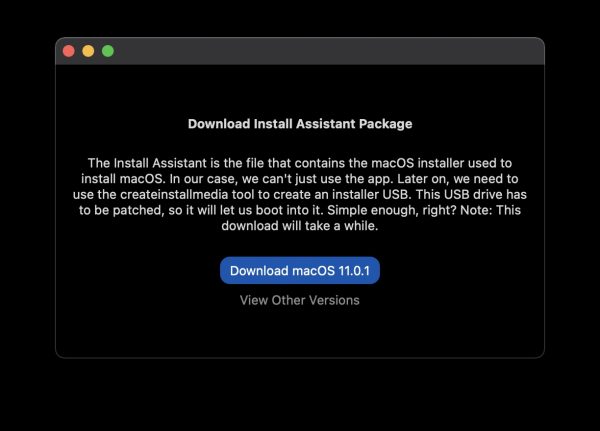
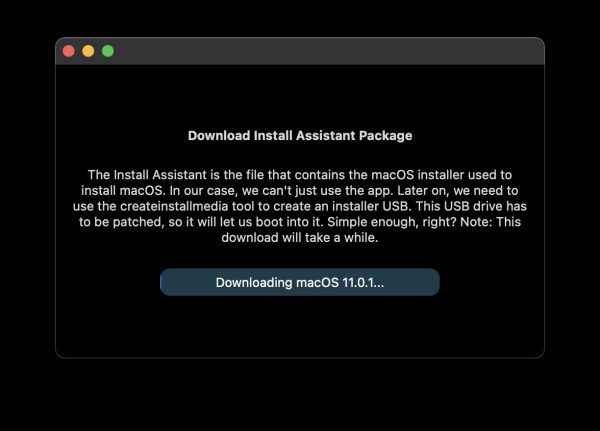
- Next, click on ‘Download macOS 11.0.1’, or whatever the latest version is that shows here. If you have already downloaded a copy of macOS Big Sur, click on ‘view other versions’ to point the tool to it. This is helpful in situations where the Internet connection is slow and you want to utilize the macOS copy you already have.
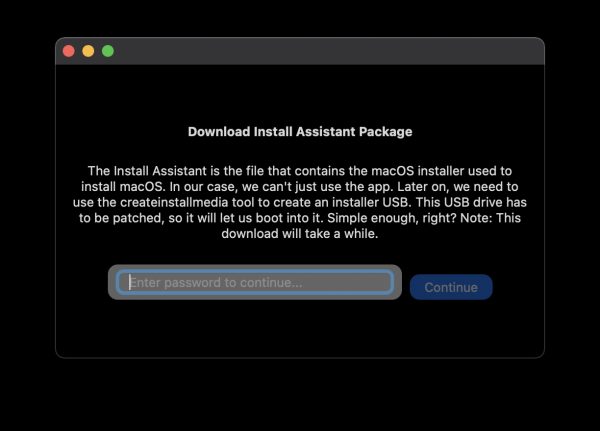
- Once the download completes, you will have to enter your Mac password and click continue. This will allow the patcher to use createinstallmedia tool to create a macOS Big Sur bootable installer USB.
- Restart your Mac, and press and hold the Option key when it’s booting up. You should see the Startup Manager. Select the EFI boot drive and hit return. Your Mac might restart again. Select the option to install macOS Big Sur, and follow the steps to complete the installation process.
- Once macOS Big Sur is installed and boots up, open the Applications folder and run the ‘Patched Sur’ app. You might have to enter your Mac password to allow it to run. Once done, reboot your Mac.


Install future macOS Big Sur updates on unsupported Macs
Whenever there is an update for macOS Big Sur, instead of updating using Software Update in System Preferences, open ‘Patched Sur’ to download the latest version, and repeat the above steps again to complete the upgrade.
Read more:


Hi
Point 7 : Processed for 5 hours , the “Copying Installer”remains grey , the USB install seems to have completed the download as it contains the install OS big sur file which is more than 12,34 GB
Then , restarting the Mac with selection EFI boot ends up with a normal desktop Catalina .Restart on the USB “Install OS Big Sur” is not accepted either . So I am stuck ….Macbook Pro Intel core 2 Duo Mid 2009
2009 MacBook Pro support is not there yet from what we understand. Hopefully future updates to this tool will add proper support.
I have tried several times to install Big Sur with Patched Sur, every time I get to step 7 it will not show or recognize my USB drive. How do I solve this problem?
Can you try with the newest beta update of the tool? There’s a major update coming soon too which should have numerous improvements.
Dear Rida,
Do you know where it would be possible to get more information about the (un)supported functionalities of the “partially supported” Mac. I have a late 2010 MacBook Air 1.6GHz 4GBRAM, 512GB SSD.
Thank you for your answer and best regards.
Hi Didier,
This is what we have found for the 2012 MacBook Air’s partial support:
Wi-Fi, sound, graphics acceleration, sleep, display brightness control, and Ethernet don’t work. The –2010 option for patch-kexts.sh (step 15) installs fixes for Wi-Fi, sound, and Ethernet, as well as drivers that enable the GeForce Tesla (9400M/320M) framebuffer (thereby fixing sleep and display brightness control). The framebuffer driver does not provide acceleration; the lack of graphics acceleration plus the relatively slow Penryn CPU means performance is sluggish.
Thank you for your very sharp answer, it means I will let the machine with a fully supported OS. Best regards, Didier
This is a great idea. Unfortunately, it doesn’t work on a early 2013 MacBook Pro Retina. Can build the USB bootable installer no problem (though it does take a few hours) but when booting from it, the Mac throws the error indicating the OS installer is not compatible with this Mac.
Since you have to use your system password when creating the bootable USB device, I do wonder whether this tool is for harvesting passwords, given that I haven’t found any reports of this tool working.
This tool works as long as your device is part of the list we have provided in the post, based on our own usage, and from a large number of other users that have benefitted from it. Users have reported success with early 2013 MacBook Pro. Can you try using the latest version of the tool?
This is not a harvesting tool. The system password is required for bootable USB device, because it uses a terminal command that does not work without the password.
I used the 0.0.4 beta of patched-sur. Guess I should wait for the next version before trying again. Cheers.
Hello, I have a Mac Mini late 2012 with 16Gb and samsung evo 850 SSD. I’ve tried many times, after booting on usb to install, ran efiboot and install big sur the process starts but when its close to 13minutes to finished open a dialog displaying that my installation is damaged and download it again. I have done this 4 times, release and beta, nothing works.. any suggestion ? thanks
When will the Late 2009 Macmini get patcher support?
I note the direction to select the installer from the boot loader. Is there an option for machines which do not show a boot loader, such as the 2010 Mac Pro with a non Mac flashed GPU?
Hi there, I have gone through all the steps to create the bootable drive. Where I am getting stuck is after clicking the EFI boot drive. When doing that my Mac shuts down instead of restarting. Also, if I select the option install Big Sur, then when selecting the drive I want to install it, it tells me I don’t have enough space, which is wrong as I have more than 160Gb free… I have a Mac Pro from early 2009, running Catalina, and patched to 5.1 firmware. Thanks