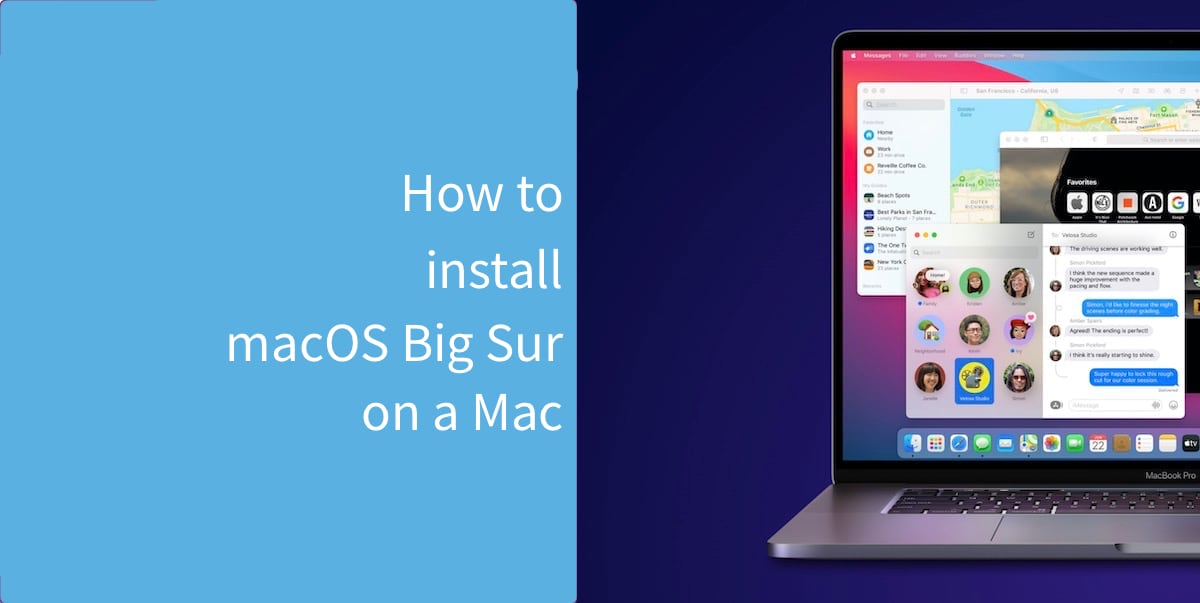
Here is a simple and straightforward guide for the best way to install macOS Big Sur on your Mac by upgrading from the built-in Software Update feature. This guide also takes you through the process of backing up your existing data and checking if your apps will continue working after the upgrade. Note that this guide applies to both Apple Silicon M1 Macs, and Intel-based Macs.

Install macOS Big Sur on a Mac
- Before installing, you have to make sure that your Mac is compatible with macOS Big Sur. Check out our list of Macs that are compatible with macOS Big Sur. However, if somehow your Mac is not on the list, fear not, as you can still upgrade your macOS Big Sur unsupported Mac by following this guide. If you have a late 2013 or mid 2014 Retina 13-inch MacBook Pro, hold on from updating your Mac until Apple announces a proper fix.
- Check if your apps are compatible with macOS Big Sur. You can do this by checking the Mac App Store for updates, or the developer’s website or social media accounts. Chances are that if the developer has announced support for Apple Silicon M1 Macs, the app is already compatible with macOS Big Sur and you would not run into any issues. You can check this list of Apple Silicon M1 Mac compatible apps.
- Back up your Mac. We cannot stress this enough. We suggest using Time Machine, but you can also back up your files manually to iCloud, Google Drive, or any other cloud service of your choice. Although this is not a clean install guide, it is important to have a back up of your data, in case of any unexpected issue.
- Download macOS Big Sur by going to System Preferences > Software Update. If you do not see the update show up, you can click this link to open the macOS Big Sur page in the Mac App Store and click on the Get button to download it. The update is around 12GB in file size, so the download may take a while, depending on the speed of your Internet connection. If you have a MacBook Air or MacBook Pro, make sure that it is plugged into the charger for the duration of the download and upgrade process.
- Once the update is downloaded, you will see the macOS Big Sur installer. Follow the steps to start the installation process. Your Mac will restart a few times to complete the upgrade process.
Once the upgrade is complete, you will be greeted with the setup screen. Complete the steps and your Mac should be ready to use.
If you want to clean install macOS Big Sur on your Mac to start afresh, you would need to create macOS Big Sur bootable USB installer. If you run into any issues, check out our list of common macOS Big Sur issues, and their solutions and workarounds.
Read more:
1 comment