Instagram is one of the most popular social apps with over a billion monthly and 500 million daily active users. People use the platform to share, explore and connect with family, friends, influencers and followers. The most important feature of the Instagram posting experience is the in-app filters which are used to accentuate or conceal some parts in the shared photos and videos.
Now, the app not only offers new filters but also an additional feature to manage the filters which appear in the editing section of the app. Previously, only 20 filters were available on the app. Here is an easy to follow guide on how to add and manage filters on Instagram on iOS.

How to Add and Manage filters on Instagram
Now that users have more filters to choose from, users can only select 20 effects to be displayed in the editing interface at a time. Therefore, users need to alter
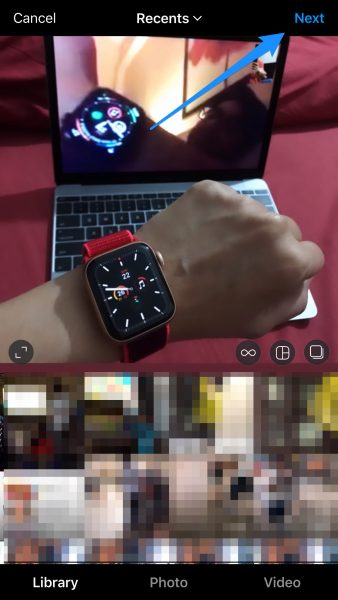
- Open the app and tap on the + icon to add an image from the Photos app or from the in-app camera, capture an image or record a video.
- After making a selection, tap on the ‘Next’ option on the top right corner of the UI.
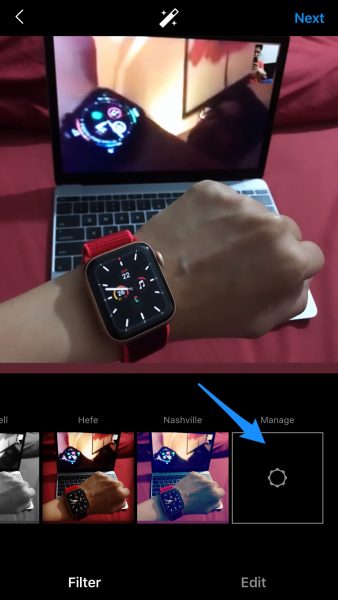
- In the editing interface, swipe right till the end of the filters and tap on the ‘Manage’ option.
- The UI will direct you to a list of new filters, tap on the selection button in front of the effect to add the desired and display them on the editing interface.
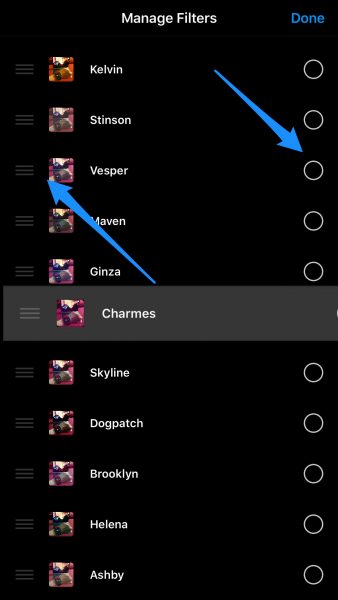
- You can also arrange the most liked or used effects on top of the list by tapping on the three bars icon to drag the selection up or down in the preferred order.
- Tap on the ‘Done’ option on the top right of the UI to go back to the editing section.


Read Also:


1 comment