If you use your PC for work or play games on it, sometimes, you may need to reassign some keys and shortcuts to different keys as it can help improve productivity and speed.
Windows 11 allows users to remap keys and shortcuts in different ways and using PowerToys is the fastest and easiest method. In this guide, we will show you how to do it.
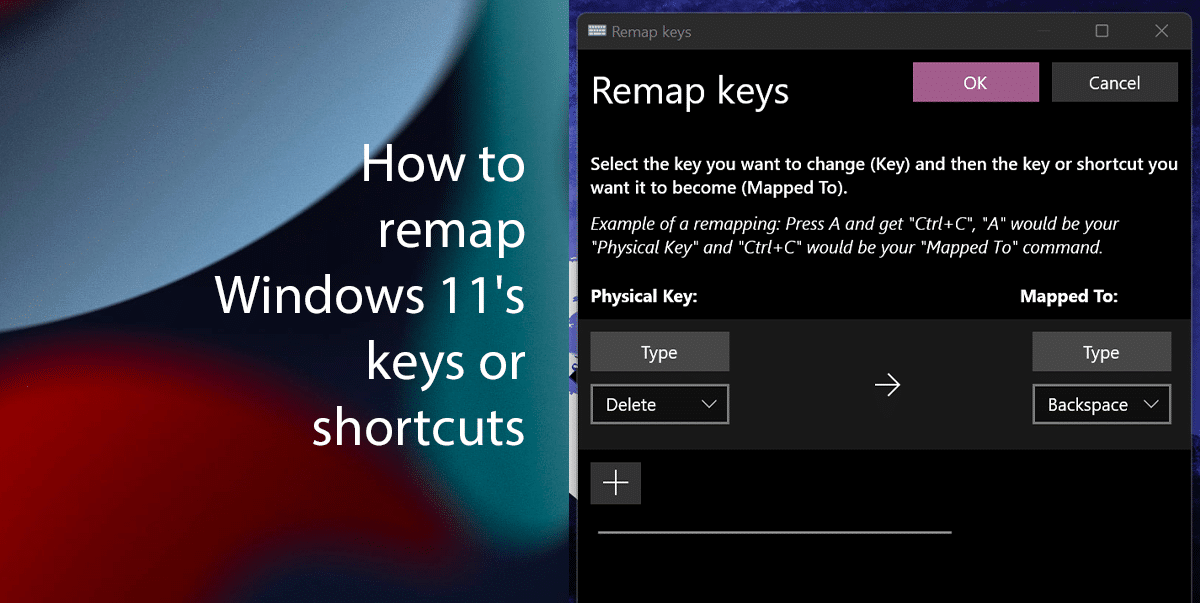
Here is how to remap keys or shortcuts in Windows 11
How to remap keys
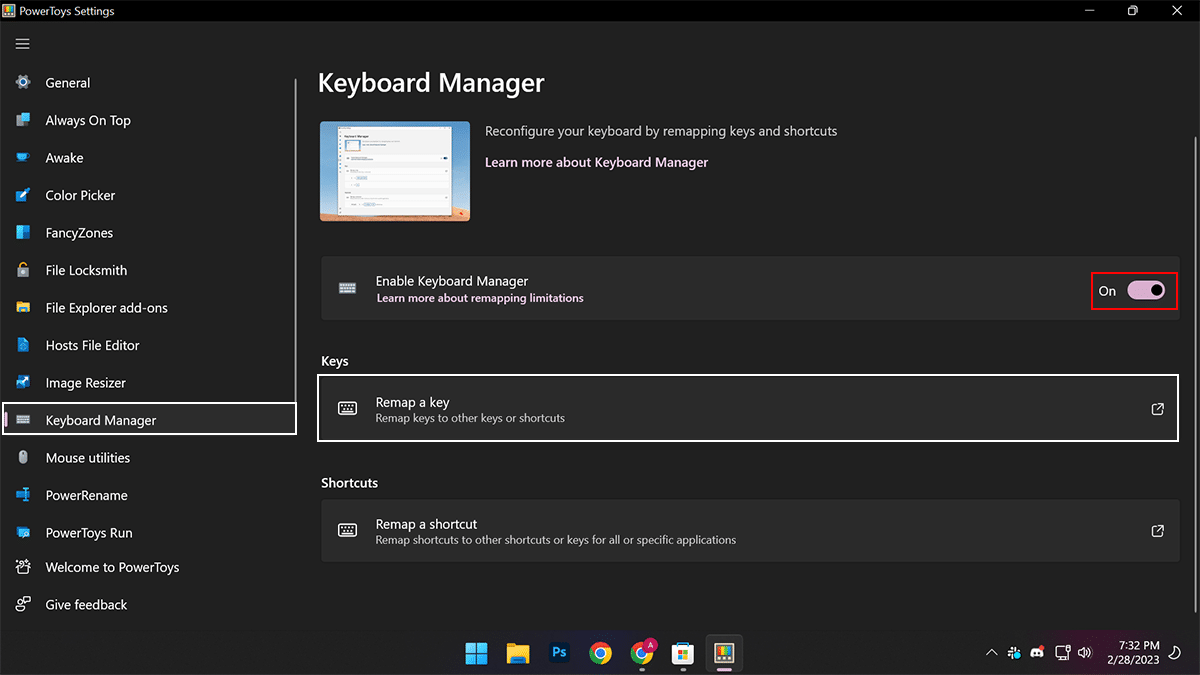
- Open PowerToys > click on Keyboard Manager > toggle on the “Enable Keyboard Manager” > click the “Remap a key” option.
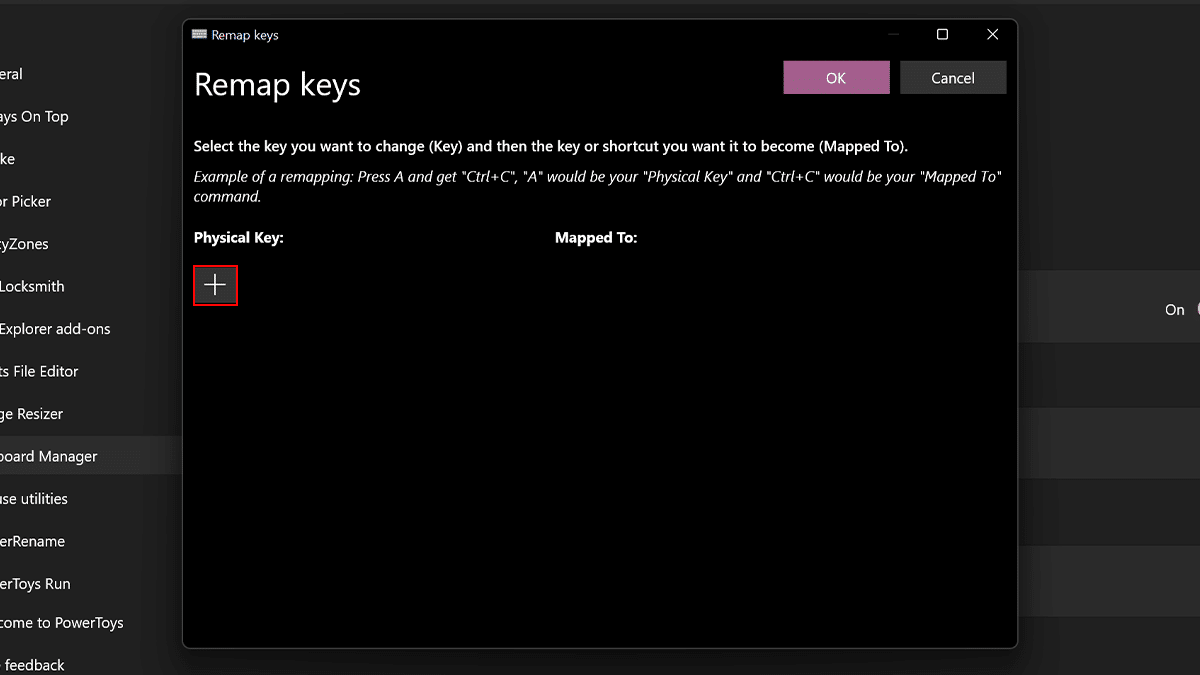
- Click the Plus button.
- Click on Type > select the key to remap in the “Physical key” setting > click on Type > select the key that will be mapped to the other key in the “Mapped to” setting.
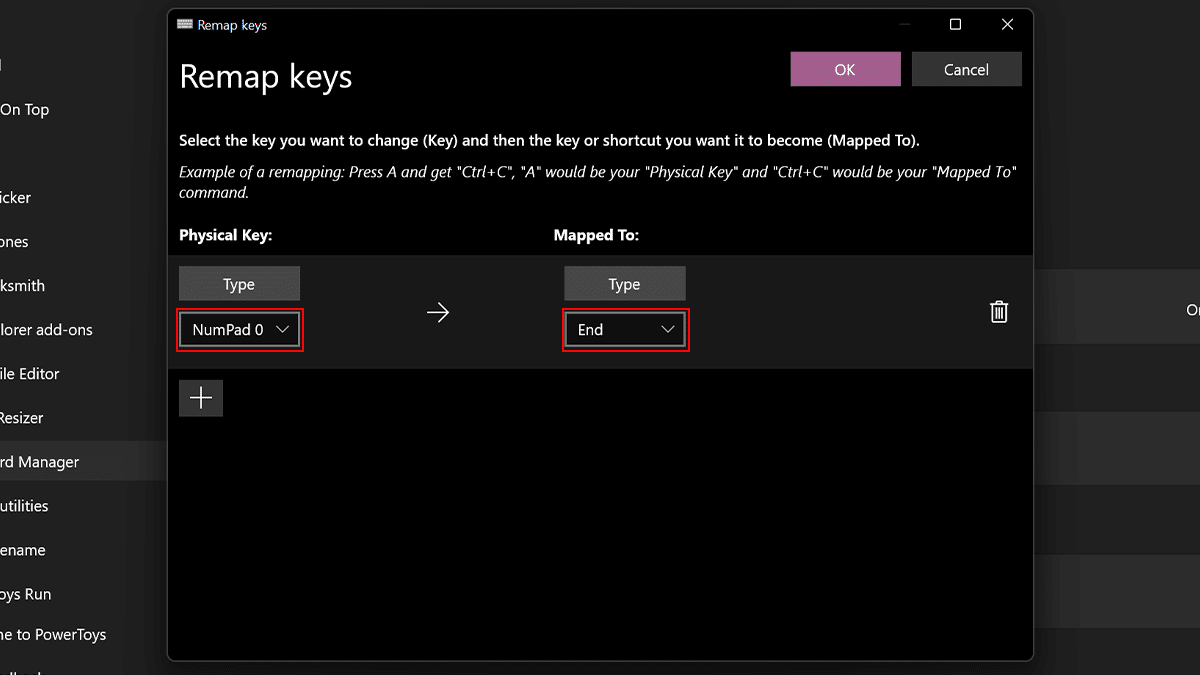
- Click the OK button.
- When done, the key will perform the action of the new key mapping on Windows 11.
How to remake shortcuts
- Open PowerToys
- Click on Keyboard Manager > toggle on the “Enable Keyboard Manager” > click the “Remap a Shortcuts” option.
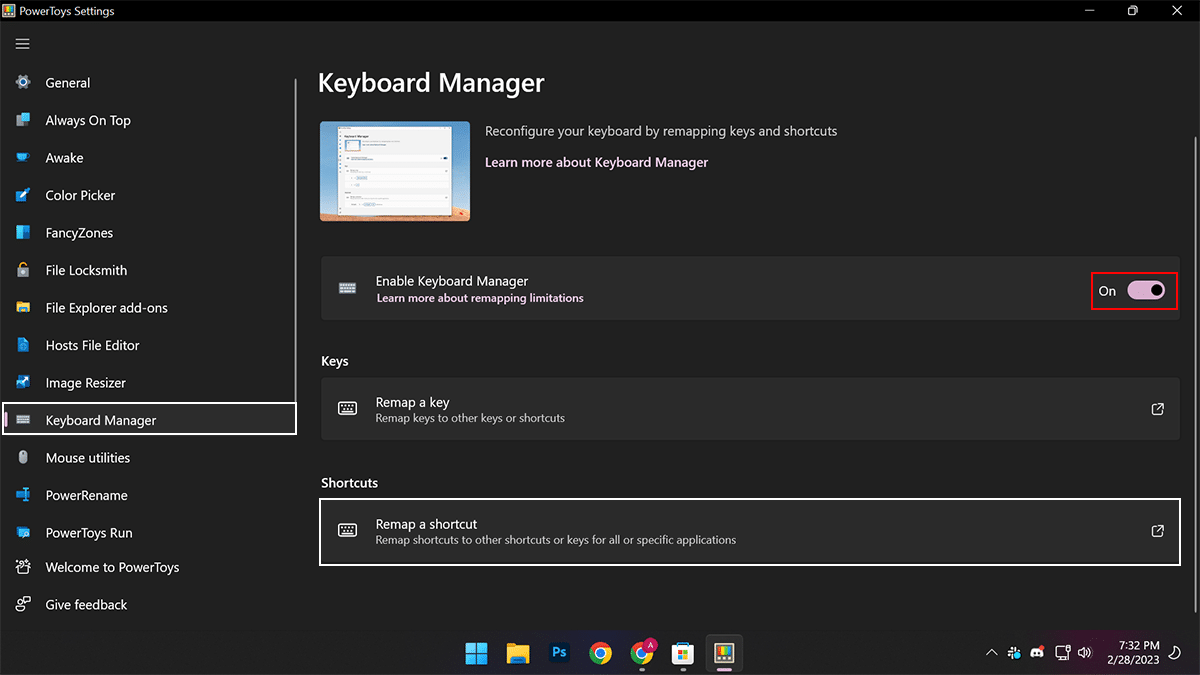
- Click the Plus button.
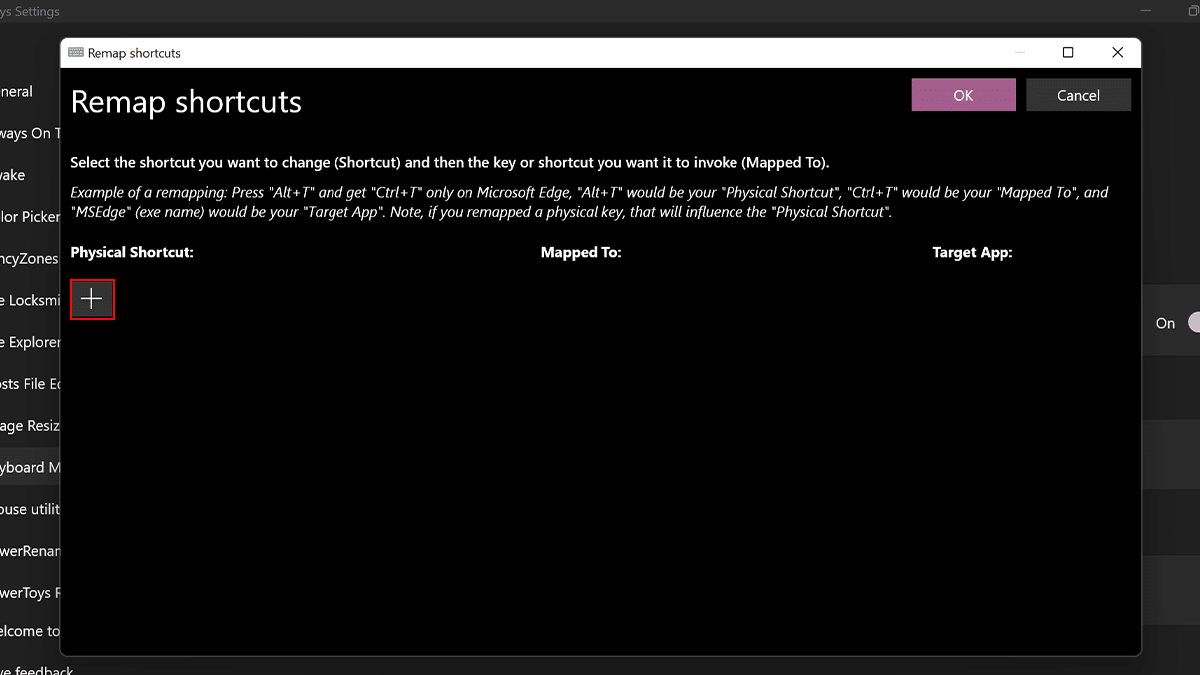
- Confirm the shortcut to remap in the “Physical Shortcut” setting > confirm the new shortcut that will replace the previous shortcut in the “Mapped to” setting.
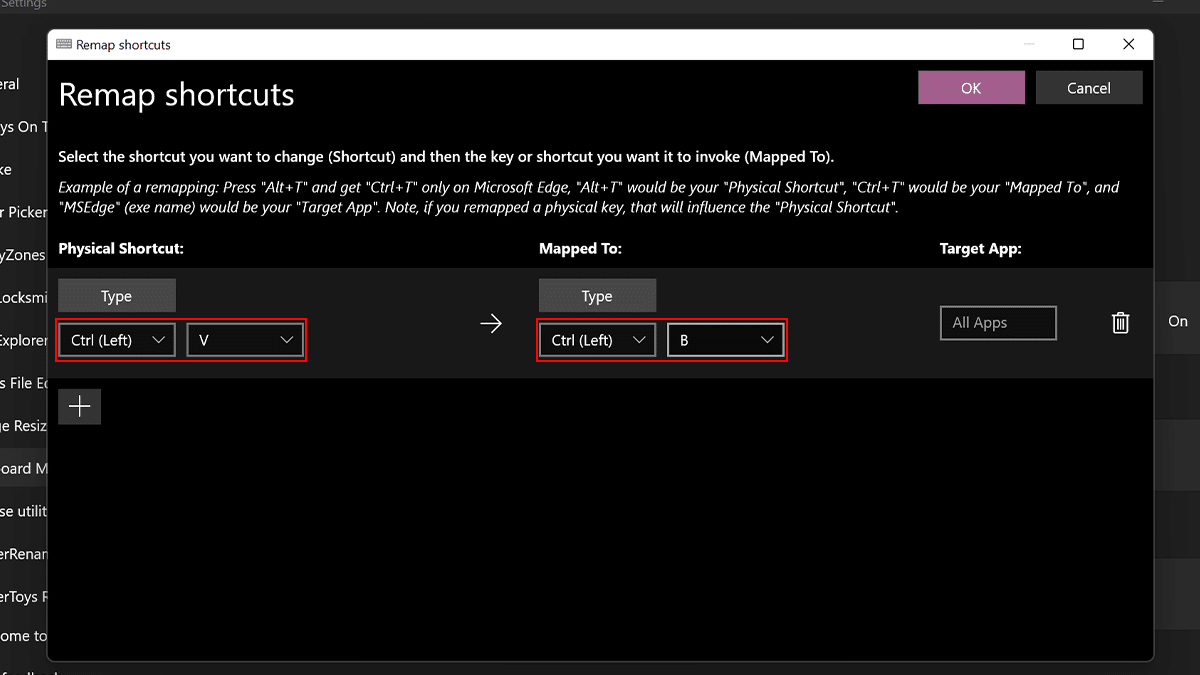
- Click the OK button.
- When done, the shortcut remap will perform the action you configured in the application.
(Optional) In case you want to remove the remap, you can go to the “Remap a key” or “Remap shortcuts” page and click the “Delete” button for the action you want to remove.
Read more:
- How to install a Bluetooth adapter replacement on Windows 11
- How to add new fonts to Microsoft Office on Windows 11
- How to play a sound on AirPods to locate them
- How to reset AirPods without a phone
- How to find Wi-Fi and Ethernet connection speed on Windows 11
- How to manage sound settings on Windows 11