Usually, users have several files on their Windows 11 computers, which contain sensitive information like their home addresses, bank account numbers, passwords, and others. Therefore, it is advisable to keep such files hidden from prying eyes.
One way to keep secure confidential files is to save them in a locked folder. That way, people can get access to a user’s computer but they won’t be able to access the sensitive files in their locked folder on Windows 11.

How to Lock a Folder in Windows 11
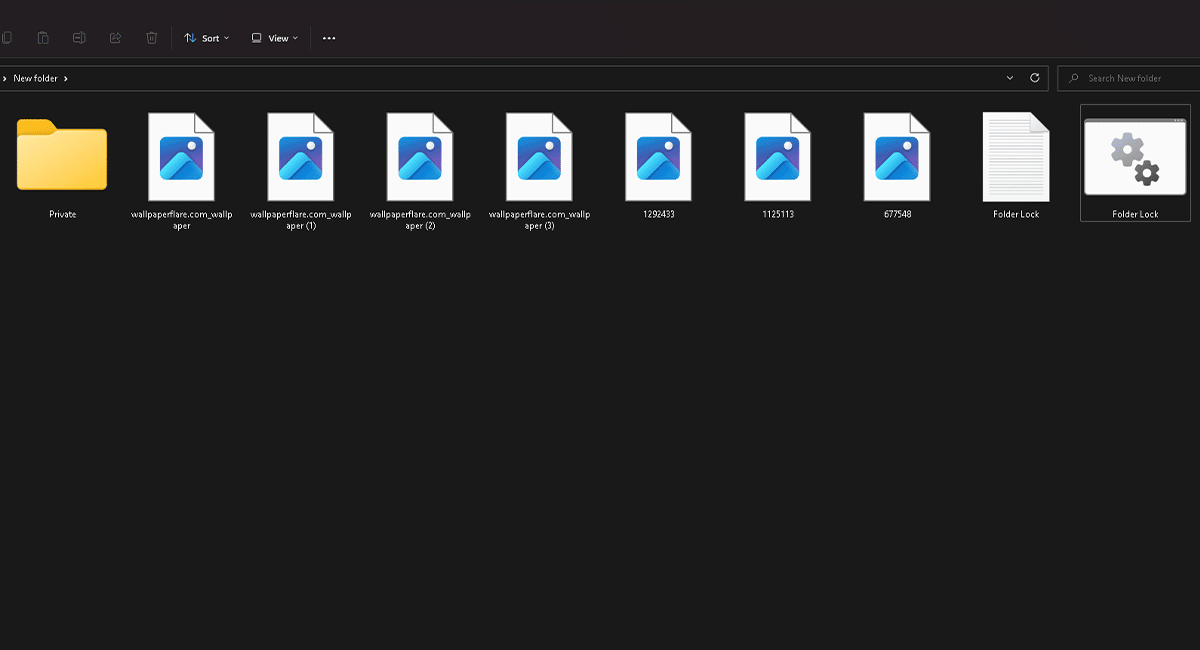
- Open the folder you want to lock.

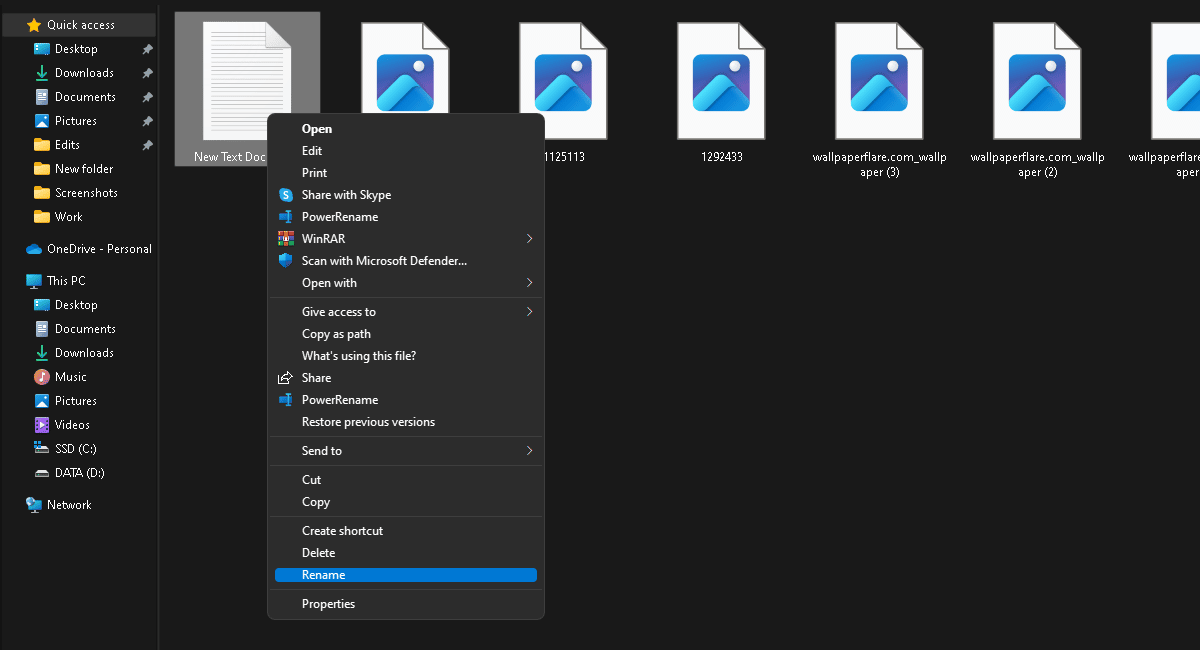
- Inside the files folder right-click in an empty space > new > text document.

- A text document will appear > right-click on it > rename it whatever you’d like.
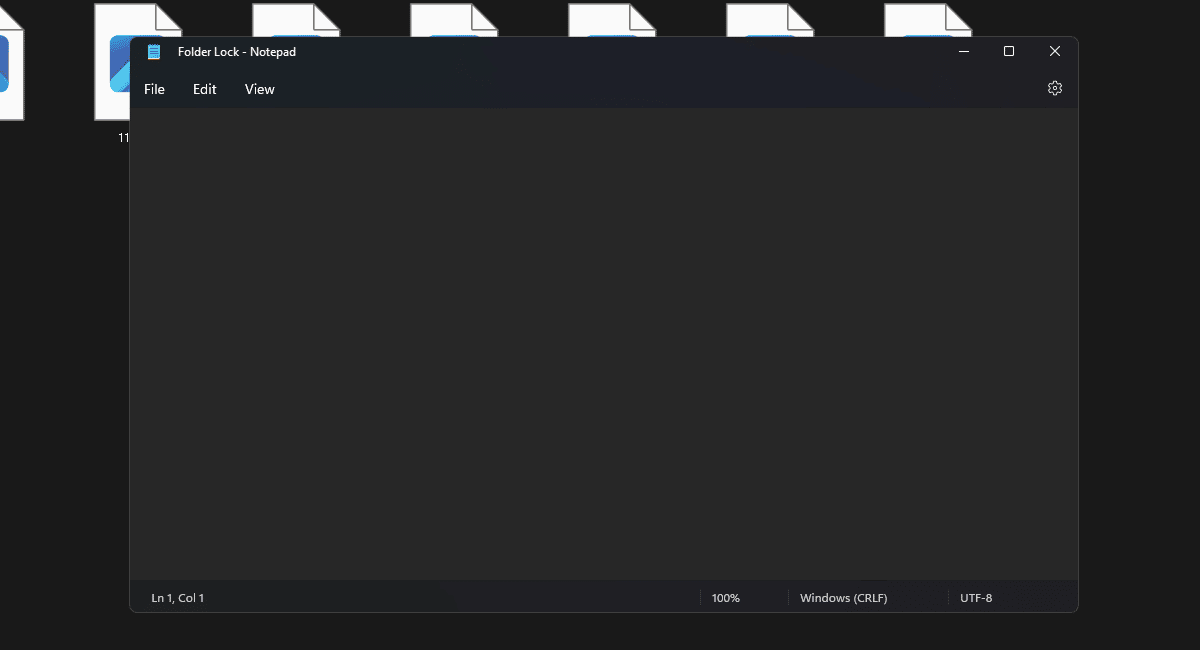
- Open the text document > in which we will paste a locking code.
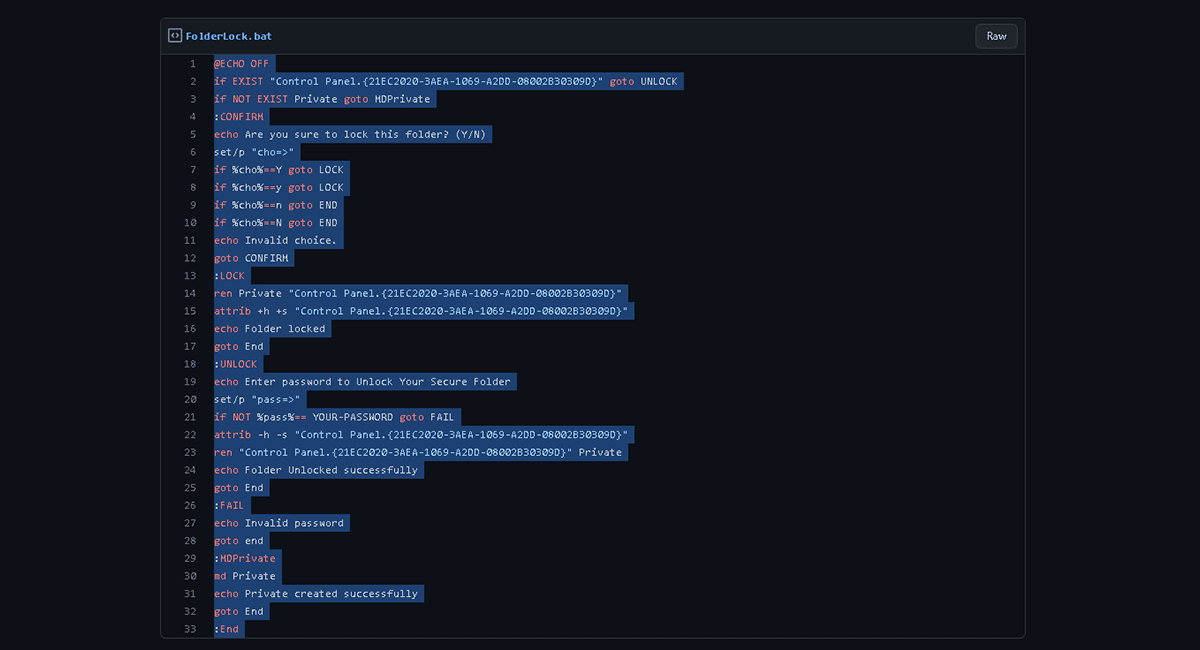
- Open the link given here ( Github ) and select all and press CTRL key + C on the keyboard to copy.
- Go back text document and press the Ctrl key + V on the keyboard to paste the code into the text document.

- Inside the code, there is a code saying “YOUR-PASSWORD”.

- Select that part of the code and add a password of your own.

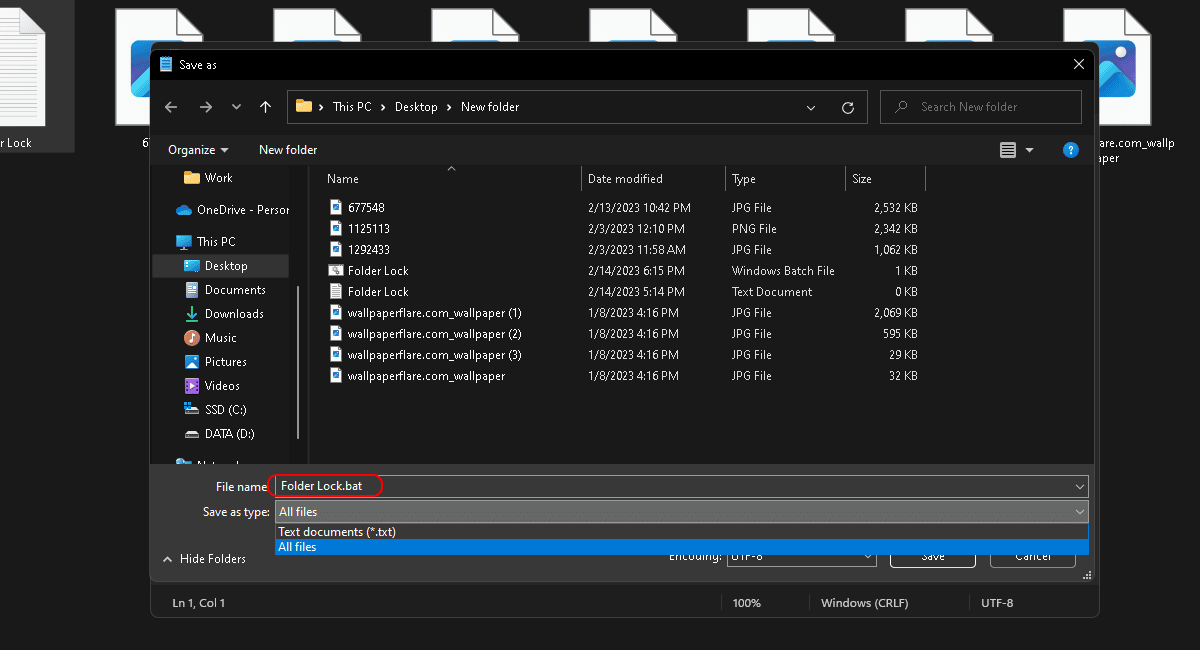
- Click on File > Save as.

- At the end of the file name, add (dot)bat > change text document to all files > save.
- Close the text document.

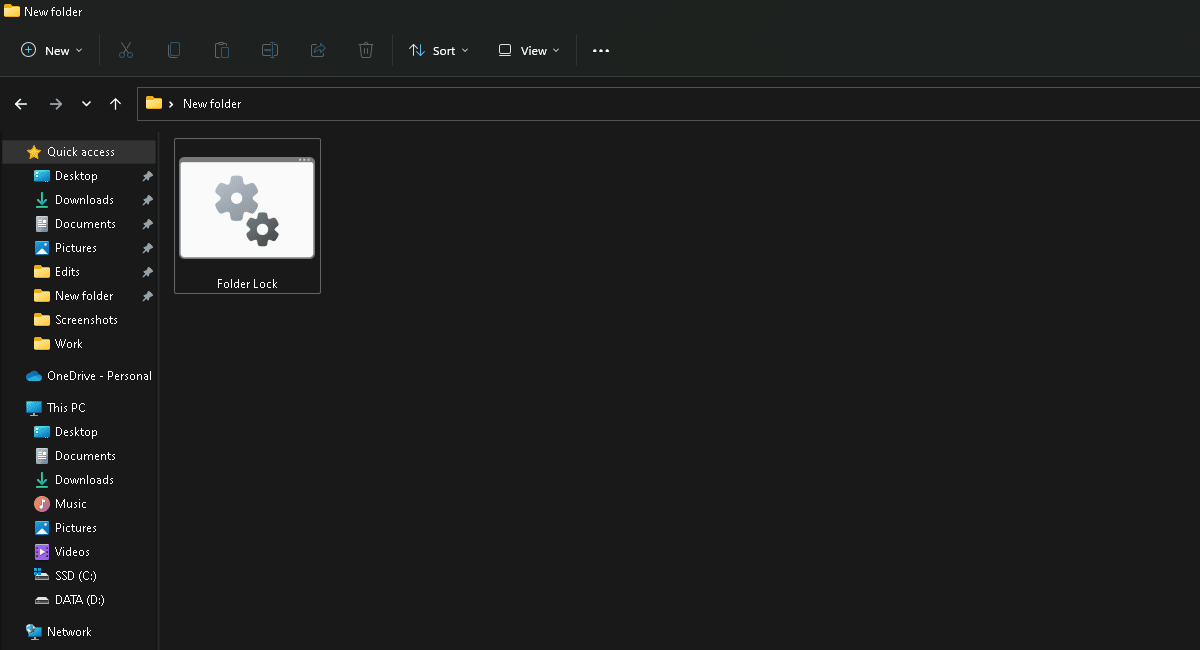
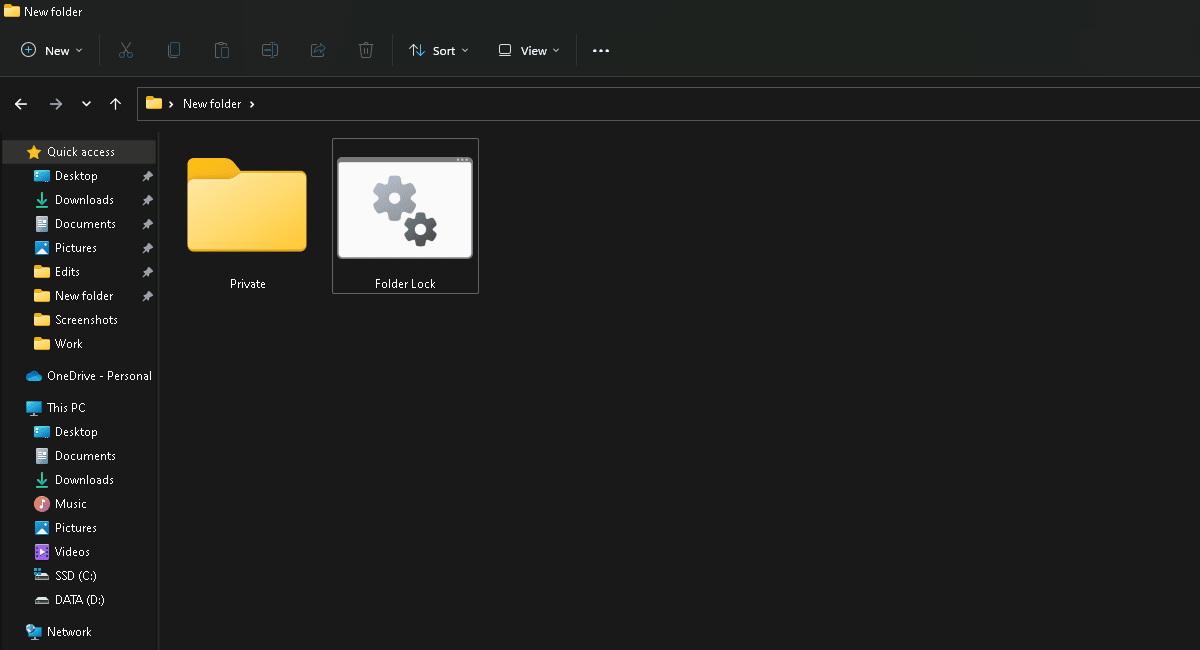
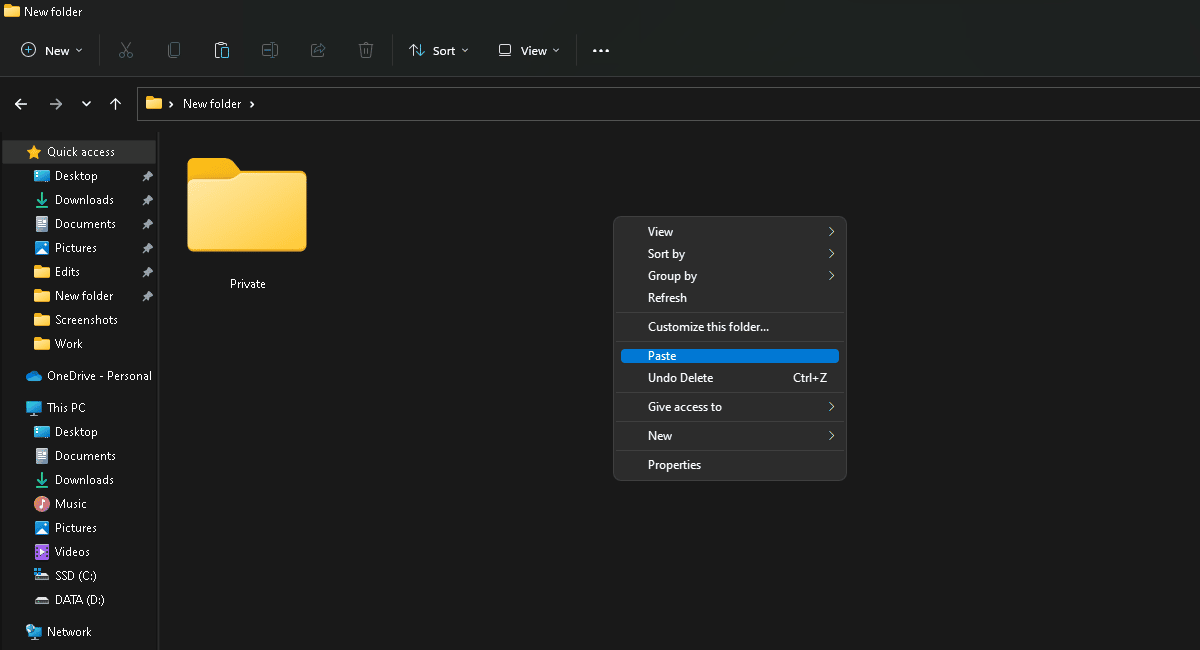
- A new batch file will appear > double click on the batch file > a new folder will appear as “Private”.
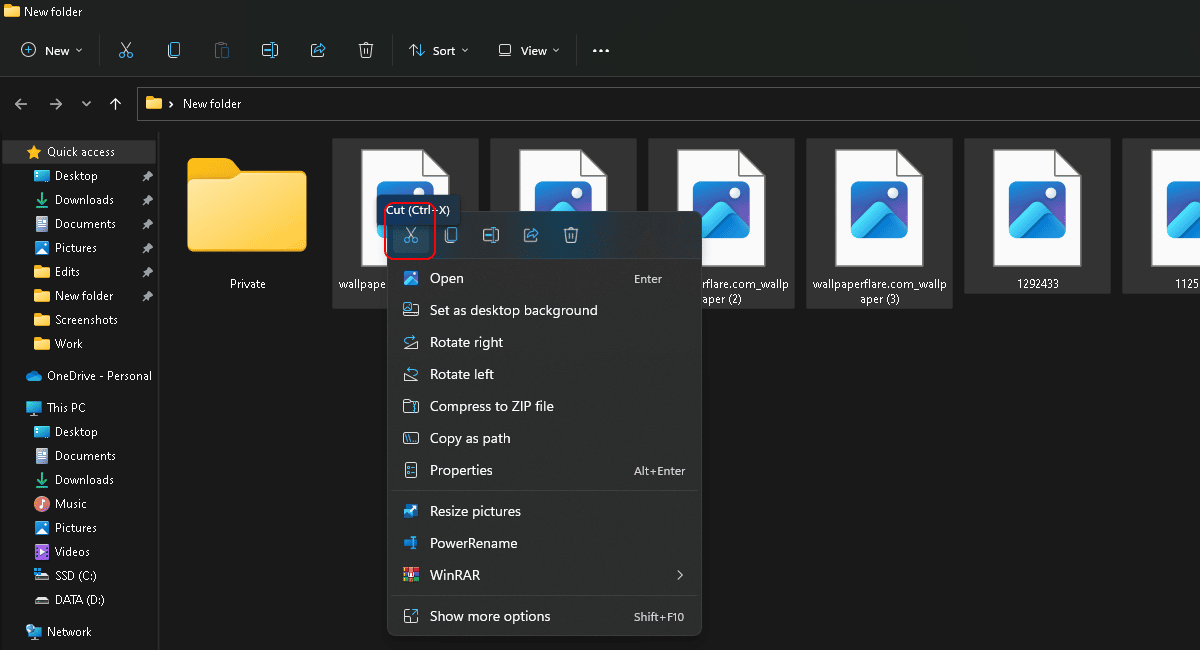
- Now you can add the files you want to hide or lock inside the folder. Select the files > right-click on it > click on the scissor icon to cut/move the file.
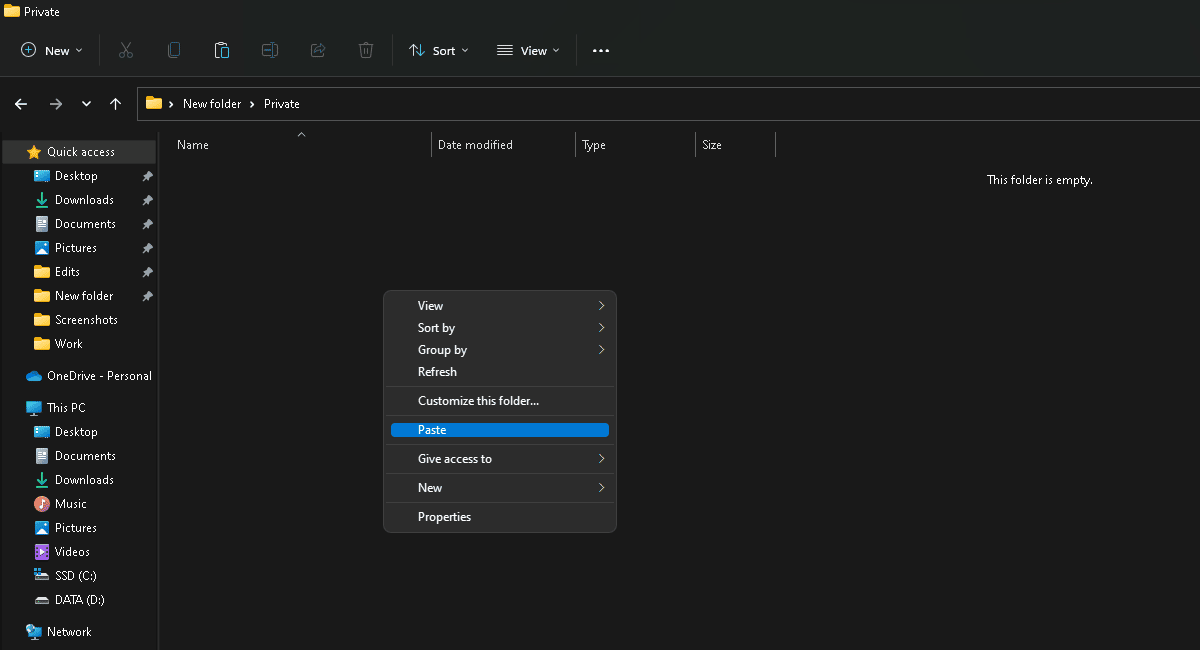
- Open the private folder > right-click > paste the files.
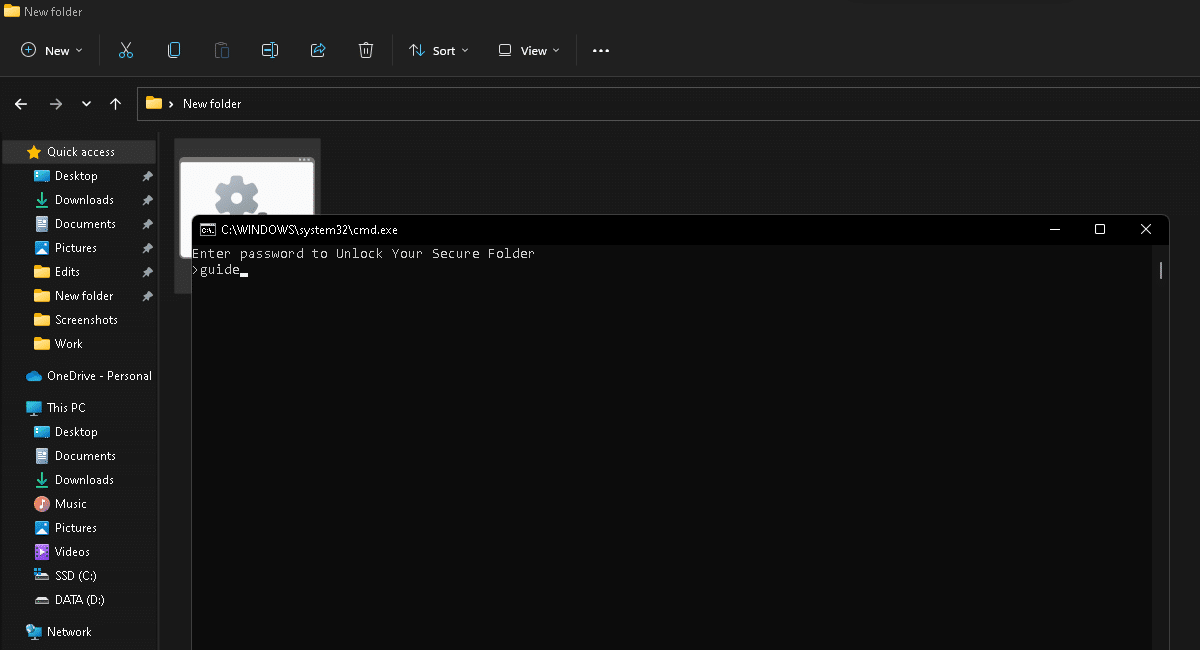
- Go back to the folder where the batch file is located > double click on the bat file.

- The command prompt will appear > type the capital letter Y > press Enter on the keyboard.

- > the file will be locked and hidden which contains your files, documents, etc.
- Double click on the batch file > the command prompt will appear asking for password > simply enter the password and press Enter on the keyboard.
- And the files containing your belongings re-appear.
- Remember to double-click on the batch file to lock your folder before closing it.


In case you want to delete the batch file and no longer need the folder locker. Here is how you can remove it:
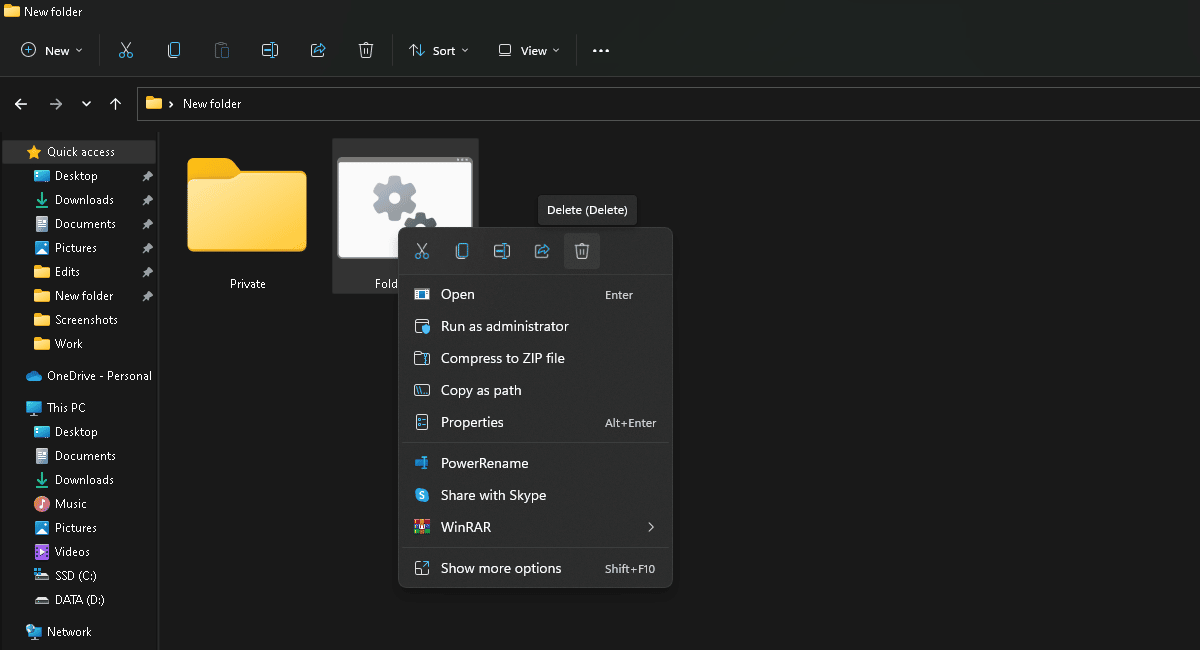
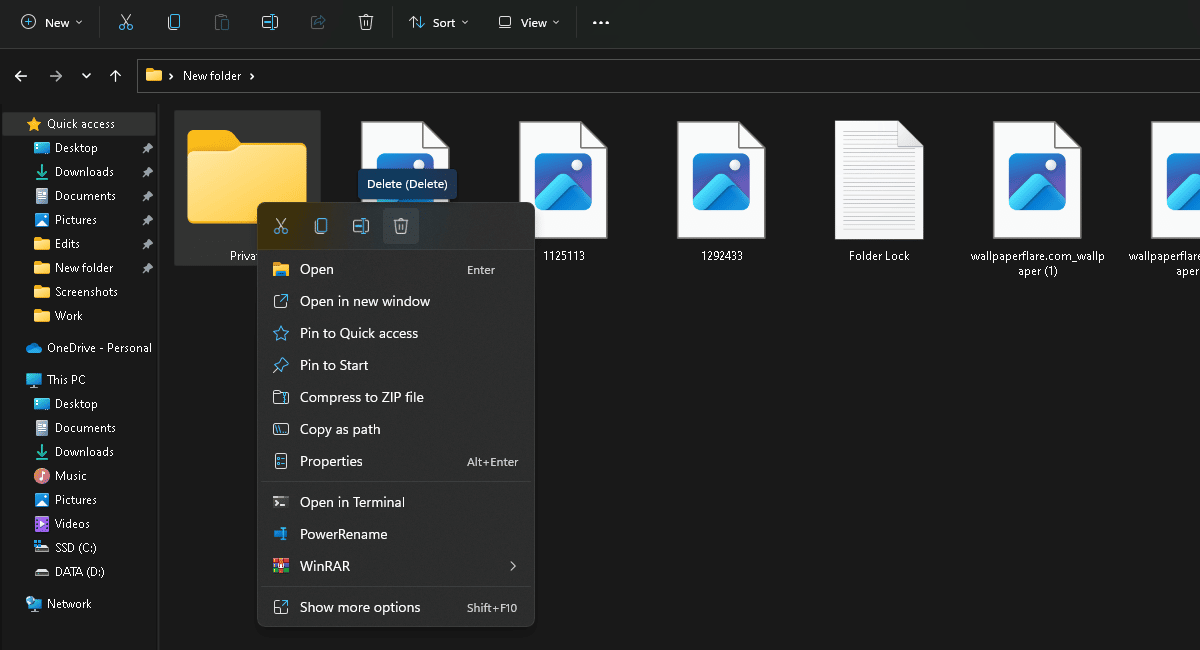
- Right-click on the batch file > delete the file.
- Open private file > select all files > press Ctrl key + X on the keyboard to cut/move the files.
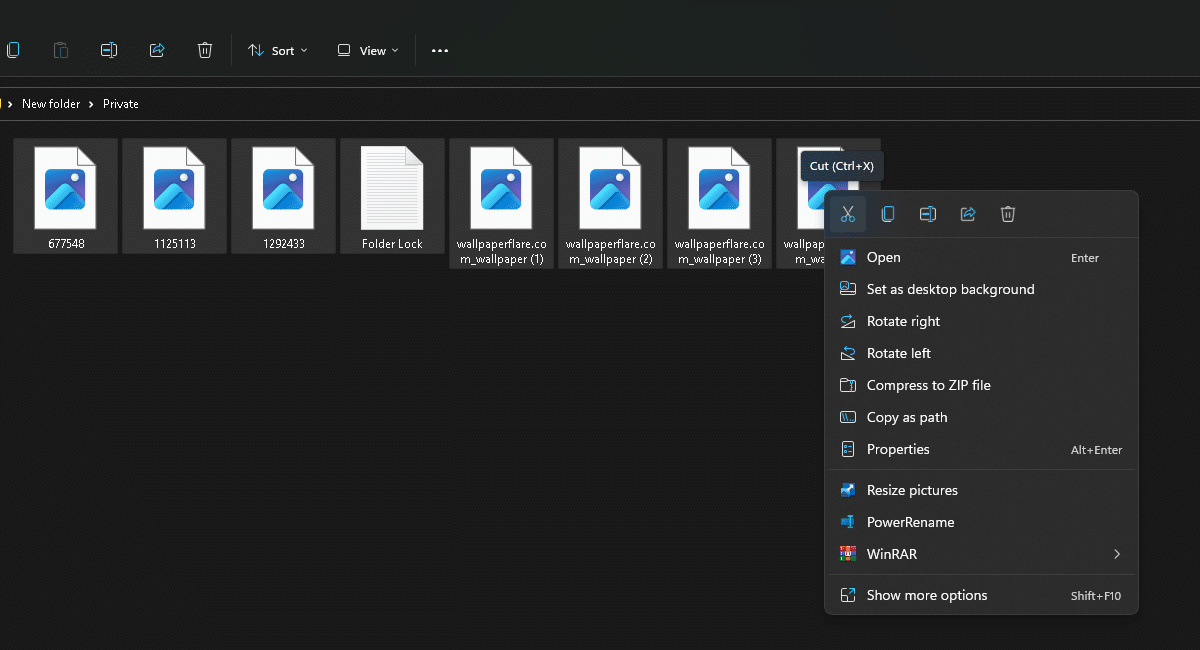
- Go back to the file > right-click > paste it.
- Right-click the “Private” folder > delete.


Read more:


