Here is how you can install macOS Ventura on an unsupported Mac. The new operating system update does not support a few older Intel Macs, but thanks to OpenCore Legacy Patcher, it can be installed on unsupported models. This may not work properly on all devices, so proceed with caution.

Install macOS Ventura on an unsupported Mac using OpenCore Legacy Patcher 0.5.0
Apple’s latest desktop operating system, macOS Ventura, is now available with a number of new features including Stage Manager for improved multitasking, improvements to gaming, enhanced continuity features, and updates to first-party apps like Safari, Mail, Spotlight, Messages, and more.
Just like macOS Monterey, the number of Macs that are officially supported are as following:
- MacBook Air (early 2015 and later)
- MacBook Pro (early 2015 and later)
- MacBook (early 2016 and later)
- iMac (later 2015 and later)
- iMac Pro (2017 and later)
- Mac mini (late 2014 and later)
- Mac Pro (late 2013 and later)
This leaves many older Macs unsupported, which is not ideal for users who want the latest features, despiting knowing that their computers are powerful enough to be used in 2022.
OpenCore Legacy Patcher 0.5.0 is the tool that is used for installing macOS Ventura on unsupported Macs. The latest release, version 0.5.0, supports most Mac models that were released after 2012. One notable exception from this list is the 2013 Mac Pro model, which is unsupported due to boot issues. The developers say that it may be possible to install macOS Ventura on even older Mac models, but features such as GPU acceleration, Wi-Fi, and USB may not always work.
While there may be other methods of installing macOS Ventura on older Mac models, OCLP is the best tool as it supports security features like System Integrity Protection, FileVault, Secure Boot, and more. It also supports native OTA updates, so you can download the latest updates for macOS using the built-in mechanism in System Preferences, instead of going through any patching again. Lastly, you also get to use macOS features like Sidecar, AirPlay, Night Shift, and Universal Control without any additional configuration.
Supported Mac models
As per the developers behind OpenCore Legacy Patcher (OCLP), the following Mac models are supported:
- 2015 – 2016 12-inch MacBook
- 2012 – 2017 11-inch and 13-inch MacBook Air
- 2012 – 2016 13-inch and 15-inch MacBook Pro
- 2012 – 2017 Mac mini
- 2012 – 2016 21.5-inch and 27-inch iMac
The team behind OCLP is working to add support for Mac Pro models (pre-2019) and non-Metal capable Macs (pre-2012) but there is no timeline yet on when this work can be completed.
Now that we have the compatibility details out of the way, it’s time to start the installation steps.
Create macOS Ventura bootable installer
- The first thing that you need to do is to download the latest macOS Ventura installer. We have a guide that explains how you can download macOS Ventura without the Mac App Store, which is what you will need to do since your Mac will not see the update there. Follow our guide to download the installer, and move on to step 2.
- The next step is to create a bootable USB installer for macOS Ventura. This will be done using the OCLP tool from GitHub. The latest version is 0.5.0 as of writing this guide. Download the OpenCore-Patcher-GUI.app.zip file from the GitHub link. Extract the file once downloaded.
- Plug in a USB drive to your Mac. This drive should have at least 16GB of storage space and will be wiped clean during the process so make sure to backup any important files from it.
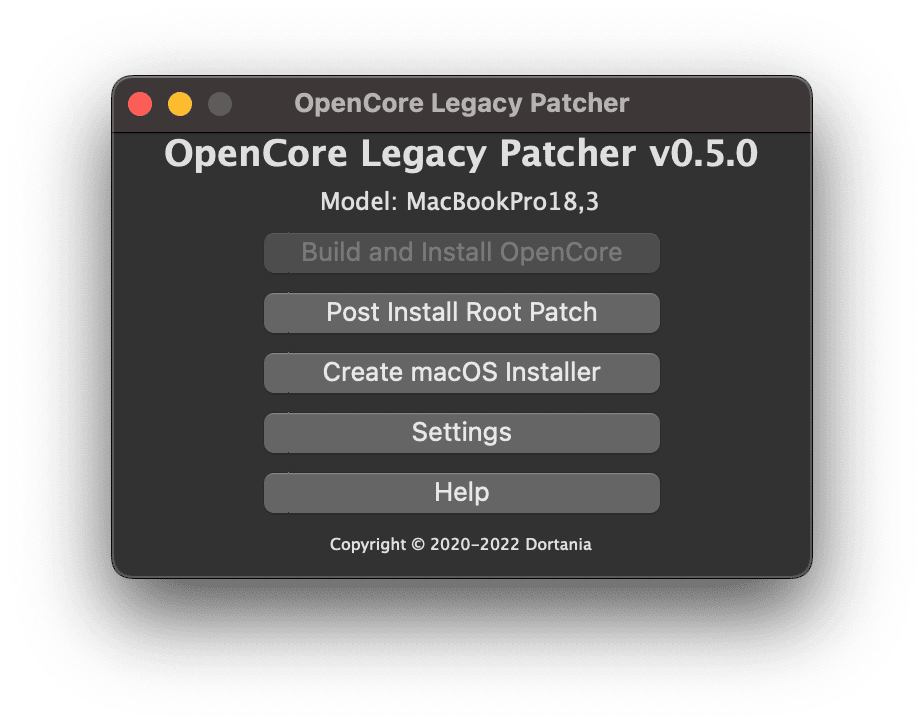
- Open the OCLP tool (OpenCore-Patcher), click on “Create macOS Installer”.
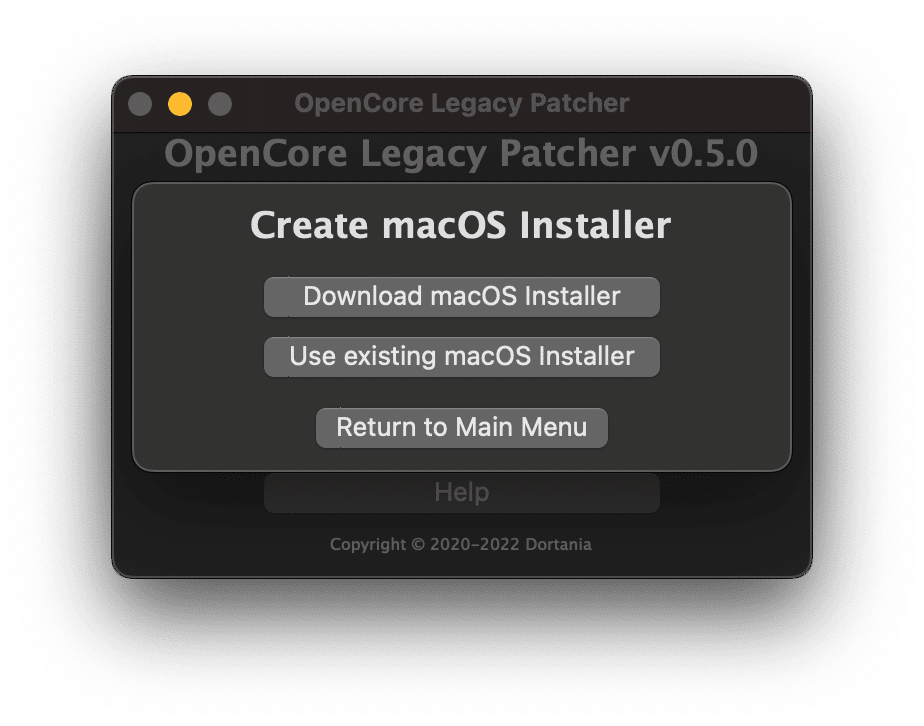
- Next, click on “Use existing macOS Installer”.
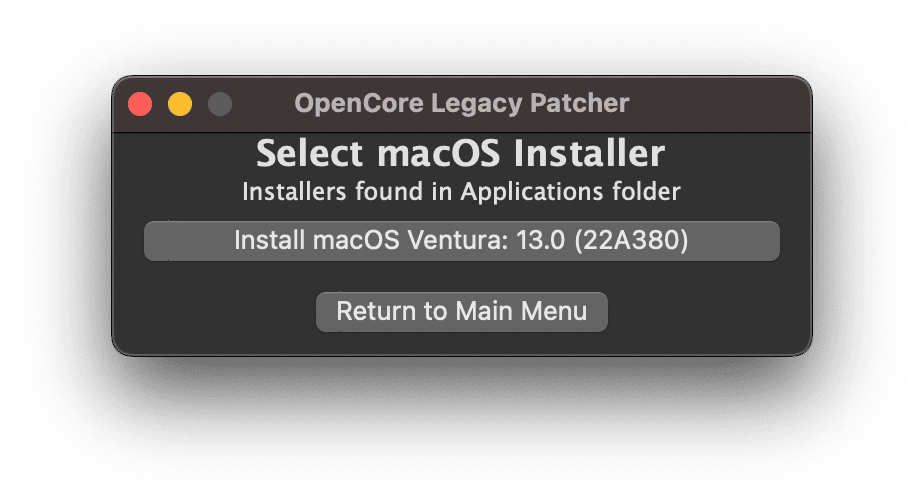
- Since we had downloaded the macOS Ventura installer in step 1, OCLP will automatically detect the file and show it to you. Click it to move to the next step.
- Select the plugged-in USB drive next to start the process. OCLP will format your drive, and configure the bootable macOS Ventura installer on it.


Build and install OpenCore
Now we need to use the build and install OpenCore using OCLP. This is what enables faster and lighter booting as well as support for native macOS security features.
- Click on the “Build and Install OpenCore” button in the OCLP tool.
- In the next screen, click on Build OpenCore and let the process complete.
- Next up, click on the “Install OpenCore” button to complete the remaining process.
- Once done, click on the “Install OpenCore” button. Select the macOS Ventura installer USB drive that you had created earlier, and select the partition. There should be just one partition so just click it to complete the process. Enter your password if you are asked to do so.
Boot and install macOS Ventura
- While the macOS Ventura installer USB drive is plugged in, reboot your Mac.
- Press and hold the Option key while it is botting and it will bring you to the startup manager screen. This is where you will see your Mac disk, as well as the new EFI Boot disk, thanks to the USB installer that you created. Using the arrow keys, select the EFI Boot, and press return.
- Select “Install macOS Ventura” and press return.
- Now you can follow the standard installation steps to install macOS Ventura on your Mac.
That’s it. Once the installation process is complete, you can boot into your newly upgraded Mac.
Note that you may need to run the OCLP tool again and build and install OpenCore to your internal Mac drive. This is important as it will allow you to boot into your Mac without the USB drive. Once done, reboot your Mac while pressing and holding the Option key, and select the internal EFI.
Let us know if you have followed this guide to install the operating system on your old Mac. If you need any help, give us a shout-out in the comments below.
Read more:
- How to create macOS Ventura bootable USB installer
- How to clean install macOS Ventura on a Mac
- macOS Ventura retires the “Network Locations” feature, after 21 years
- macOS Ventura might not offer ‘Hide My Email’ support for third-party apps
- Apple adds BIMI standard support in Mail app on iOS 16 and macOS Ventura to prevent mail spoofing
- Some macOS Ventura features will be coming to Apple Silicon Macs only
- Download iOS 16 and macOS Ventura wallpapers in full quality here
- macOS Ventura makes USB-C and Thunderbolt connectivity safer by requiring user permission for transmission of data


This is an excellent guide! I think you may have missed a step right before building and installing open core. Don’t you need to open and change the SMBIOS settings to simulate a Ventura supported Mac? Also don’t you need to build and install the open core to your hard drive after installing Ventura so that you don’t need the usb to boot?
Excellent! The only questions:
-Will this “method” allows to get future updates of MacOS without all this procedure?
-How to disspear the booting MacOs icon (it’ll be great to boot as before, no icon at boot)?
-Would it be possible to uninstall Corepatcher.app?
-How to remove startup apps and/or extensions or working in 2nd plane?