Microsoft Word is a word processing app that offers many features that let users edit documents, read PDFs, create resumes, and much more. One of these unique features is the ability to add a PDF file directly into Word.
And if your job requires you to use Word, you might need to how to add a PDF file directly into Word. It can be done in a few simple steps. Here’s how:
How to insert PDF into Microsoft Word
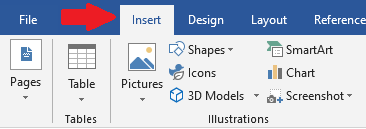
- Open your Word document and click on the Insert tab, it will be beside Home.
- Next, click on Object from the Text group.
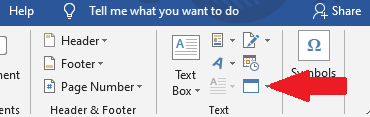
- A drop-down menu will appear, select Object from the menu.

- Then, the Object window will appear. Select Create from File and then click on Browse.
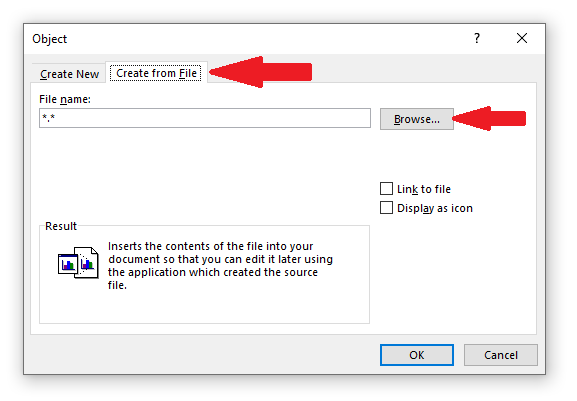
- Next, you need to search for the desired PDF in your documents or write its name in the search field. Once you have found the file, select it, and then click Insert.

- Once you have selected your PDF, you need to choose if you want to (1) link directly to the source file, or (2) if you want to display the PDF as an icon.
- If you want the inserted PDF file to display any new modifications made to the source file, linking directly to the source file will save you a lot of time. Displaying the PDF as an icon is a good idea if you do not want the document to take up too much space on the page.
- If you choose not to select any of these selections, the PDF will be displayed in its entirety on the Word doc and will not show the latest changes made to the source file.
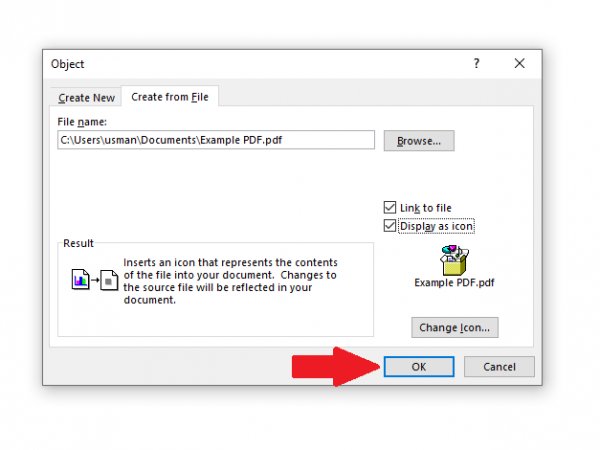
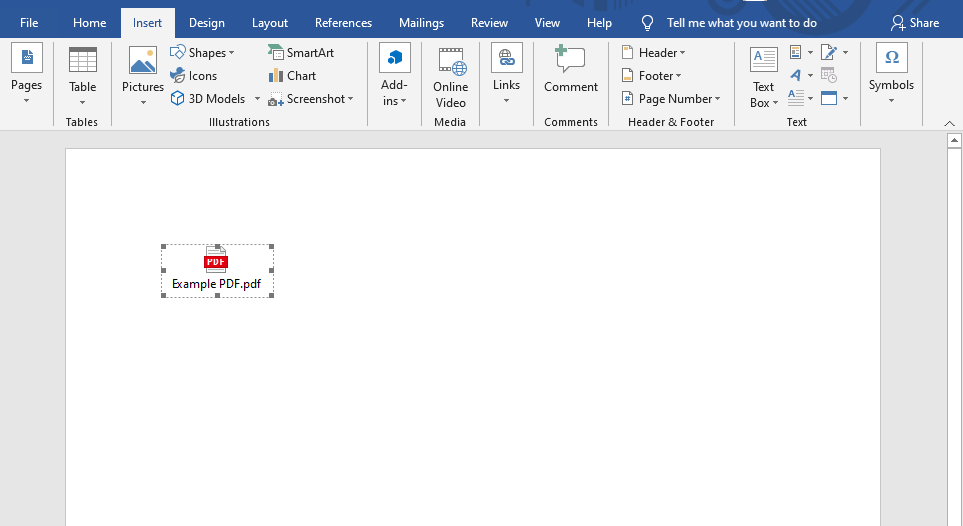
- Once you click OK, the PDF file will be inserted into your Word document.


Read Also:


1 comment