There are a ton of ways to back up your photos on iPhone. You can transfer them to your computer, external drive or use a third-party service. However, the most seamless option is iCloud as it falls within Apple’s ecosystem. iCloud is Apple’s cloud syncing service that lets you backup data like photos, messages, and apps to their cloud storage. After the data has been uploaded, you can access it on your Apple device or through the iCloud website.
Apple offers 5GB of free iCloud storage to all its users. However, if you have more data to backup, you can always upgrade to a paid plan. You can get 50 GB of storage for $0.99/month, 200 GB of storage for $2.99/month, or 2 TB of storage for $9.99/month. There is also an option to share the storage space with your family members if you pay for the 200GB plan or higher. Here’s how to automatically back up your photos using iCloud on iPhone in a few simple steps.

Learn how to automatically back up your photos using iCloud on iPhone
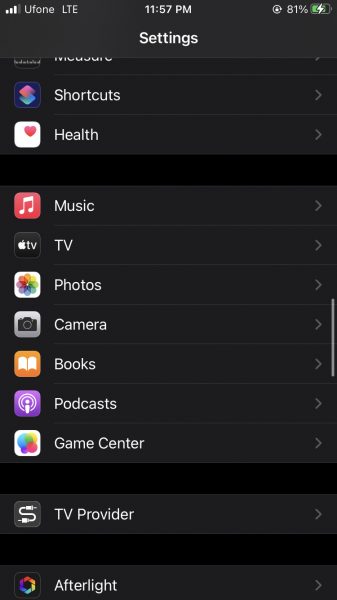
- Launch Settings on iPhone.
- Tap on Photos.

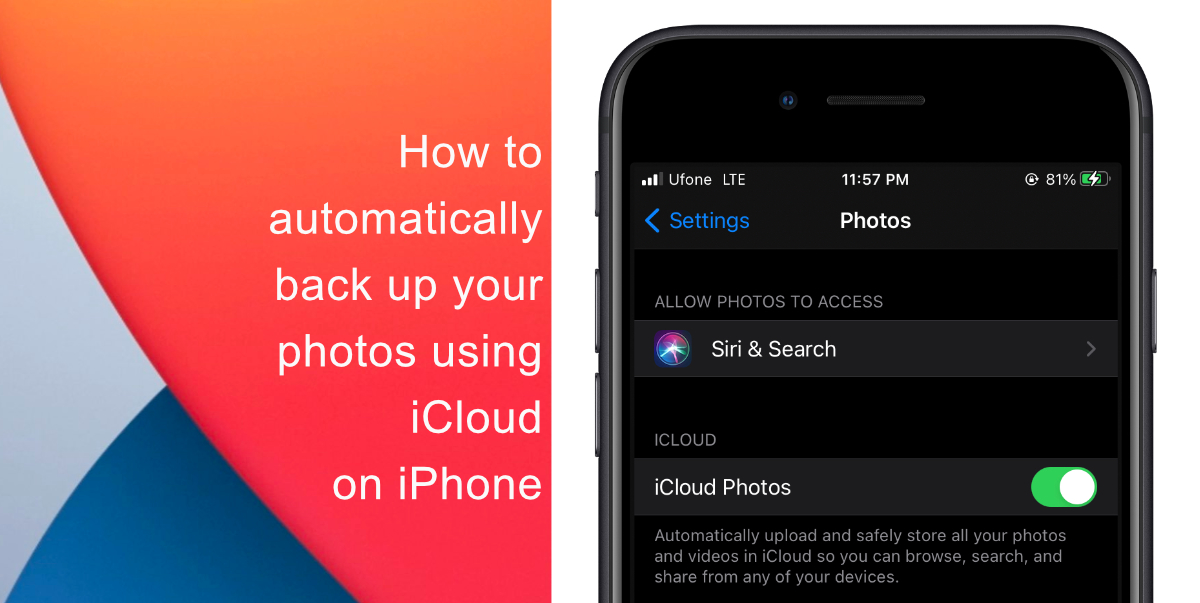
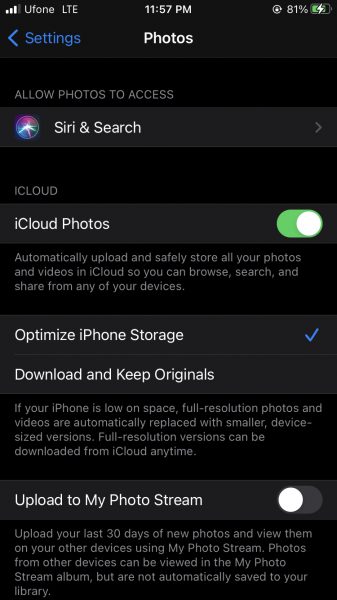
- Tap on the toggle next to iCloud Photos to enable the feature. This is it, your iPhone will now start uploading photos from your gallery to iCloud.

We hope this guide helped you learn how to automatically back up your photos using iCloud on iPhone. If you have any questions, let us know in the comments below.
Read more:
- How to edit the date, time, or location of photos in iOS 15
- How to check if you have the latest AirTag firmware update
- How to download apps larger than 200MB over cellular data on iPhone
- How to hide like and view counts on new, existing and other users’ posts on Instagram
- How to use iOS 14.5’s app tracking transparency to block apps from tracking you
- How to reduce the size of your iCloud backup on iPhone and iPad
- Found an unknown AirTag moving with you? Here is how to disable it
- How to share iPhone screenshots without saving them to Photos
- How to unlock iPhone with Apple Watch while wearing a face mask
- How to use Screen Time to set a time limit for websites on iPhone and iPad
1 comment
Comments are closed.