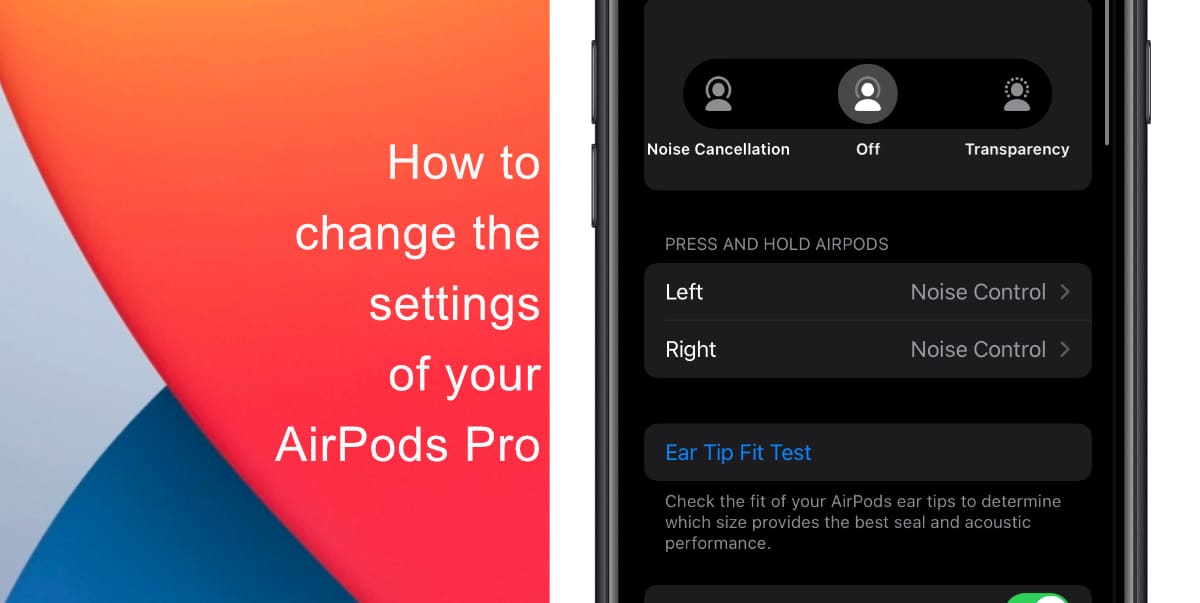
AirPods Pro offers three modes: Active Noise Cancellation, Transparency mode, and Off. You can always switch between the modes from the Control Center or Settings but doing it straight from your AirPods Pro is much more convenient.
By default, the press and hold settings on the stem of your AirPods Pro switch between Active Noise Cancellation and Transparency mode. However, you can change that with a few simple steps. Here’s how.

Learn how to change the press and hold settings of your AirPods Pro
Before you begin, note that press and hold settings are also available on AirPods Pro.
- Launch Settings from the Home screen of your iPhone or iPad.
- Then, go to Bluetooth and tap on the “i” button (More Info) next to your AirPods Pro.
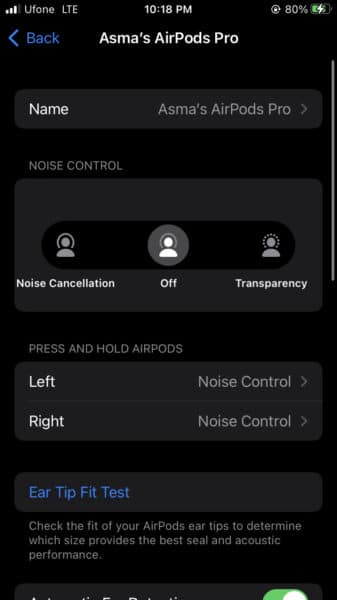
- Under Press and Hold settings, tap Left or Right, then make sure that Noise Control is selected.

- Select the modes you want to use with press and hold.
Note that you can also access Apple’s virtual assistant Siri using press and hold. In the press and hold settings, tap Left or Right, then select Siri. This way, you can use one AirPods to access Siri and the other to switch between noise control modes.
We hope this guide helped you learn how to change the press and hold settings of your AirPods Pro. If you have any questions, let us know in the comments below.
Read more:
- How to easily enable “Conversation Boost” on AirPods 2, AirPods Pro, and AirPods Max
- How to change Siri voice and language on iOS 15, macOS 12, watchOS 8 and tvOS 15
- How to send expiring emails using Confidential mode in Gmail on iPhone and iPad
- How to set Gmail to delete Instead of archive in stock Mail app on iPhone & iPad
- How to clear cookies from Safari without deleting your browsing history on iPhone & iPad
- How to automatically and manually send text messages instead of iMessages on iPhone
- How to clear cookies from Safari without deleting your browsing history on iPhone & iPad
- How to use an email instead of a phone number for iMessage on iPhone & iPad
- How to turn on rain and snow notifications for your current location on iPhone