To resolve common problems, users can reset most Windows 11 settings to default. If you have recently changed your audio settings but things are not working anymore, you can reset most of the settings to their default state like volume, advanced settings, and driver.
In this guide, we will show you ways to reset the audio settings on Windows 11.

Here is how to reset audio settings to default in Windows 11
Reset volume settings in Windows 11
-
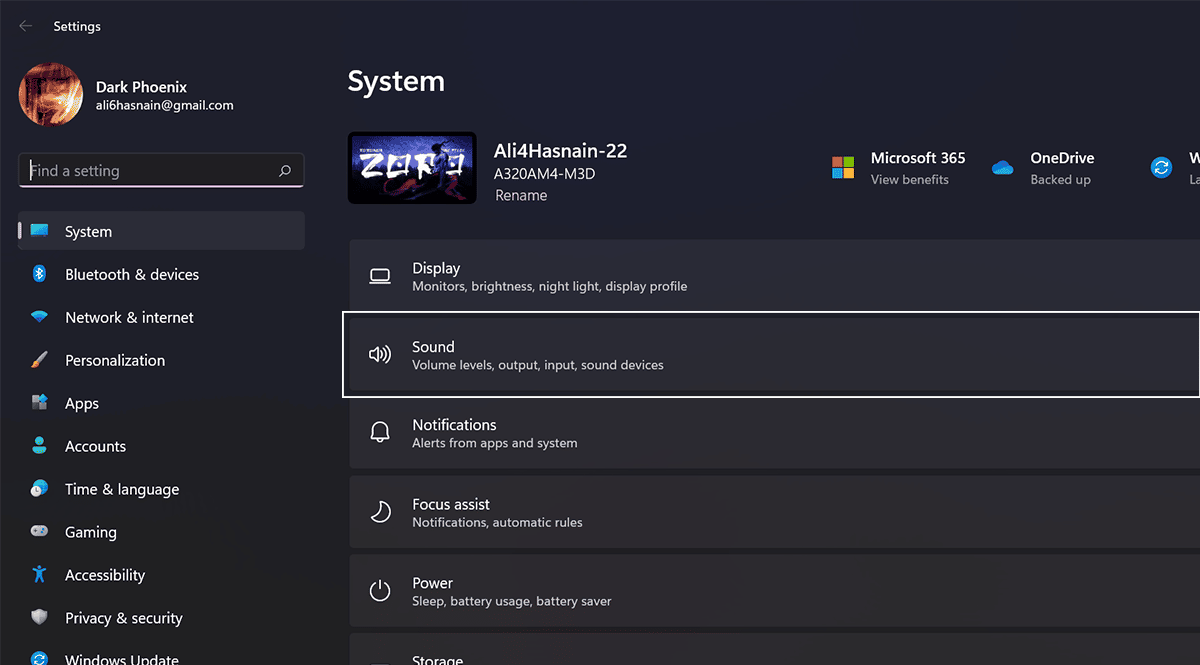
- Open Settings > click on System > click the Sound tab.
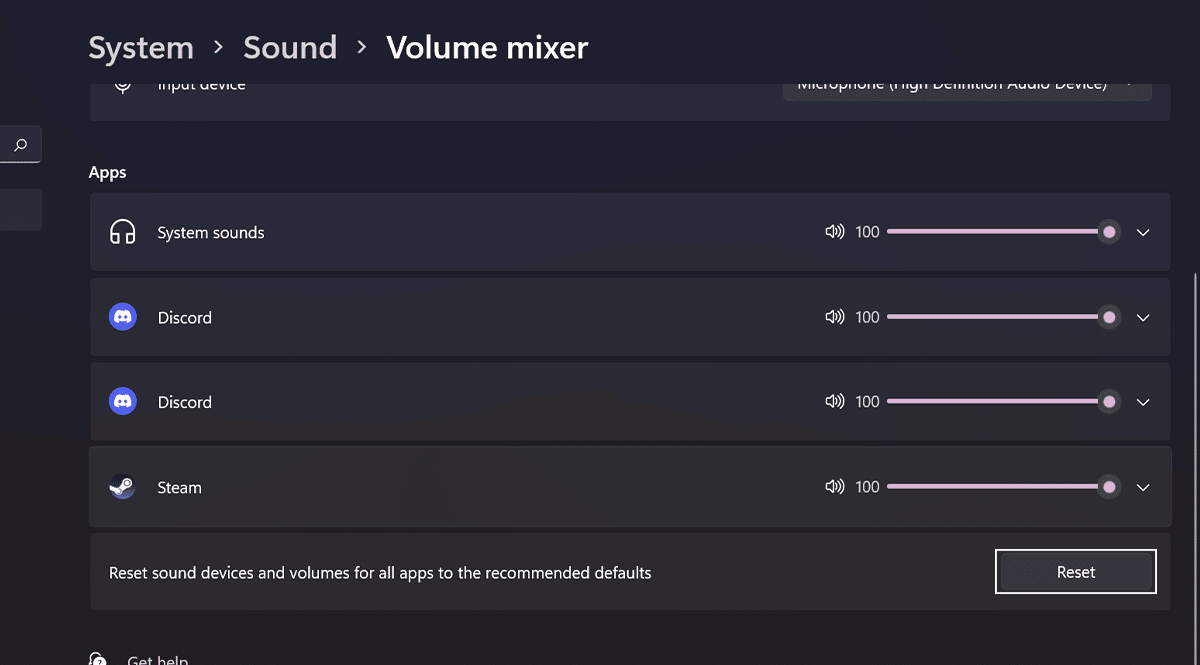
- Under the Apps section > click the Reset button to restore the original volume for apps.


Reset advanced audio settings in Windows 11
-
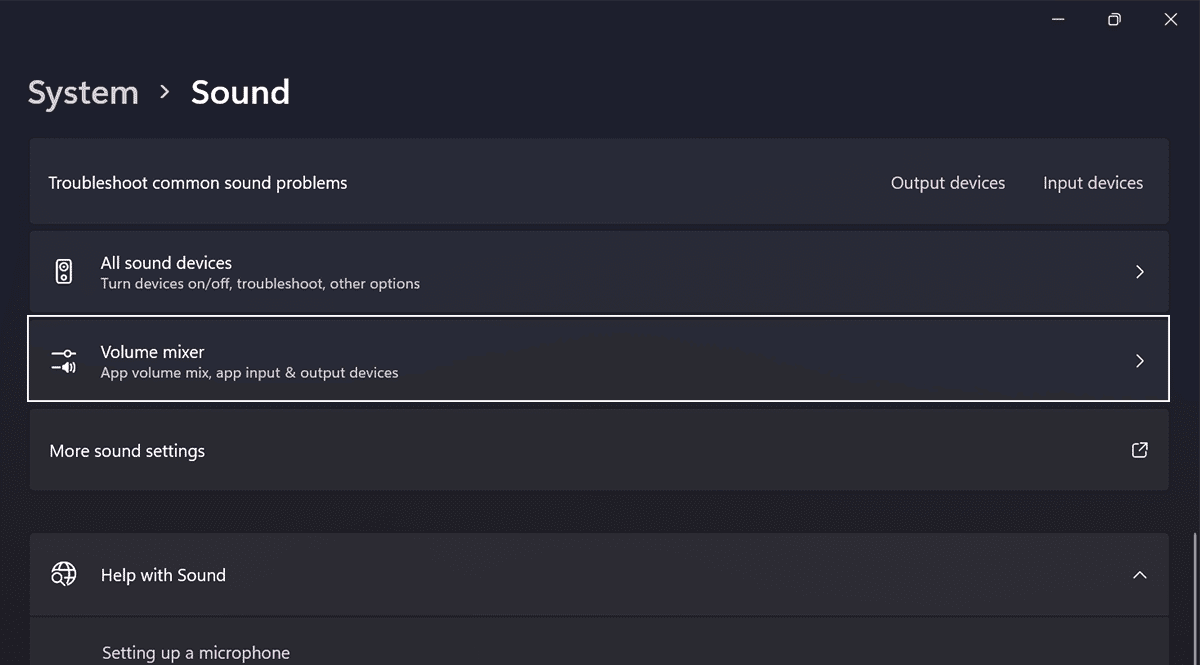
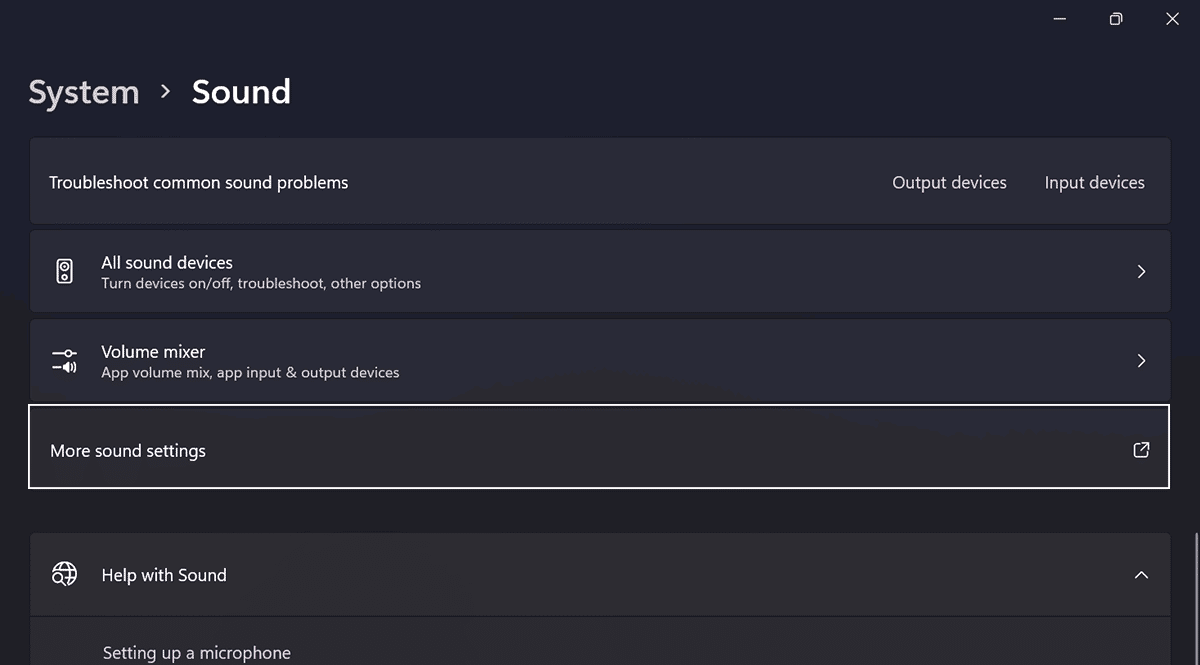
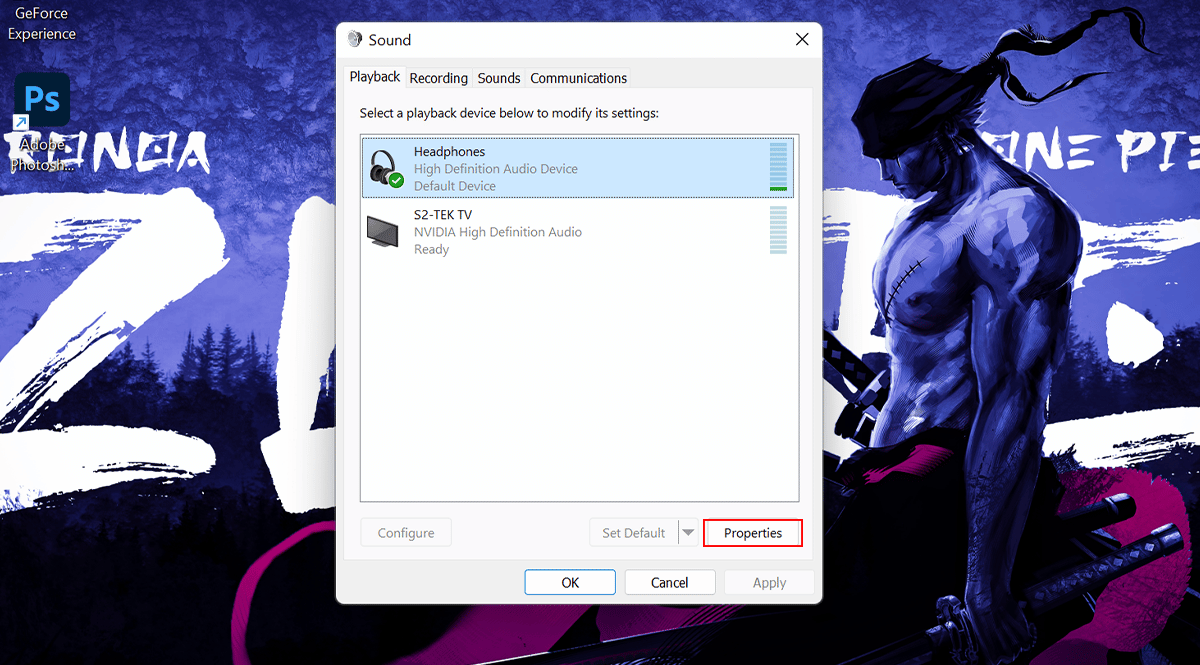
- Open Settings > click on System click the Sound tab > under the “Advanced” section > click the More sound settings option.
- Click the Playback tab > select the speaker from the list and click the Properties button.
- Click the Enhancements tab > click the Restore Defaults button.
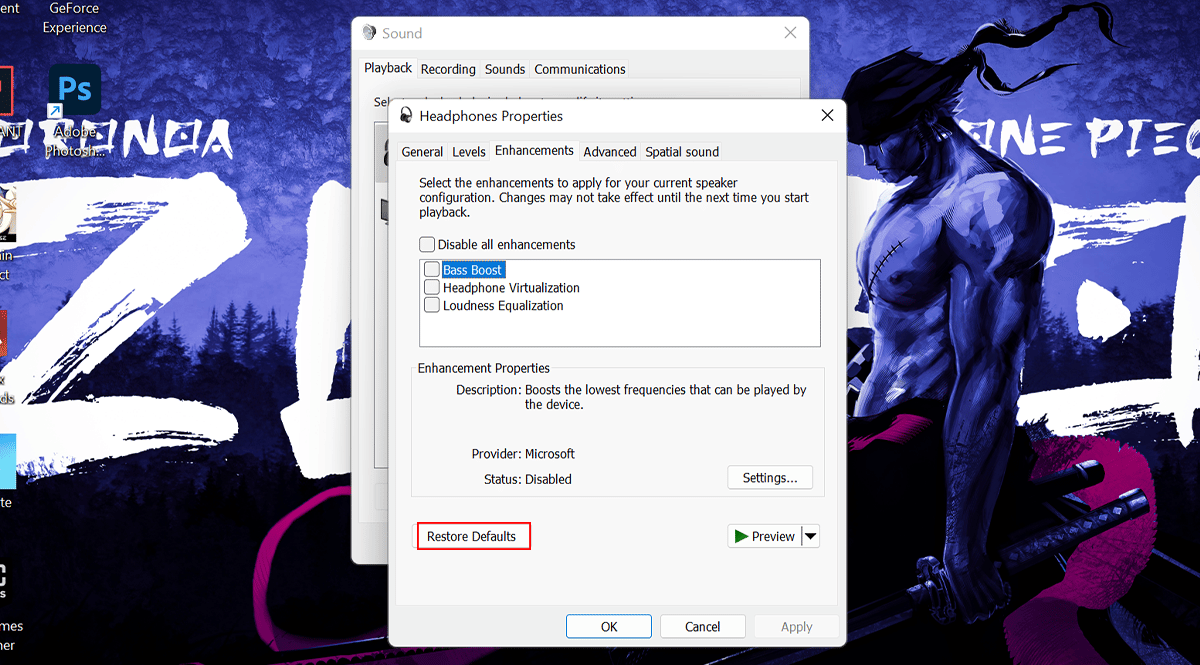
- Click the Advanced tab > click the Restore Defaults button.

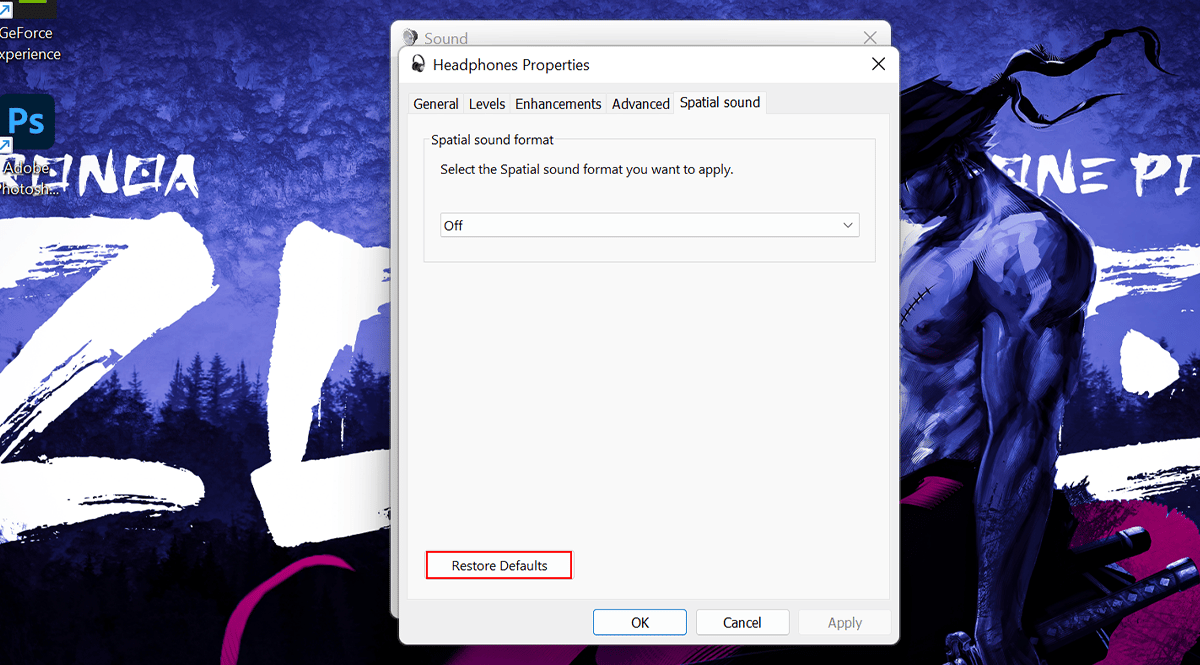
- Click the Spatial sound tab > click the Restore Defaults button.
- Open Settings > click on System click the Sound tab > under the “Advanced” section > click the More sound settings option.


Reset audio driver settings in Windows 11.
-
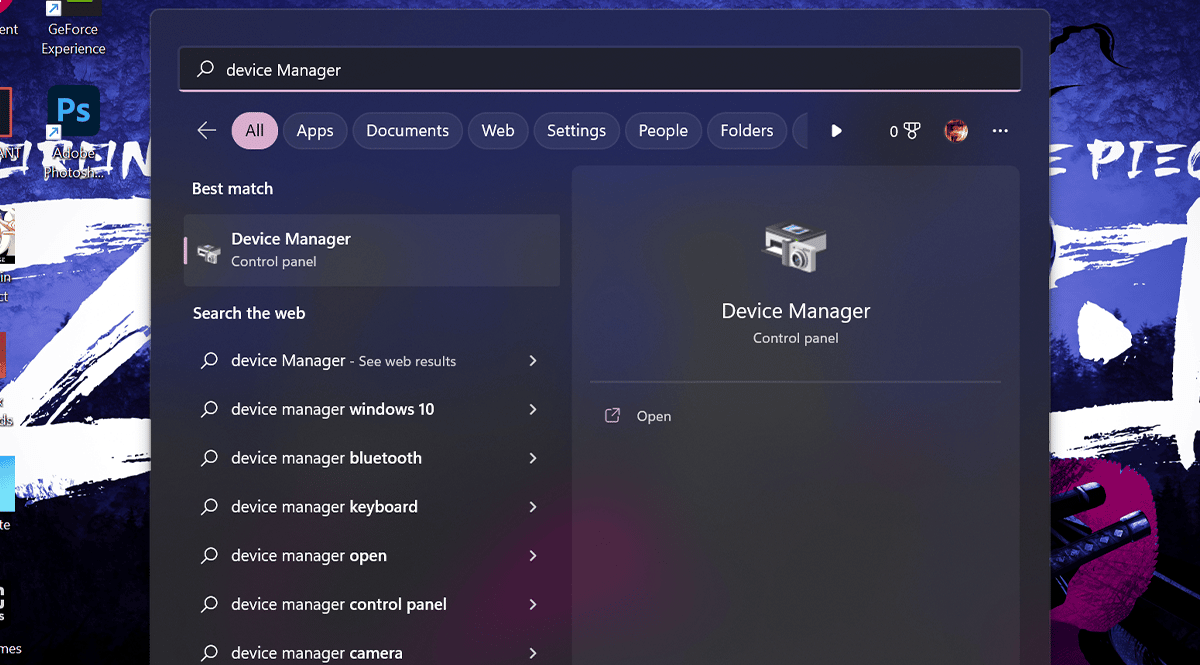
- Open Start > search for Task Manager > click the top result to open the app.
- Expand the Sound, video, and game controllers category > Right-click the audio adapter > select the Uninstall device option.
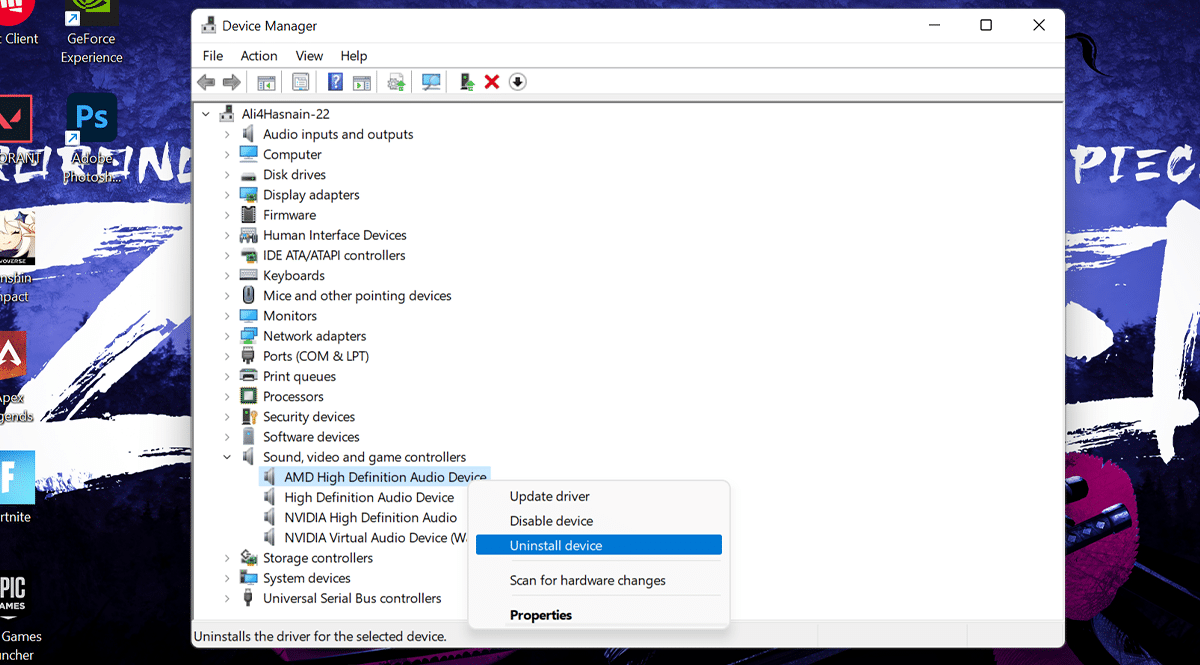
- Click the Uninstall button > Restart the device.
- Open Start > search for Task Manager > click the top result to open the app.


Once users complete the steps, the audio driver will reinstall automatically, fixing common problems on users’ computers.
Read more:
- How to add and remove Recycle Bin from the taskbar in Windows 11
- How to use the emojis keyboard feature on Windows 11
- How to password protect a folder on Windows 11 without Installing any third-party apps
- How to create Siri ‘low battery’ alert on the Shortcuts app on iOS 16.3
- How to screen record with sound on iPhone
- How to use Apple Watch to calculate and split tips
- How to turn off web access to iCloud data on iOS 16.2


