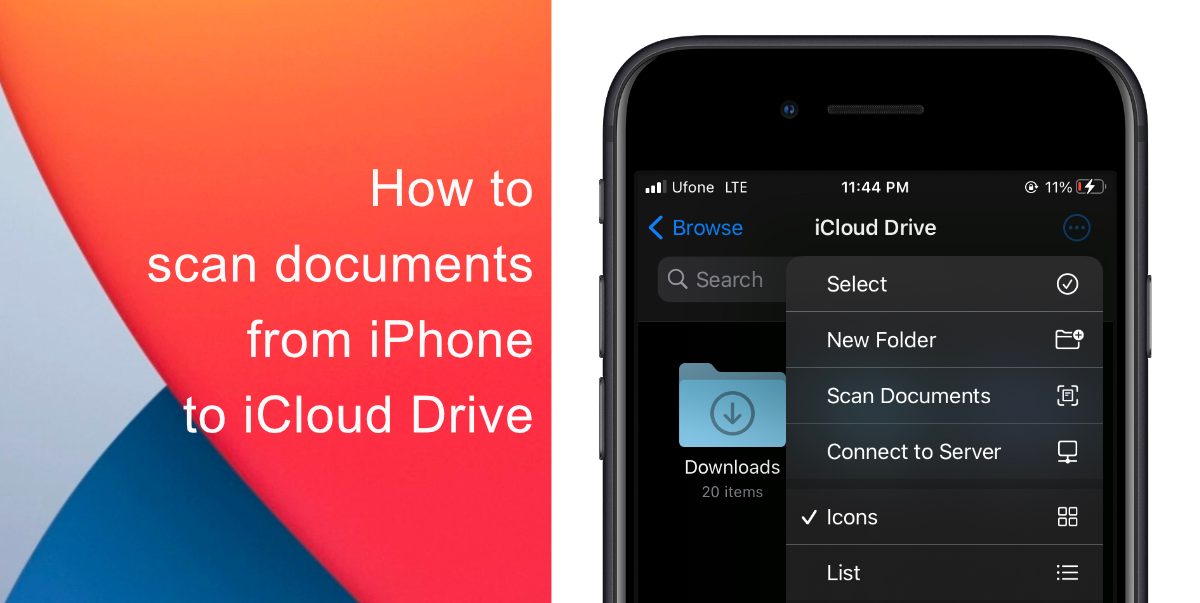
Document scanning is something we have to use now more than ever due to the rise in remote working and online schooling. If you need to scan a document to your iPhone or iPhone, there are a ton of apps available. You can even use the Notes app to scan documents. However, there is also an option to scan documents directly to iCloud Drive using the built-in Files app. Apple’s document scanning tools produce clear scans with smooth performance.
With iOS 13 or iPadOS 13, Apple added document scanning to the Files app. You can scan a document by simply taking a picture of it with your device and then you can save your scanned files directly to iCloud Drive. Here is a guide on how to scan documents from iPhone to iCloud Drive in a few easy steps.

Learn how to scan documents from iPhone to iCloud Drive
- Launch the Files app on iPhone.
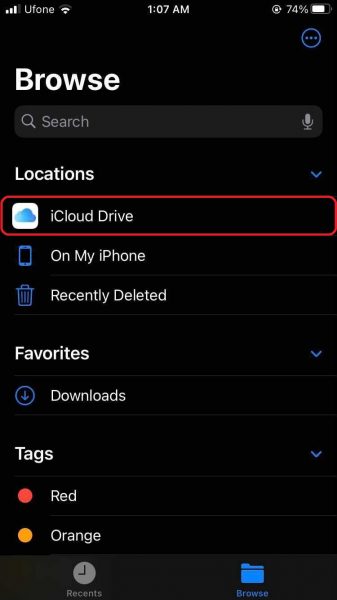
- Now, tap on the Browse tab at the bottom or tap the browse “back” button at the top left corner of the screen.
- Select iCloud Drive. You can also choose to select On My iPhone/iPad to save the scanned document locally.

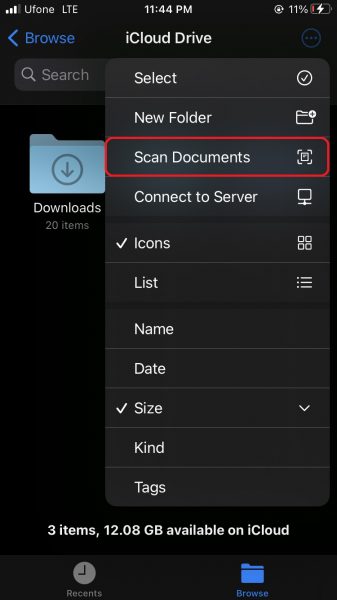
- Tap the blue circle with three dots in the top right corner and select Scan Documents.

- Take a scan of your document(s), tap Keep after each page.
- Tap Save when you are done scanning all of your pages in the bottom right corner.
We hope this guide helped you learn how to scan documents from iPhone to iCloud Drive. If you have any questions, let us know in the comments below.
Read Also:
- How to jailbreak iOS 14.4 using checkra1n on iPhone and iPad
- How to reduce background noise when recording voice memos on iPhone
- How to change iPhone alarm to your favorite song
- How to hide home screen apps and pages on iPhone
- How to change iMessage privacy settings for your photo and name
- How to free iCloud storage by deleting old backups
- How to share iPhone screenshots without saving them to Photos
- How to unlock iPhone with Apple Watch while wearing a face mask
- How to launch actions by tapping on the back of your iPhone
1 comment
Comments are closed.